Overview:
- Learn how to navigate Wiise for Accountants
Why navigate Wiise for Accountant?
Work efficiently in Wiise when you have easy to access action menus to complete your tasks in Wiise.
How to navigate Wiise for Accountant?
The Wiise landing page (role centre) is a dashboard with actions and activity. These tiles show you real-time information with quick access to data. From here you can navigate Wiise to perform your role as the accountant in the business.
Your Wiise landing page
- When you log into Wiise you’re taken to your dashboard view. This is the accountant role so the information on the dashboard is relevant for accountants.
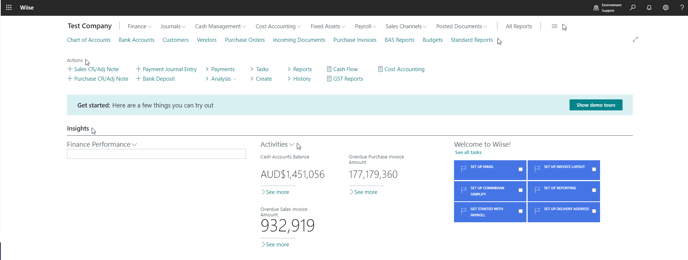
- The application bar on the top right-hand corner of the page contains quick access menus for switching company, help, settings, notifications and search.

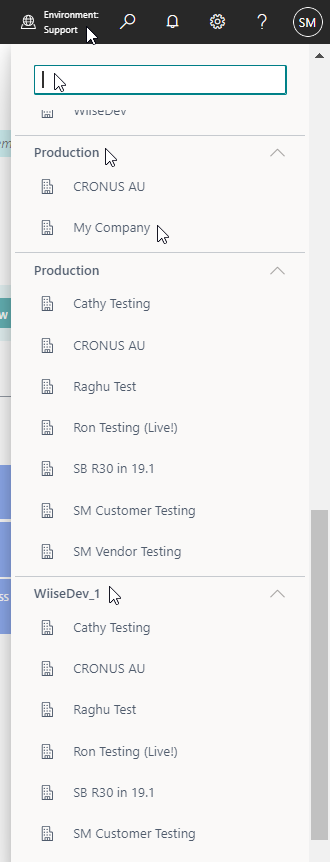
- Switch companies between all environments in Wiise:
- Select the Environment icon on the top right-hand corner of the page. A list of companies and environment options display.

- Select a company you want to switch to. It’ll take a few minutes to process before your selected company opens.
- You’ve switched companies.
- Select the Environment icon on the top right-hand corner of the page. A list of companies and environment options display.
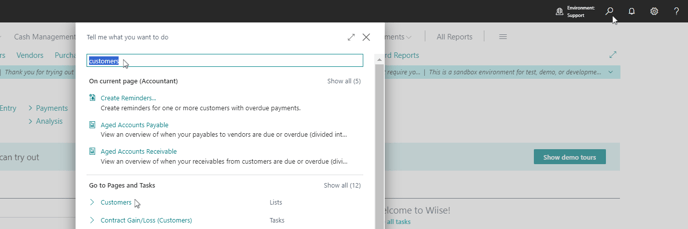
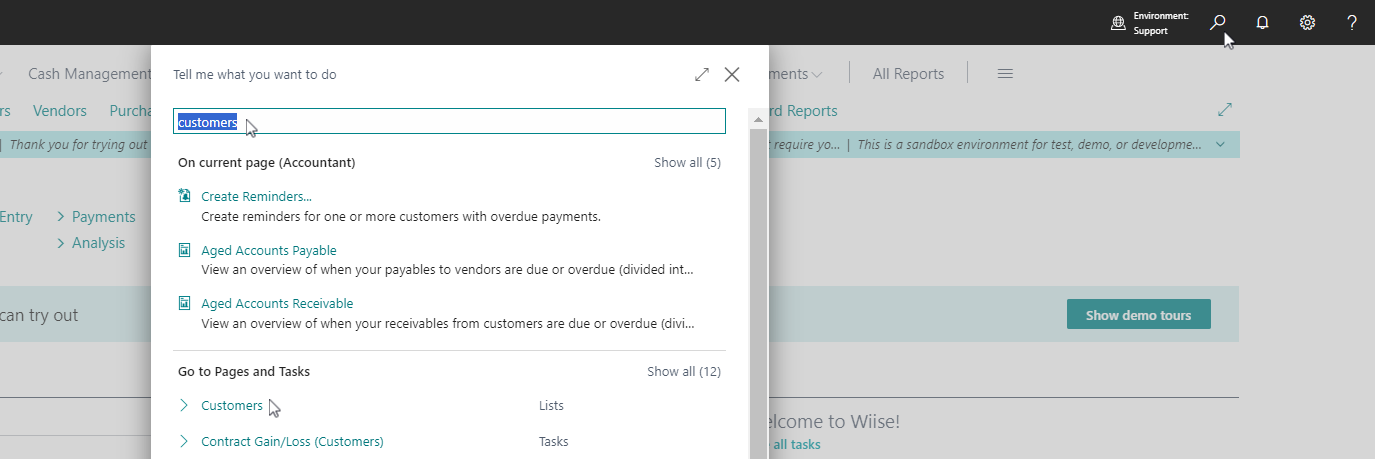
- Select the Search icon to help you search Wiise for what you’re looking for.
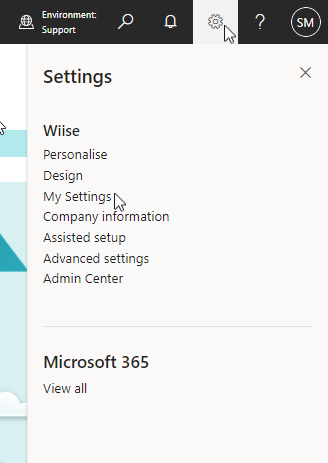
- Select the Settings icon on the application bar to update your Wiise settings.
- You can:
- Personalise your workspace to suit how you work in Wiise;
- Change the role of your profile through My Settings. Select My Settings.

- My Settings request page displays.
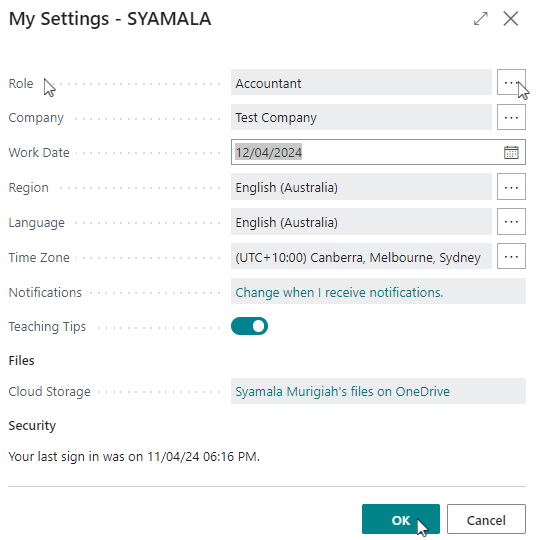
- Select the horizontal three dots on the Role field to change to another available role.
Note: If you require more than an Accountant role, you can select the Business Manager role. - Select OK when you’re done. You’ll notice your Wiise landing page changes according to the role profile you’ve selected.
- You can:

Note: Use the question mark “?” icon on the application bar to seek help, support and troubleshoot Wiise.
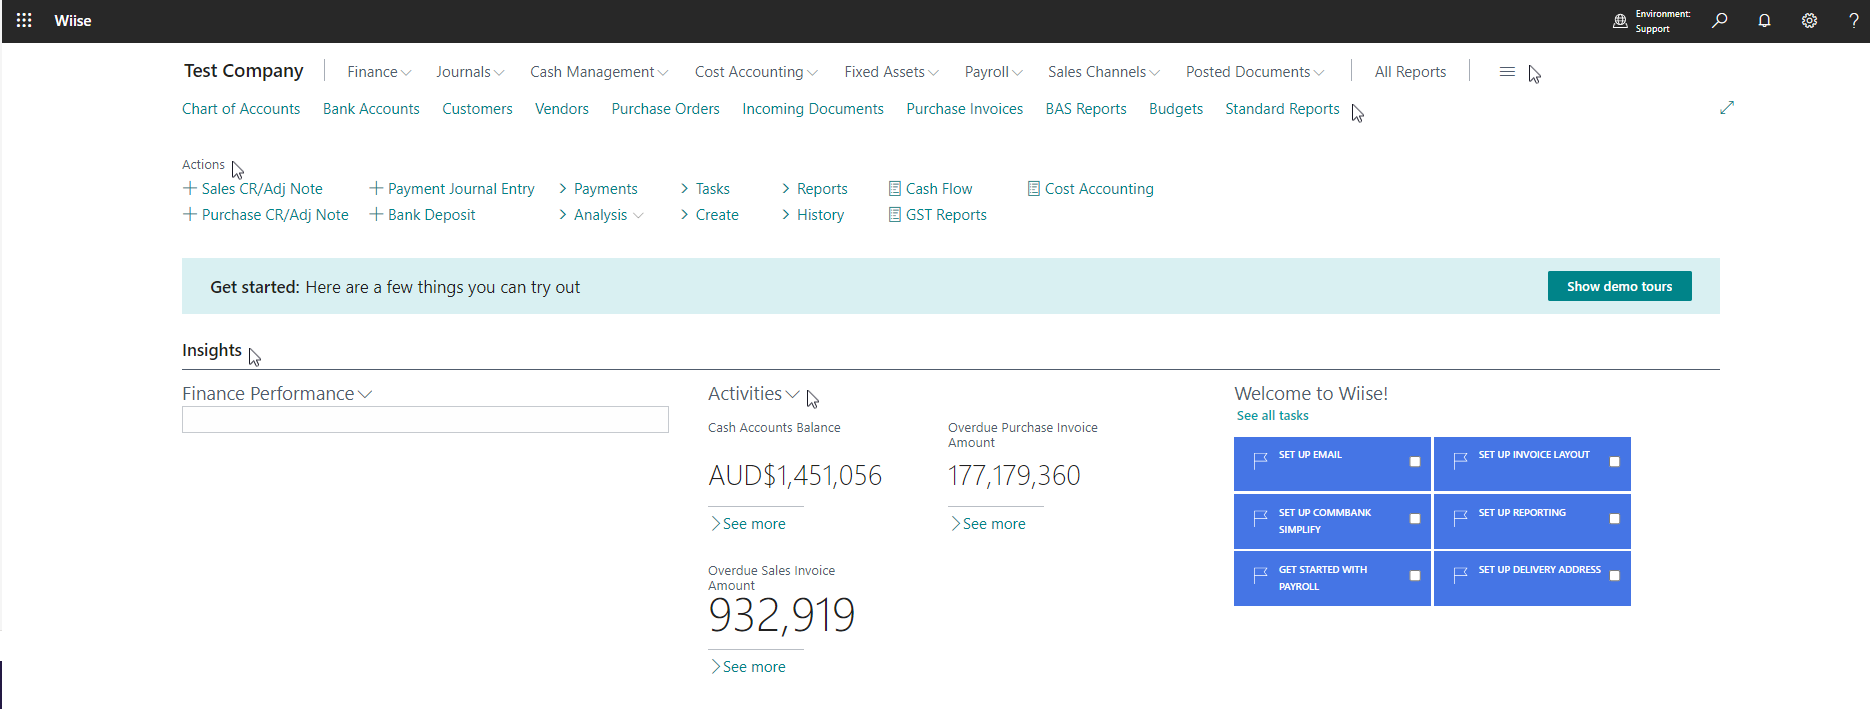
Navigation menus
- On the Wiise landing page, you’ll see actionable menus that are relevant to the accountant role
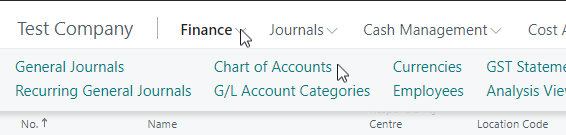
- The first line below the application bar is the navigation menus. Selecting a menu allows you to drill-down to actions within that menu.
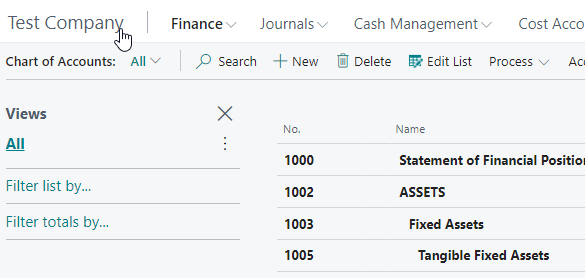
- Select Finance, then select Chart of Accounts.

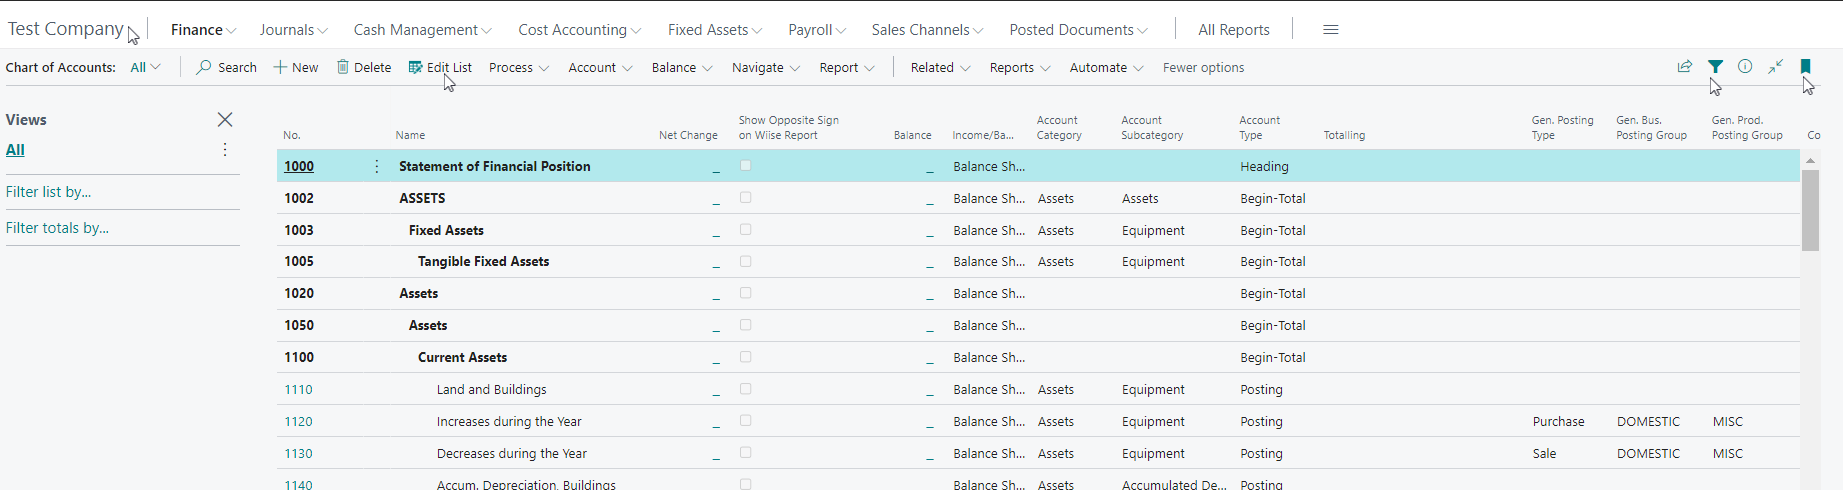
- The chart of accounts display.
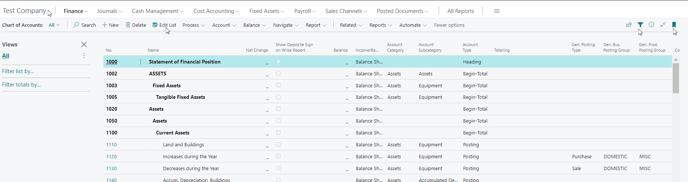
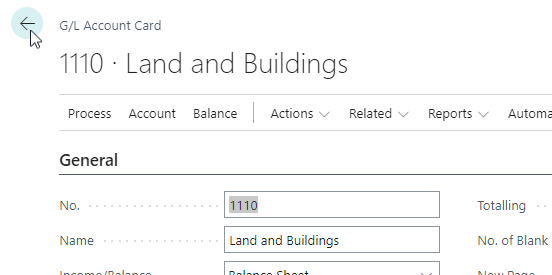
Note: Each action menu takes you to a page or list where you can add a new row or template by selecting +New or Edit List to make changes, apply filter, and drill-down. In the chart of accounts, you can access a G/L account by selecting the hyperlinked account no. that opens the record. - Navigate back to your chart of accounts page by selecting the back arrows in Wiise.

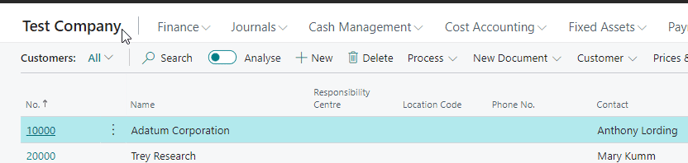
Note: Changes you make in Wiise are automatically saved. - Navigate back to the Wiise landing page, by selecting the company name on the top left corner of your Wiise page.

- Select Finance, then select Chart of Accounts.
- Below the navigation menu, are the navigation bars which are green hyperlinks. When you bookmark lists or pages as your favourite, they appear on the navigation bars for easier access.
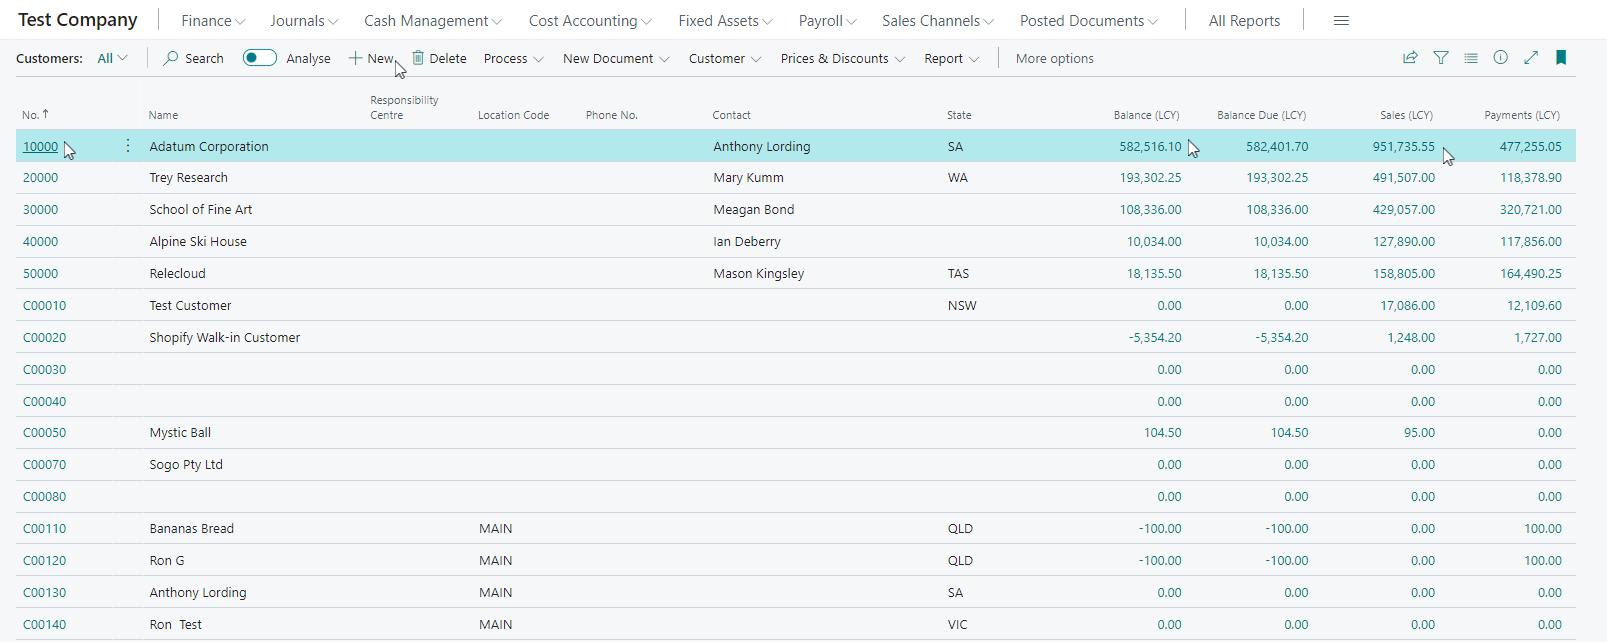
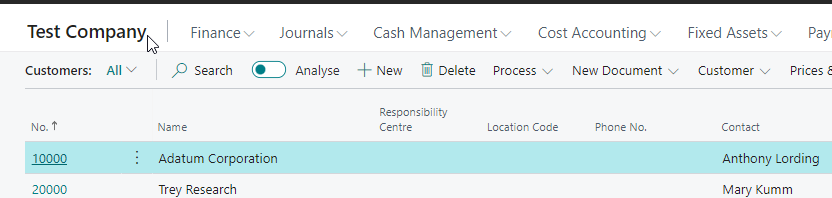
- Search for Customers from the top right-hand corner of the page or you can select Customers on your Wiise landing page.

- The Customers list displays.
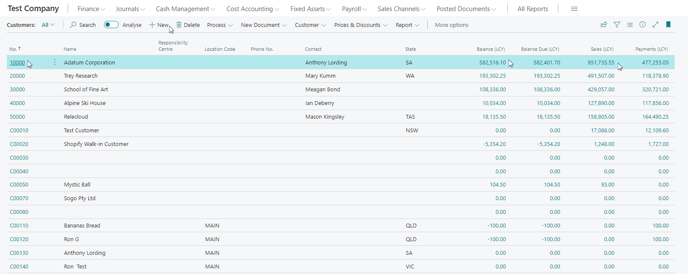
- Drill down by selecting the hyperlinked No. against a customer record to view additional details.
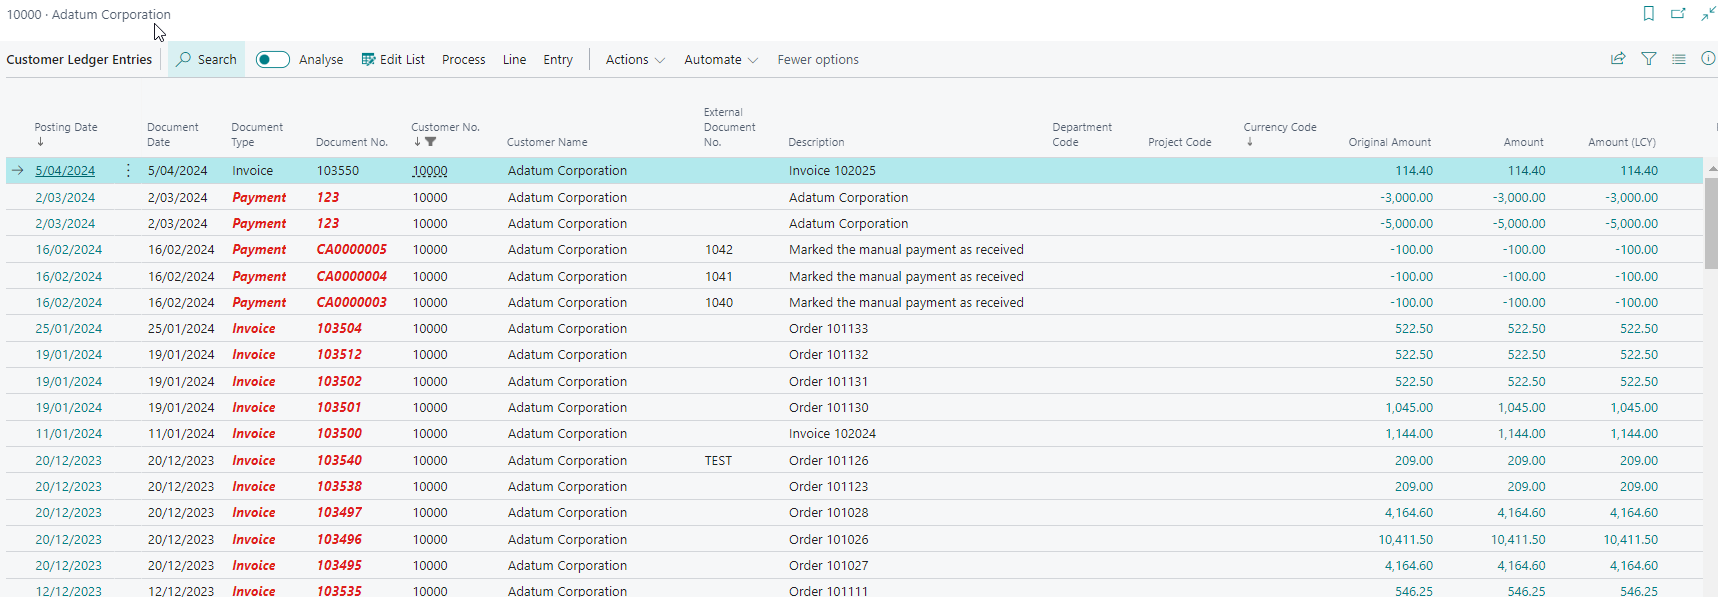
- Drill down on the Balance (LCY) column to view customer ledger entries based on the balance total.

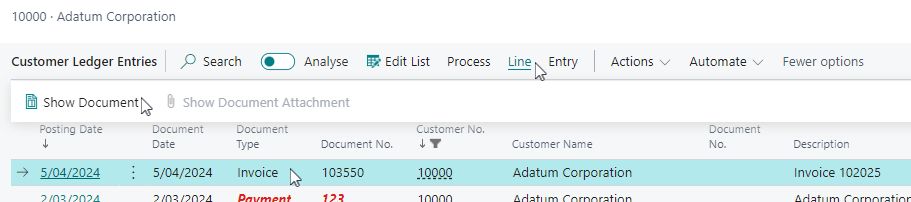
- Select an entry type for an invoice or cr/adj note and then select Line. Then, select Show Document.
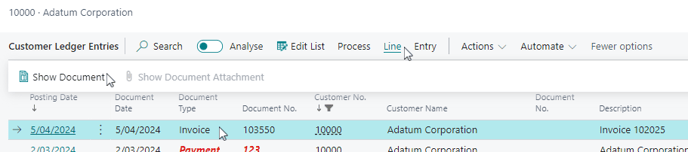
- The posted sales invoice or posted sales cr/adj note details displays.
- Navigate back to your Wiise landing page anytime by selecting the back arrows and then selecting the company name on the top left menu of any page that you’re on.
- Search for Customers from the top right-hand corner of the page or you can select Customers on your Wiise landing page.
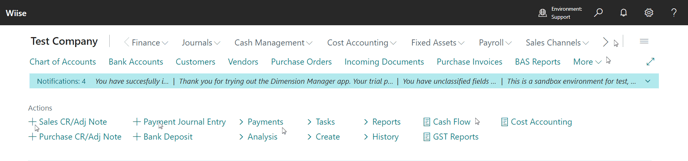
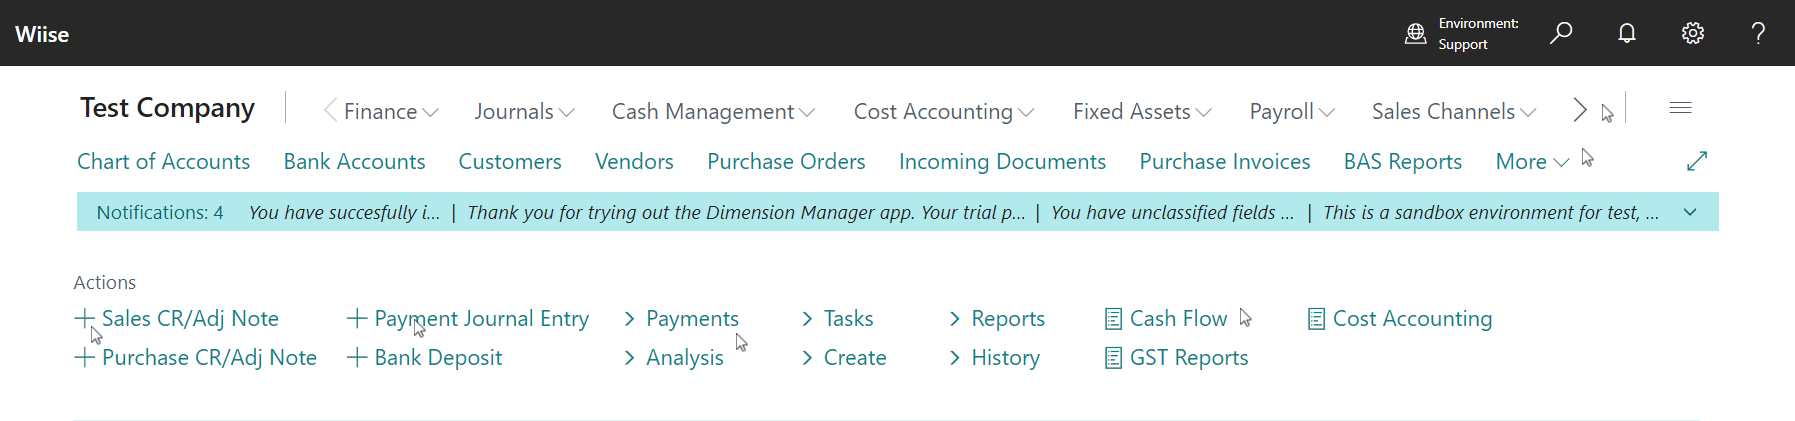
- On the Wiise landing page, there are actions and tasks relevant to the accountant role. These actions allow you to perform a task quickly.

- Select the + button to add a CR/Adj note, journal entry or bank deposits.
- Select the > arrow to navigate to the relevant tasks which further drills down to another menu.
- Select Payments, the drop-down menu expands. Select the relevant journal you want to create.

- Select Payments, the drop-down menu expands. Select the relevant journal you want to create.
- Select the report icon in Actions to access the Cash Flow, Cost Accounting or GST Reports which are relevant to your accountant role.
- You now know how to navigate Wiise. These menus are consistent across all the different pages in Wiise.


Note: You can personalise your dashboard and all pages on Wiise by updating the type of insights and activities you want to view.
Note: Bookmark you search as favourite to your Wiise landing page to prevent searching for the action you want.
Note: Review all reports. You can search for Standard Reports and Financial Reports on the top right-hand corner of the page. Ensure you bookmark the reports as your favourite that will appear on your navigation bar.
Note: You can work efficiently in Wiise by using keyboard shortcuts and when you use multiple browser tabs to compare data. You can do this across the different companies you switch to.
What’s next?
Find out how to personalise Wiise for you.
Need more help?
No problem, that's what we're here for. Reach out to support@wiise.com anytime you can't find what you're looking for.