Overview:
- Learn how to set up Wiise Warehouse OnTime for your basic warehouse.
- Setup users and basic warehouse location
Why set up Wiise Warehouse OnTime?
When you’ve completed the sales order or purchase order in Wiise, the warehouse employee can utilise the OnTime app to electronically receive, pick, and put-away orders.
How to set up Wiise Warehouse OnTime?
Getting started with Wiise Warehouse OnTime is easy. There are only a few steps you'll need to take to get you, and your team set up.
- Set up Wiise Warehouse OnTime on Wiise ERP Desktop.
- Set up users to access Wiise Warehouse OnTime.
- Set up warehouse locations.
Set up Wiise Warehouse OnTime on Wiise ERP Desktop
Before you get started with OnTime, you'll need to enable the application in Wiise.
- On your Wiise ERP Desktop, search Extension Management on the top right-hand corner of the page. Select the related link. The Installed Extensions list page displays.
- The Wiise Warehouse OnTime extension needs to be installed for you to enable the OnTime application in Wiise.

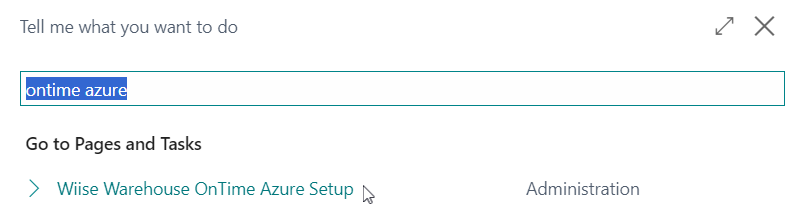
Note: Please reach out to the Wiise Support team via support@wiise.com if you do not have the Wiise Warehouse Ontime extension installed. - Next, search for Wiise Warehouse OnTime Azure Setup on the top right-hand corner of the page. Select the related link.

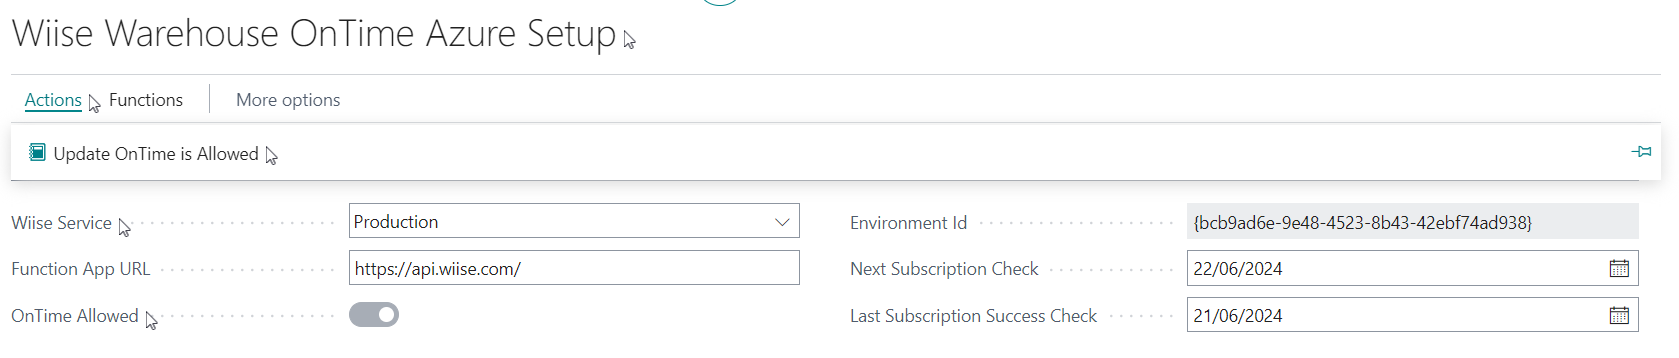
- The Wiise Warehouse OnTime Azure Setup page displays.

- Define the variables.
- Set Wiise Service as Production.
- Select Actions, then select Update OnTime is Allowed. This action enables the OnTime Allowed toggle.
- You’ve enabled Wiise Warehouse OnTime.

Set up users to access Wiise Warehouse OnTime
Wiise uses roles and permissions to make sure the right people have access to the right functionality.
Note: To use the Wiise Warehouse OnTime app, users must be set up as warehouse employees for each location they require access to.
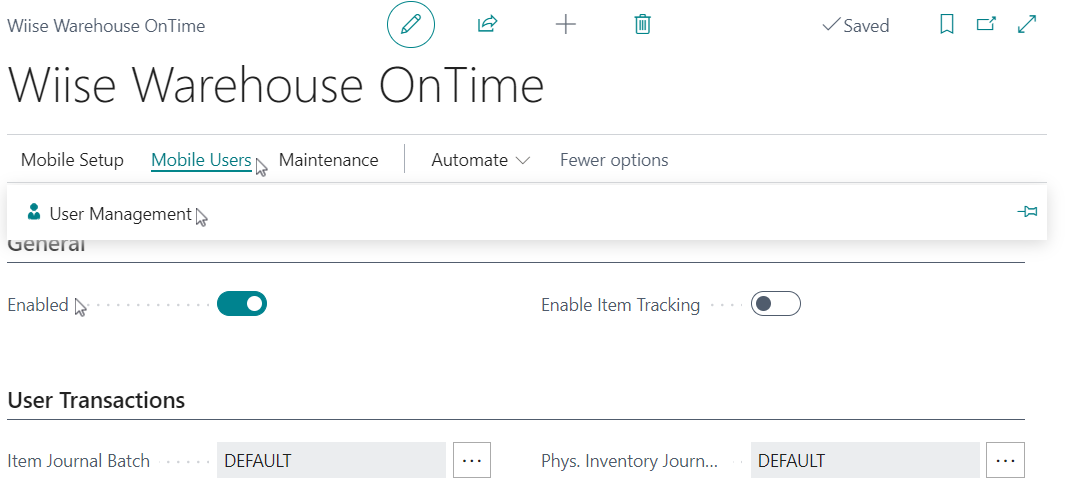
- Search Wiise Warehouse OnTime on the top right-hand corner of the page. Select the related link. The page displays.

- Toggle On the Enabled field in the General section.
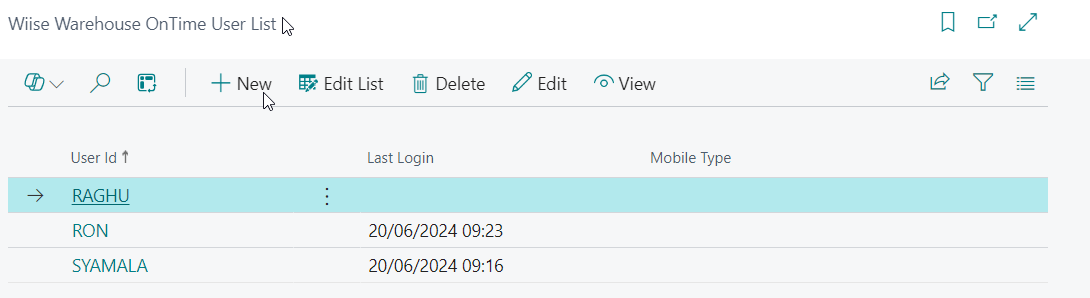
- Select Mobile Users. Then, select User Management. The Wiise Warehouse OnTime User List displays.

- Select +New to add users to the list. When you need to make any changes, you can Edit List or Edit the users.
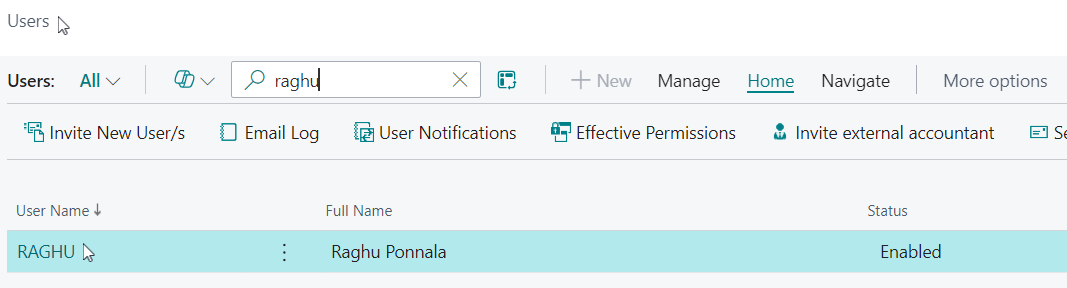
- Search for Users on the top right-hand corner of the page. Select the related link. The Users list displays. You’ll be updating the users OnTime permissions here.

- Select the User Name on the Users List to update the OnTime permissions. The User Card displays.
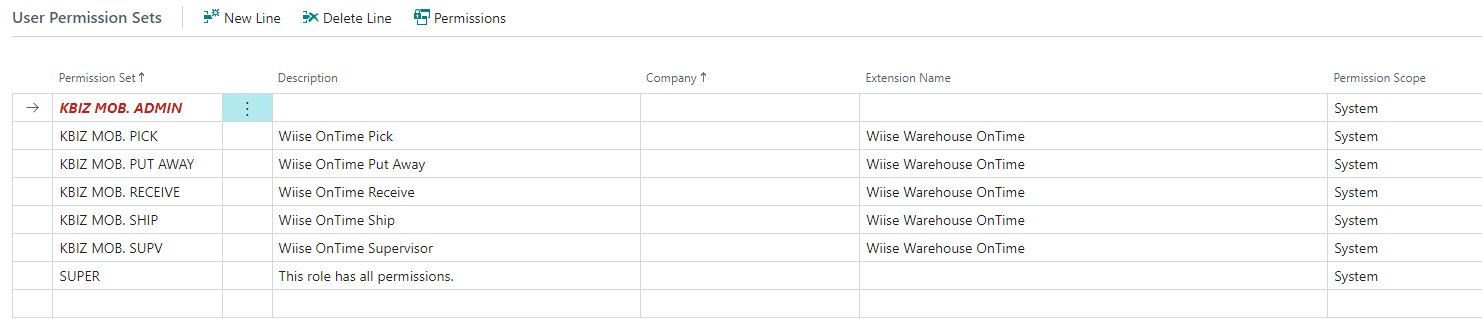
- Select New Line in the User Permission Sets section.

- Assign the appropriate permission set for the user to access the OnTime app. Learn how to interpret the permission set codes.
- These group permissions perform the following, from the top having the most permissions:

- You’ve set up users to access the Wiise Warehouse OnTime app in Wiise ERP Desktop.
Note: You can control what users have access to within the OnTime app through mobile permission sets.
Set up warehouse locations
Set up locations within your company to help keep track of inventory stored at different physical locations. Each location can be split into bins to help you easily locate where inventory is stored.
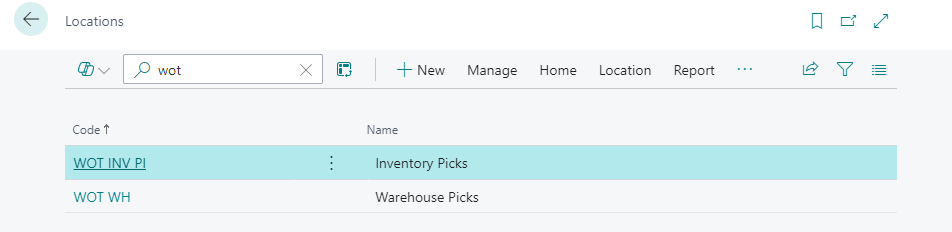
- Search for Locations on the top right-hand corner of the page. Select the related link. The Locations list displays.
- Select + New to create a new location or select Manage to update an existing location.

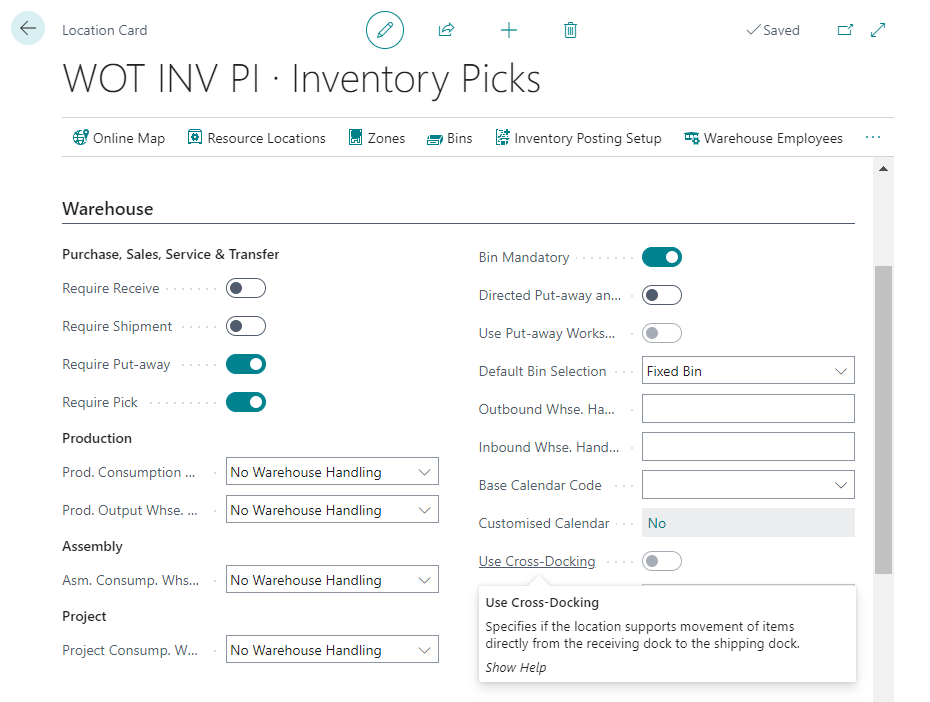
- In the Warehouse section on your selected Location Card, select to enable the toggle buttons for Require Put-Away, Require Pick, and Bin Mandatory.

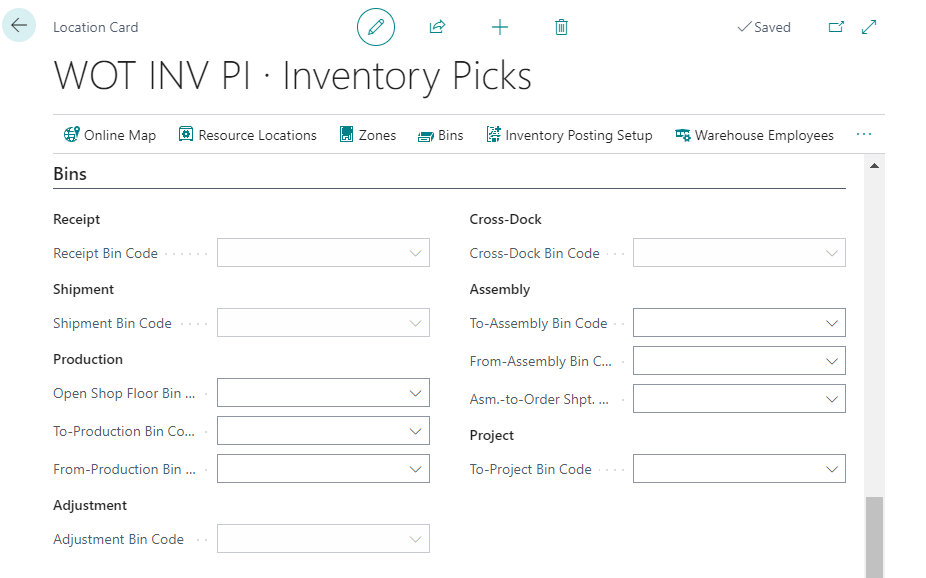
- In the Bins section, leave all fields blank.

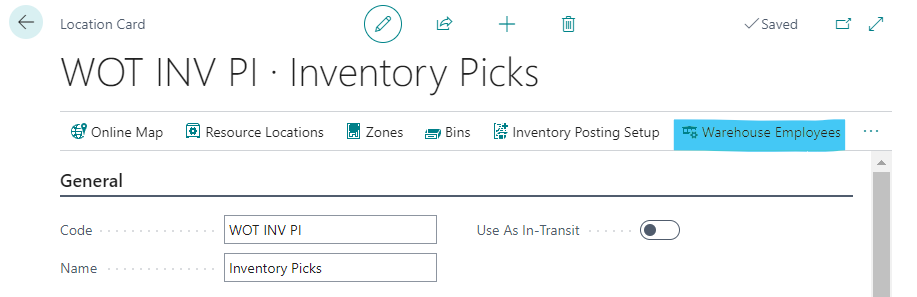
- Once the location is set up, select the Warehouse Employees action bar in the Location Card to allocate users to the location.


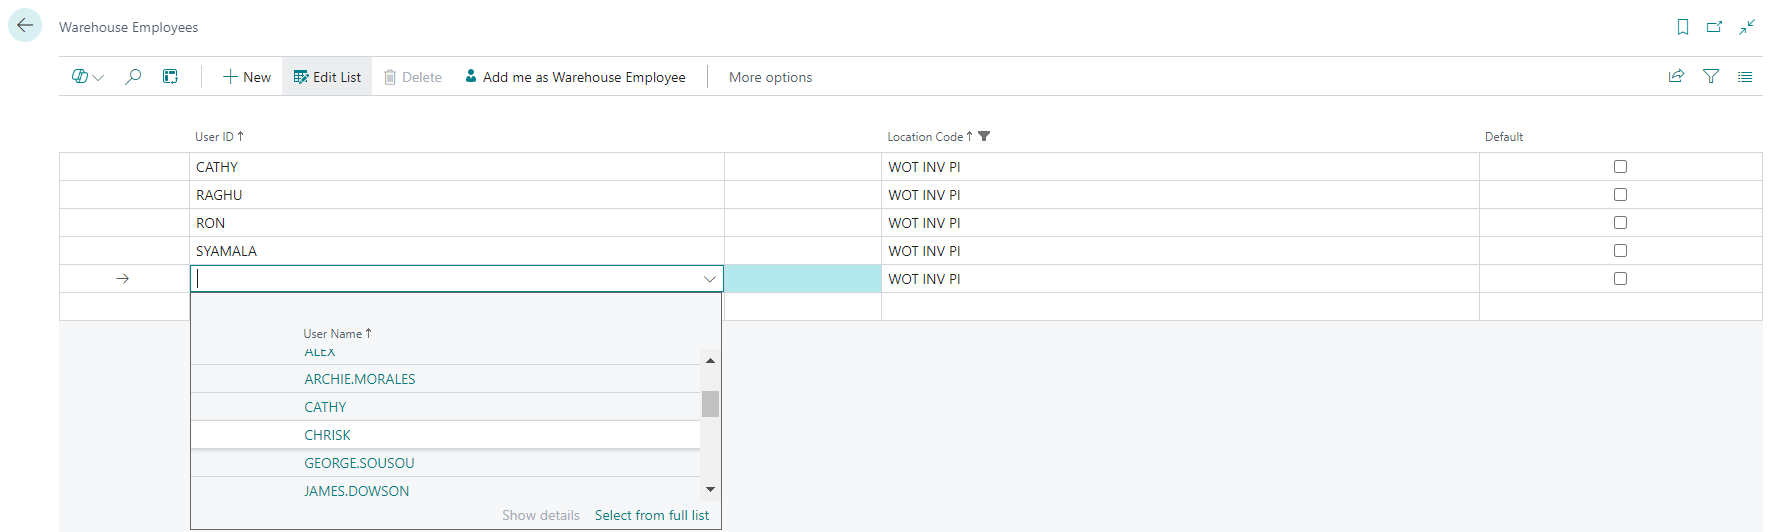
- On a new row in the Warehouse Employee page, select the User ID drop-down menu to select a user that you want to add as a warehouse employee. The user is assigned to the Location Code.
Note: You can set up multiple locations for the user ID in Warehouse Employees. - You’ve set up the warehouse location and assigned warehouse employees.
Note: When you’ve set up and enabled Wiise Warehouse OnTime on your Wiise ERP desktop, your users can download the Wiise Warehouse OnTime mobile app and login to start using the OnTime app at the warehouse.
What’s next?
Download the Wiise Warehouse OnTime mobile app, then sign in to the OnTime app from your mobile device to start your work at the warehouse. Once you’ve signed into the OnTime app, here’s how you’ll navigate the Wiise Warehouse OnTime mobile app.
Need more help?
No problem, that's what we're here for. Reach out to support@wiise.com anytime you can't find what you're looking for.