Overview:
- Install Wiise Dashboard App
- Connect your Data to Wiise
- Add users to your shared workspace and manage access
Why Set Up Wiise Dashboards in Power BI?
Setting up Wiise Dashboards in Power BI gives you real-time visibility into financial and operational data, so you can track performance against budgets and targets. It helps teams make faster, data-driven decisions by turning Wiise data into clear insights.
Before You Begin:
- Power BI licensing requirement: You must have either a Power BI Pro license or a Power BI Premium license to publish, share and collaborate reports on dashboards.
- No setup is required in Wiise beyond identifying the environment and company name.
- Ensure the Wiise Power BI Connector is installed in your environment.
- Power BI Pro:
- Each user who needs to create, share, or consume dashboards requires their own paid license.
- Suitable for smaller teams or organisations with limited reporting needs.
- Power BI Premium:
- Provides dedicated cloud capacity and enhanced performance.
- Creators still need a license to publish content.
- Viewers or readers do not need a license. They can access dashboards if they are invited to a Premium workspace.
- Best for organisations with many report consumers but fewer report creators.
Note: Trial period: First-time users are automatically enrolled in a 60-day free trial of Power BI Pro. The trial grants full Pro-level access. After expiry, you must purchase a Pro or Premium license to continue using advanced features.
How to Set Up Wiise Dashboards in Power BI?
Step 1: Install Wiise Dashboards
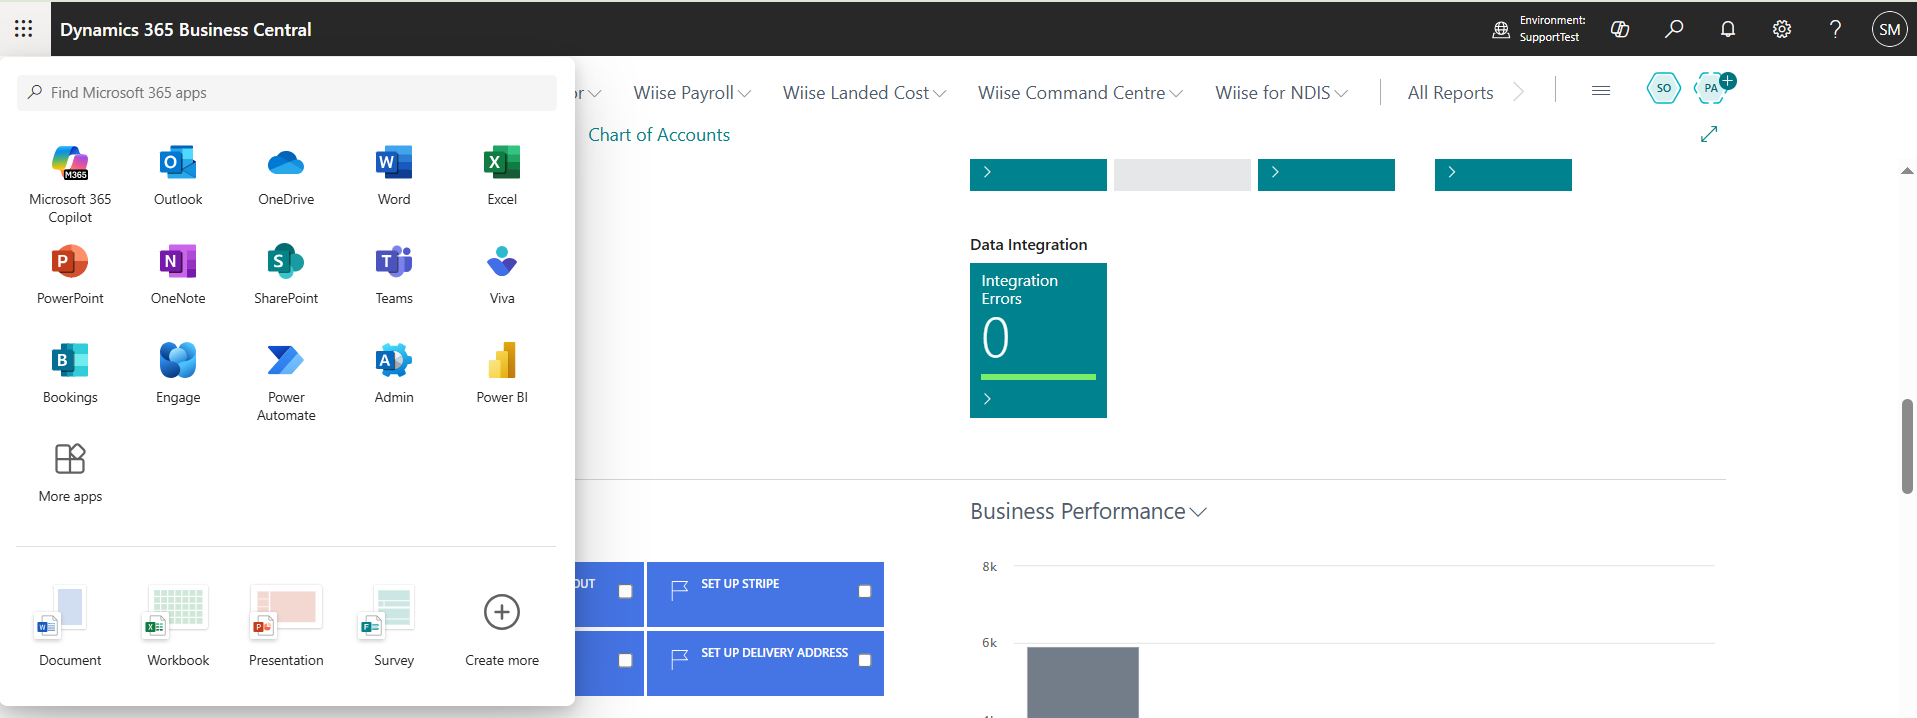
- You’ll need to access Power BI from Wiise. Select the 9 dots on the top left-hand corner of the page.

- Select the Power BI icon. You’ll be directed to your Power BI web dashboard. You can also go to www.app.powerbi.com in your browser and sign in with your organisation credentials.
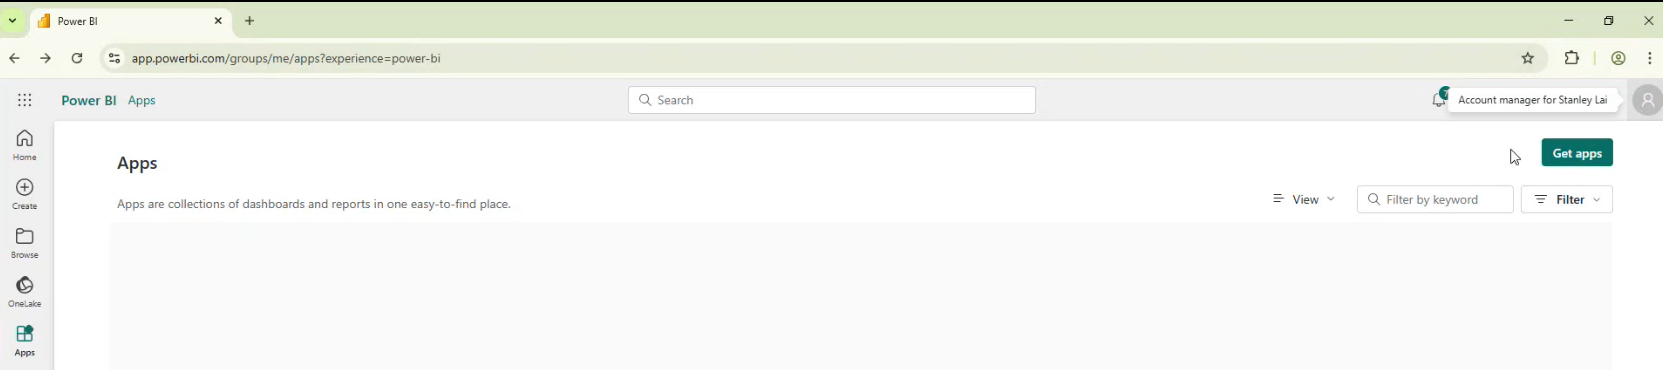
- Select the Apps menu on the left side corner of the dashboard.

- Then, select Get Apps on the top right-hand corner of the page.
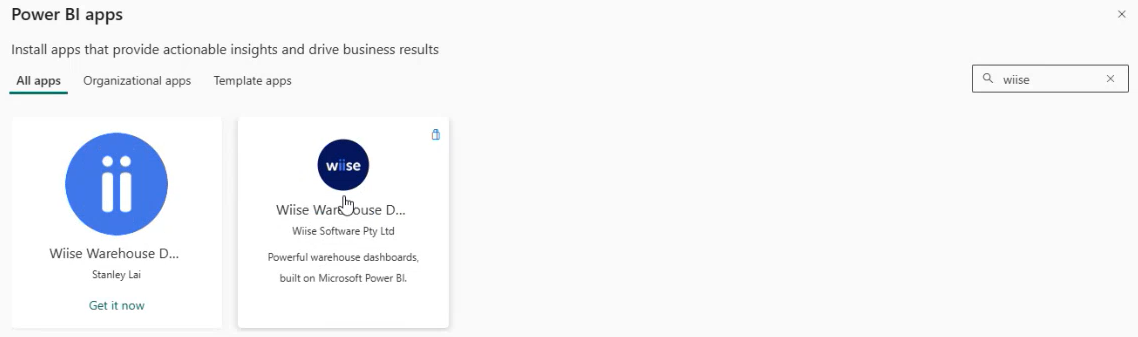
- Search for the relevant Wiise Dashboards.

- Select the Wiise Dashboard built by Wiise Software Pty Ltd.
- The app to download displays.

- Select Get It Now.
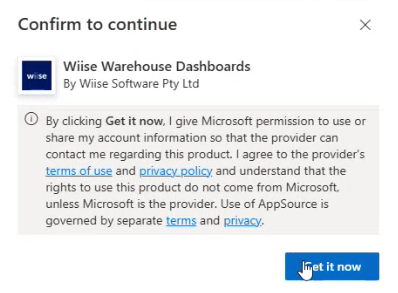
- Select Get It Now again to confirm to continue.

- This process downloads the app on to the dashboard.

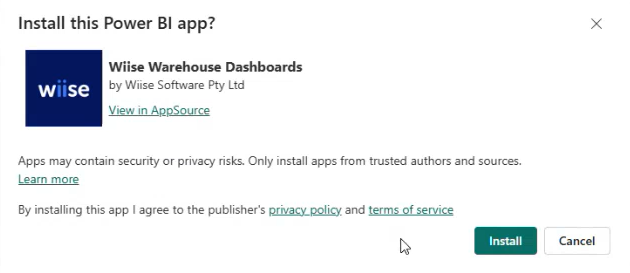
- Once the app is downloaded, a message displays to prompting you to install the Power BI app.

- Select Install to continue.
- You’ll receive a notification on the dashboard confirming that the app is installed.

- Select Go to app.
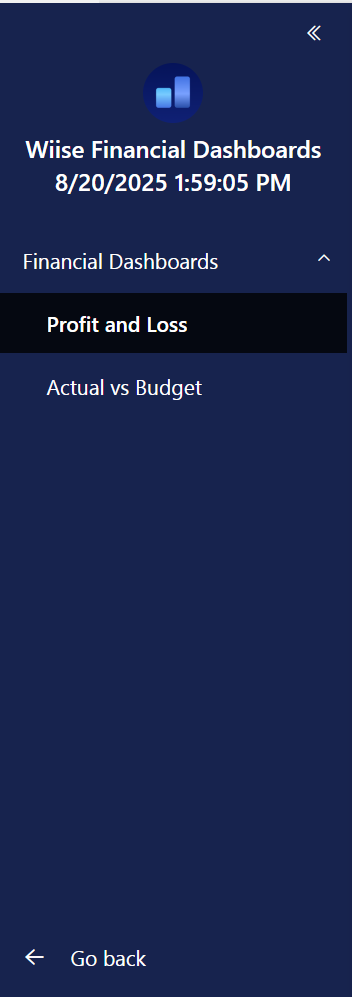
- The Wiise Dashboard displays with sample data.

Note: You’ll need to connect your data to a Wiise company to view these reports in real time. - You’ve installed Wiise Dashboard in Power BI.


Step 2: Connect your data to Business Central
- Select Connect your data notification shown on the top yellow panel on your Wiise Dashboard app.
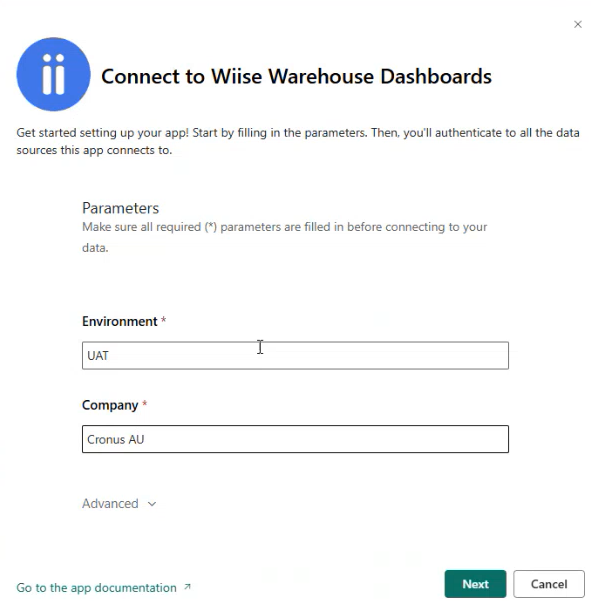
- The Connect to Wiise Dashboards set up page displays.

- Enter the Environment Name and the Company Name you wish to connect. Select Next to continue.
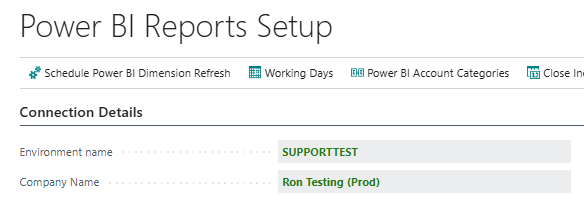
Note: You can find the Environment Name and Company Name on the Power BI Reports Setup page in Wiise. Copy the exact spelling and paste this into the Connect to Wiise Dashboards set up page to prevent errors.
- Then, select Next.
- Select Sign in and connect to your Wiise tenant using your Wiise login credentials.

Note: The yellow panel notification disappears from the Wiise Dashboard app when you’ve successfully connected your data in Power BI. - You’ve connected your data in Power BI.

Note: Repeat this process for other Wiise Dashboards in Power BI.

After you have installed and connected your Wiise Dashboard in Power BI, you can manage the access to share your workspace with your team members.
- Select the Go back arrow to get out of the Wiise Dashboard reports.

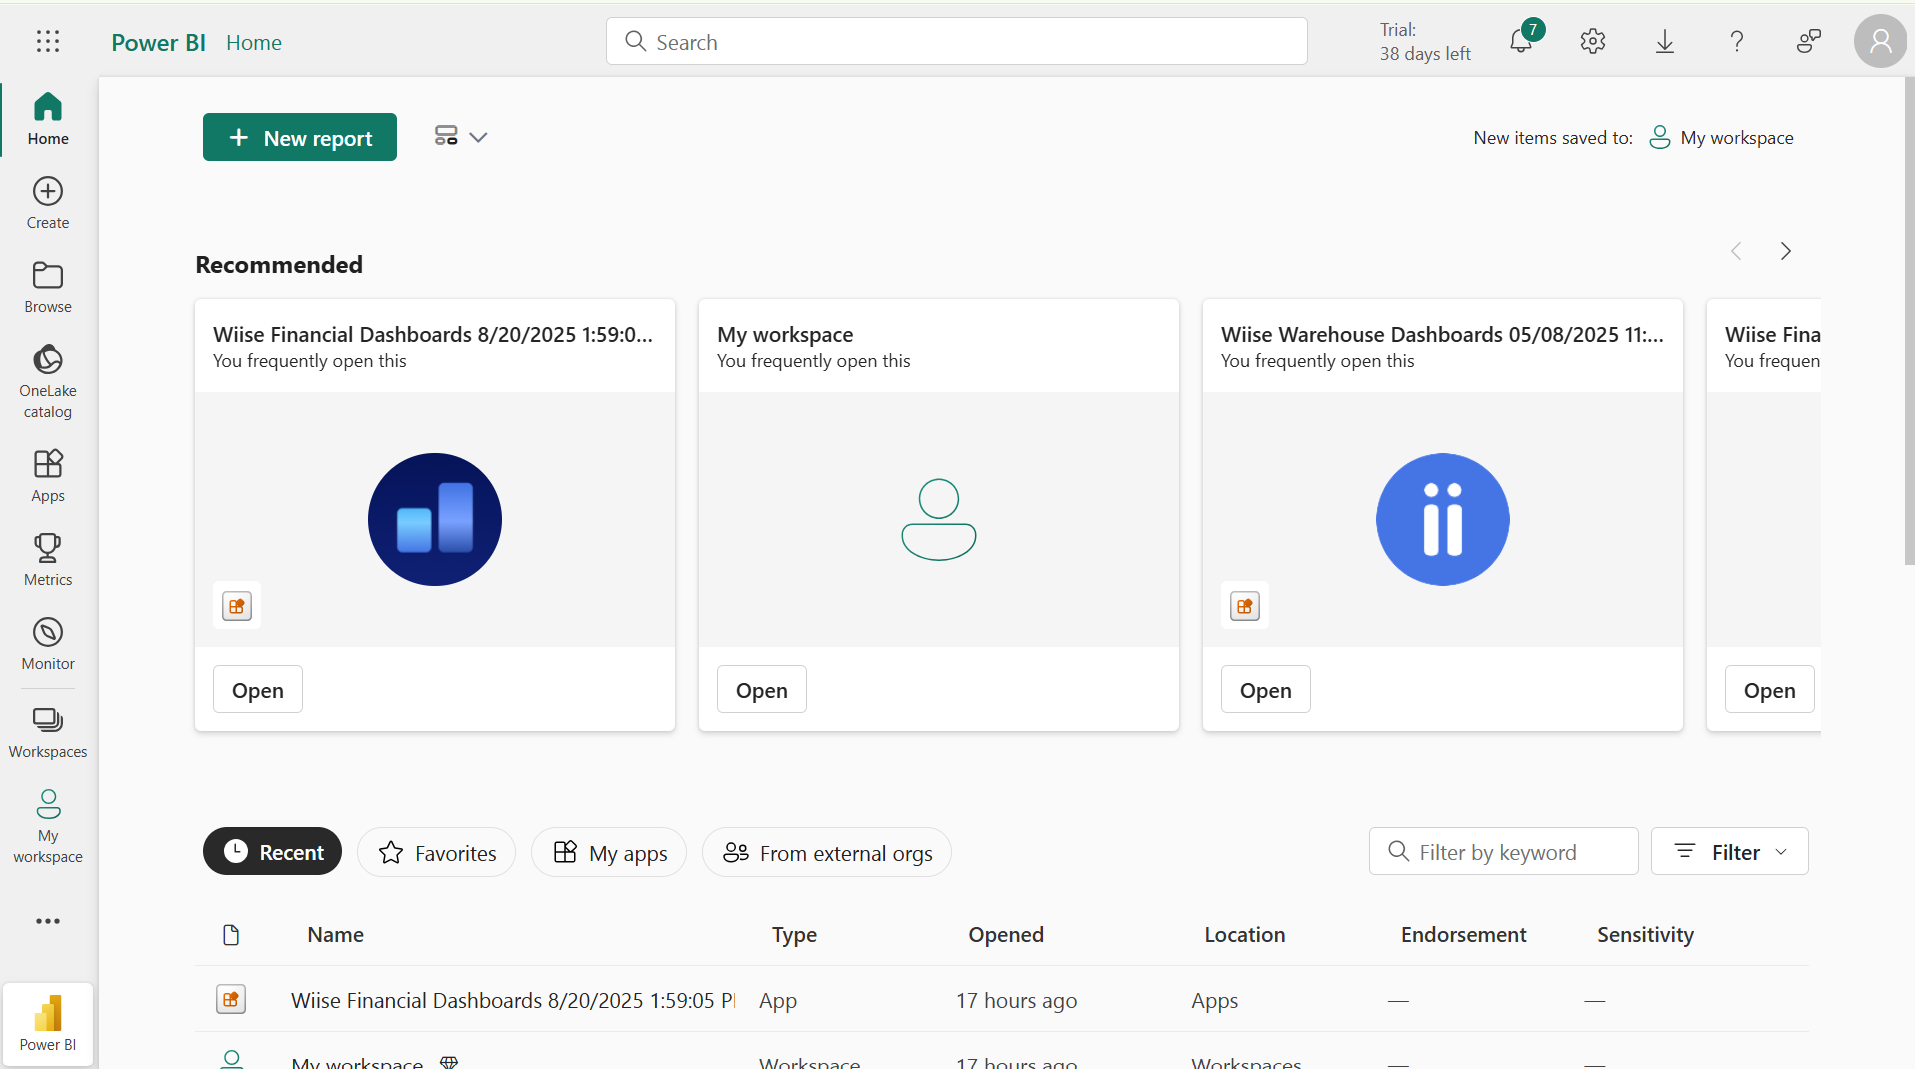
- You’ll be directed to your Power BI Home page.

- Select Workspaces on the left corner of menu page.
- Select the relevant Wiise Dashboard Workspace.
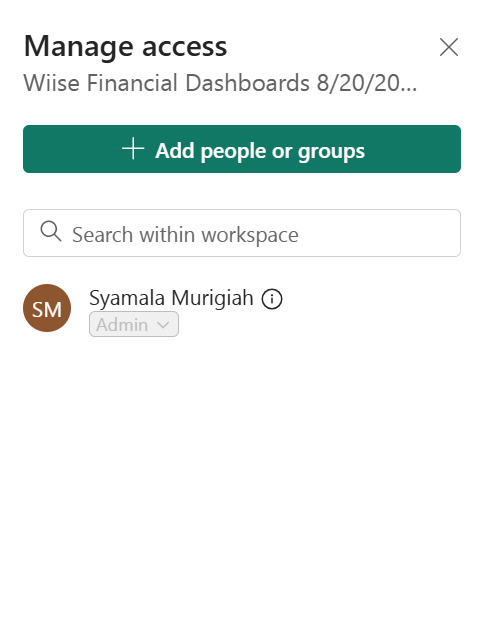
- Then, on the top right-hand corner of the page, select Manage access.

- The Manage access page displays.

- Select + Add people or groups.
- Search for the people or group by name or email.

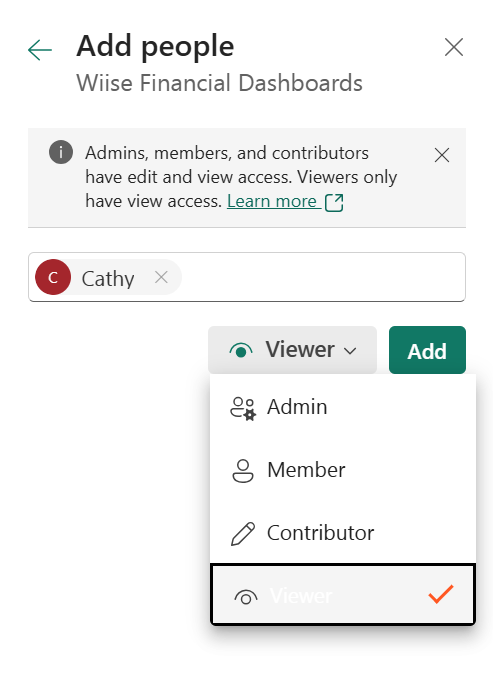
- Then, select the type of role to allocate. You can allocate the user or group as an Admin, Member, Contributor or Viewer.
- Admin: Has full access to everything in the workspace.
- Member: Can edit content such as reports, datasets and dashboard but a member cannot manage user access.
- Contributor: Can publish new content and modify datasets or reports but can’t delete or manage other users.
- Viewer: Read-only access. A viewer can only view and interact with the selected dashboards.
Note: To remove access, you can select Remove to revoke access for the selected user from the workspace.
- You’ve assigned users to your workspace and allowed users to access the Wiise Dashboard in Power BI.
Note: Repeat this process to add users to your shared workspace on the Wiise Dashboards in Power BI.
What’s next?
Find out how to refresh your data in Power BI.
Need more help?
No problem, that's what we're here for. Reach out to support@wiise.com anytime you can't find what you're looking for.