Overview:
- Learn to install Power BI apps for Wiise
Why Install Power BI apps for Wiise?
Installing Power BI apps for Wiise allow you to access some prebuilt reports that can help with business decision making.
Note: Instructions to install Power BI for Wiise are available in the Business Central 2024 release wave 2 (version 25.1)
Step 1: Pre-requisites
Here are the prerequisites you need before you can install Power BI apps for Wiise.
- Business Central Online: Ensure you have an online Business Central account. It’s ready to work with Power BI.
- Power BI Permissions:
- Ability to install apps from Microsoft AppSource.
- Access to shared workspaces in Power BI.
- Power BI Licenses:
- Power BI PRO License:
- Installing the apps.
- Refreshing your data.
- Viewing the reports.
Note: You can use Power BI or Microsoft Fabric Premium for more advanced features.
- Power BI PRO License:
Tip: If you’re not sure about licenses, check out Get started with Power BI reports in Business Central.
Note: Power BI apps are available for different parts of your business, such as:
- Finance
- Sales
- Purchasing
- Inventory
- Inventory Valuation
- Projects
- Manufacturing
Note: Each Power BI app has two main parts:
- Connector App: This comes pre-installed with Business Central and helps link your data.
- Power BI Template App: This contains the actual reports and dashboards you’ll use.
How to Install Power BI apps for Wiise?
- Find Your App:
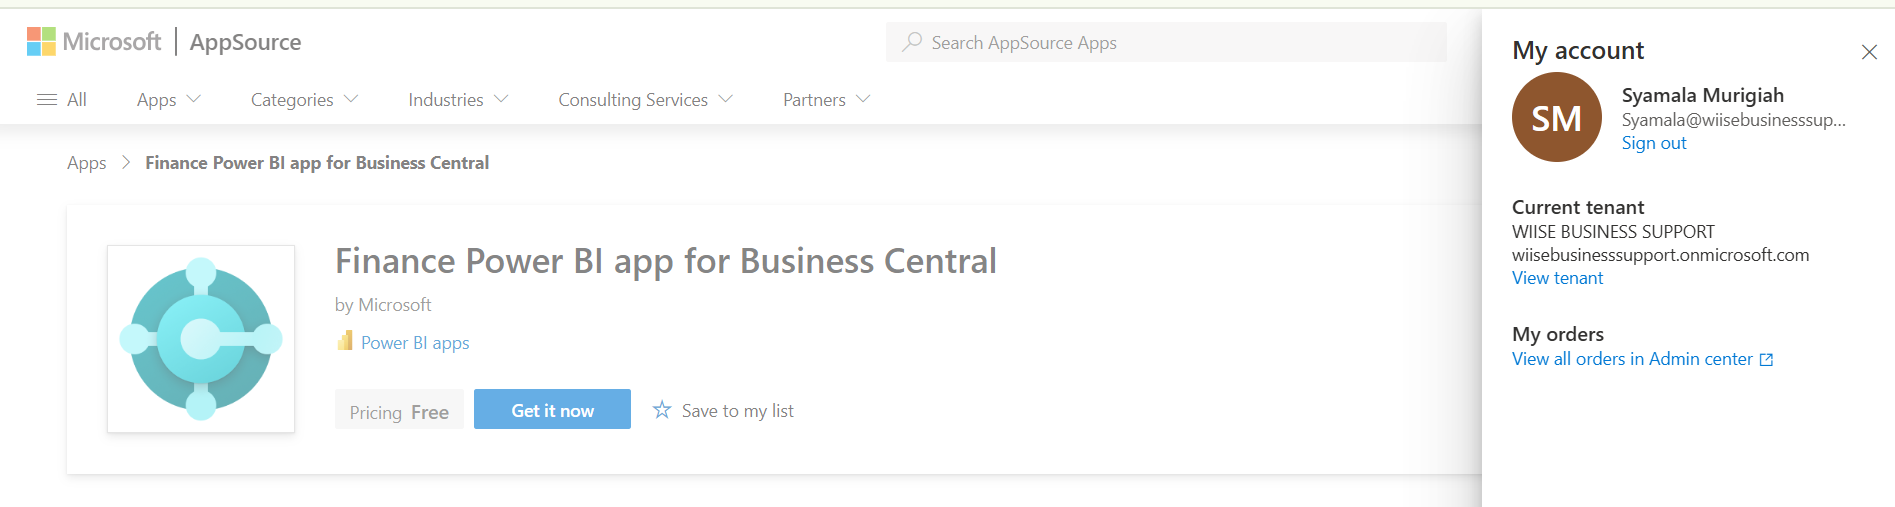
- Go to Microsoft AppSource or use the specific install links below to install a Power BI template app:
|
Business Area |
Install Link |
|
Finance |
|
|
Sales |
|
|
Purchasing |
|
|
Inventory |
|
|
Inventory Valuation |
|
|
Manufacturing |
|
|
Projects |
|
|
Wiise Warehouse Dashboards |
|
|
Wiise Financial Dashboards |
|
|
Wiise DIFOT and Transport Dashboards |
- Sign in to the Microsoft AppSource with your Power BI account.
- Select Get it now. Follow the on-screen instructions to complete the installation.

- The action takes you to the Power BI website.
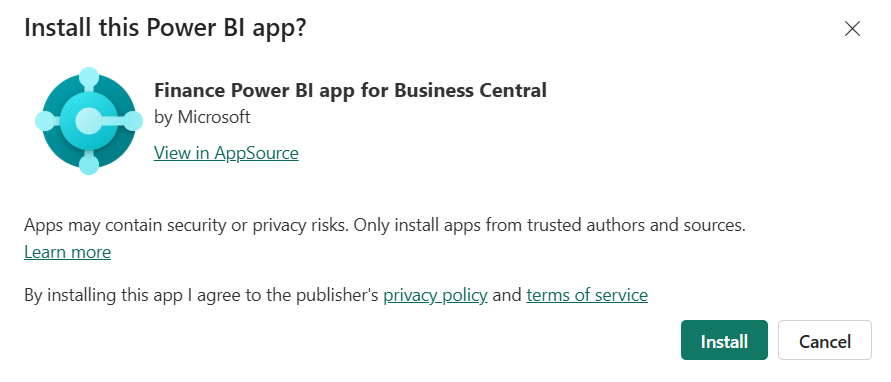
- A prompt display to confirm if you want to install the Power BI app? Select Install.

- The Power BI app starts installing the app.

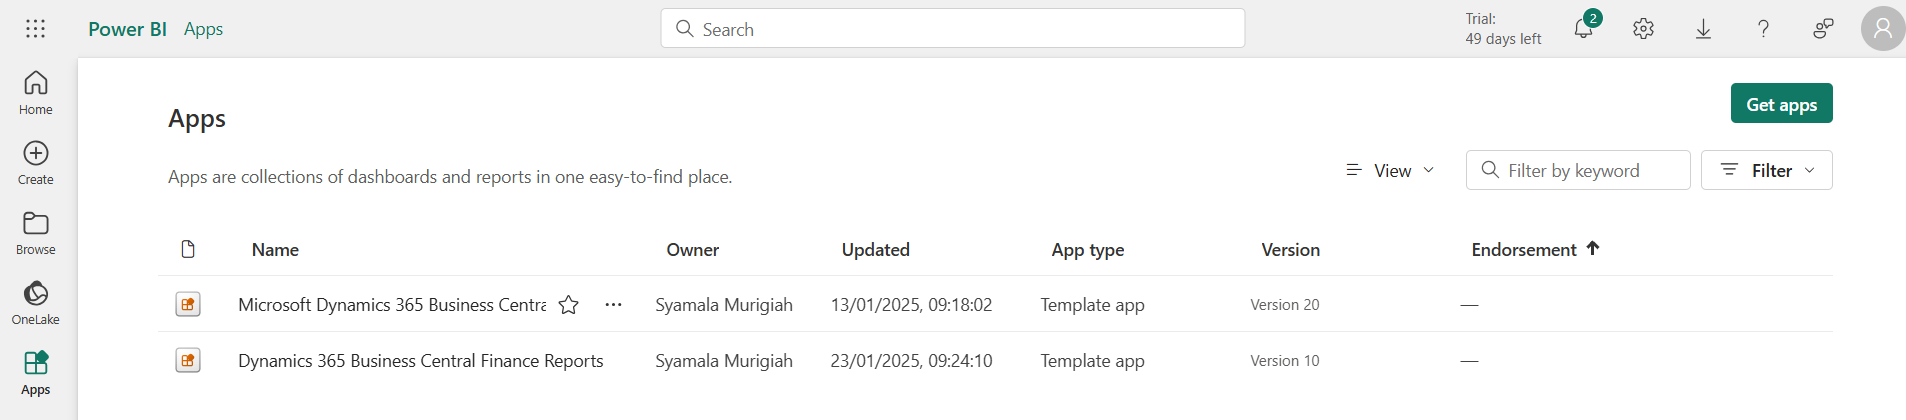
- Once installed, the app appears under Apps in Power BI.

Note: Create a workspace for each app to keep things organised, especially if you have multiple companies in Business Central.
Note: Each company in Business Central needs its own Power BI app setup. - Configure your Power BI apps to match your business needs. Here’s how:
- Use the Assisted Setup Guide:
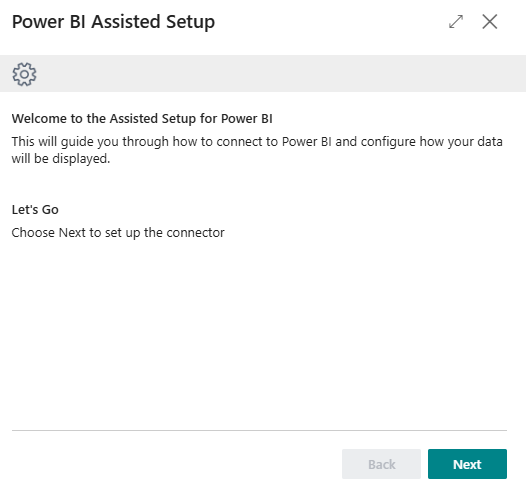
- Run the Connect to Power BI assisted setup guide in Wiise. This guide will help you set up important settings step-by-step.

- The Power BI Assisted Setup process displays.

- Select Next to set up the connector.
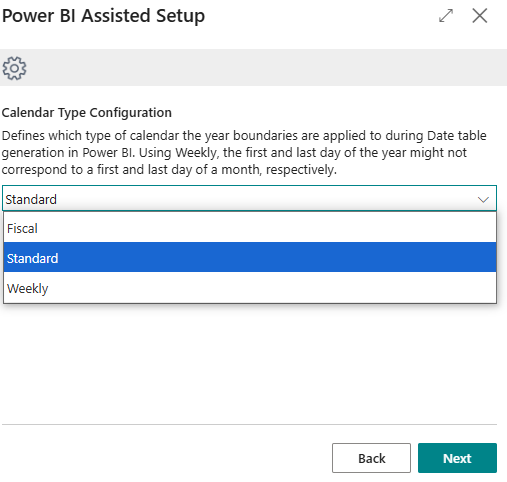
- Define the Calendar Type Configuration. You can select between Standard, Fiscal or Weekly.

- Select Next.
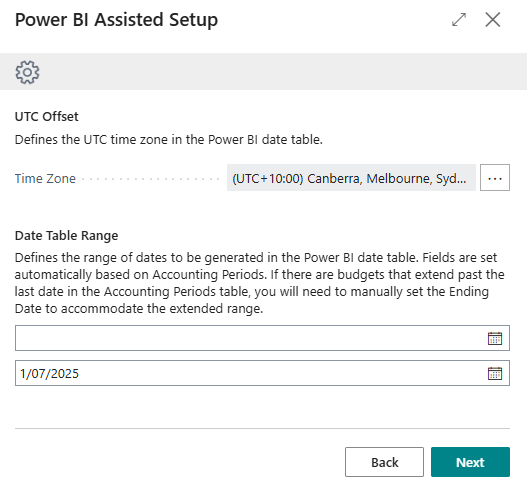
- Select a UTC Offset timezone to match your data location and Date Table Range based on your accounting periods.

- Select Next to continue the process.
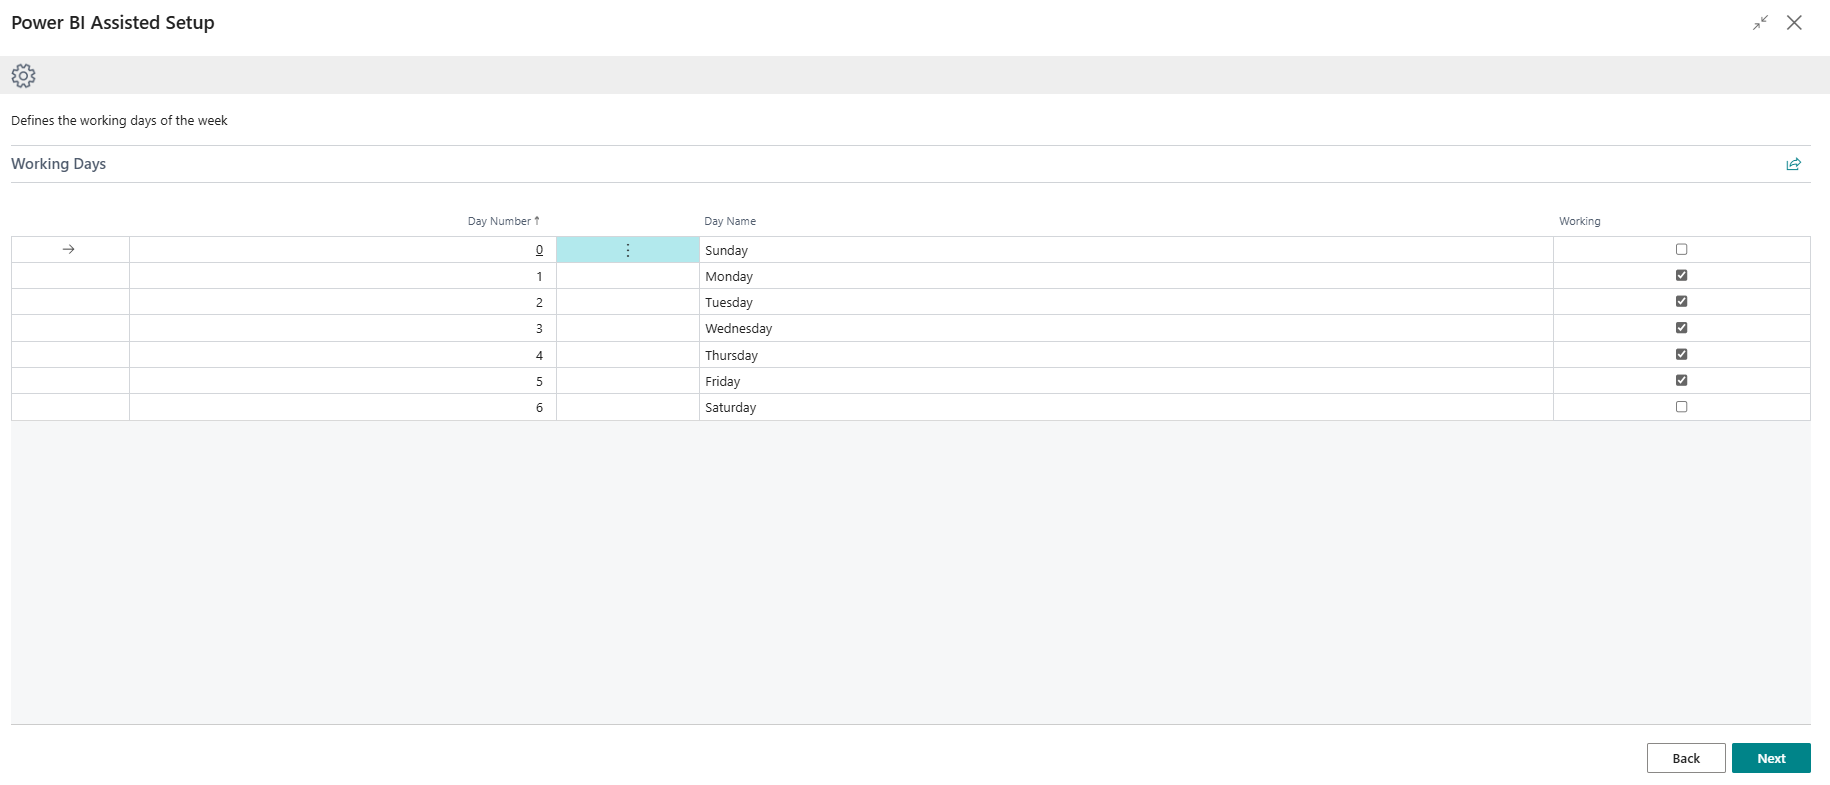
- Define the Working Days of the week.

Note: Mondays to Fridays are set as defaults. - Select Next.
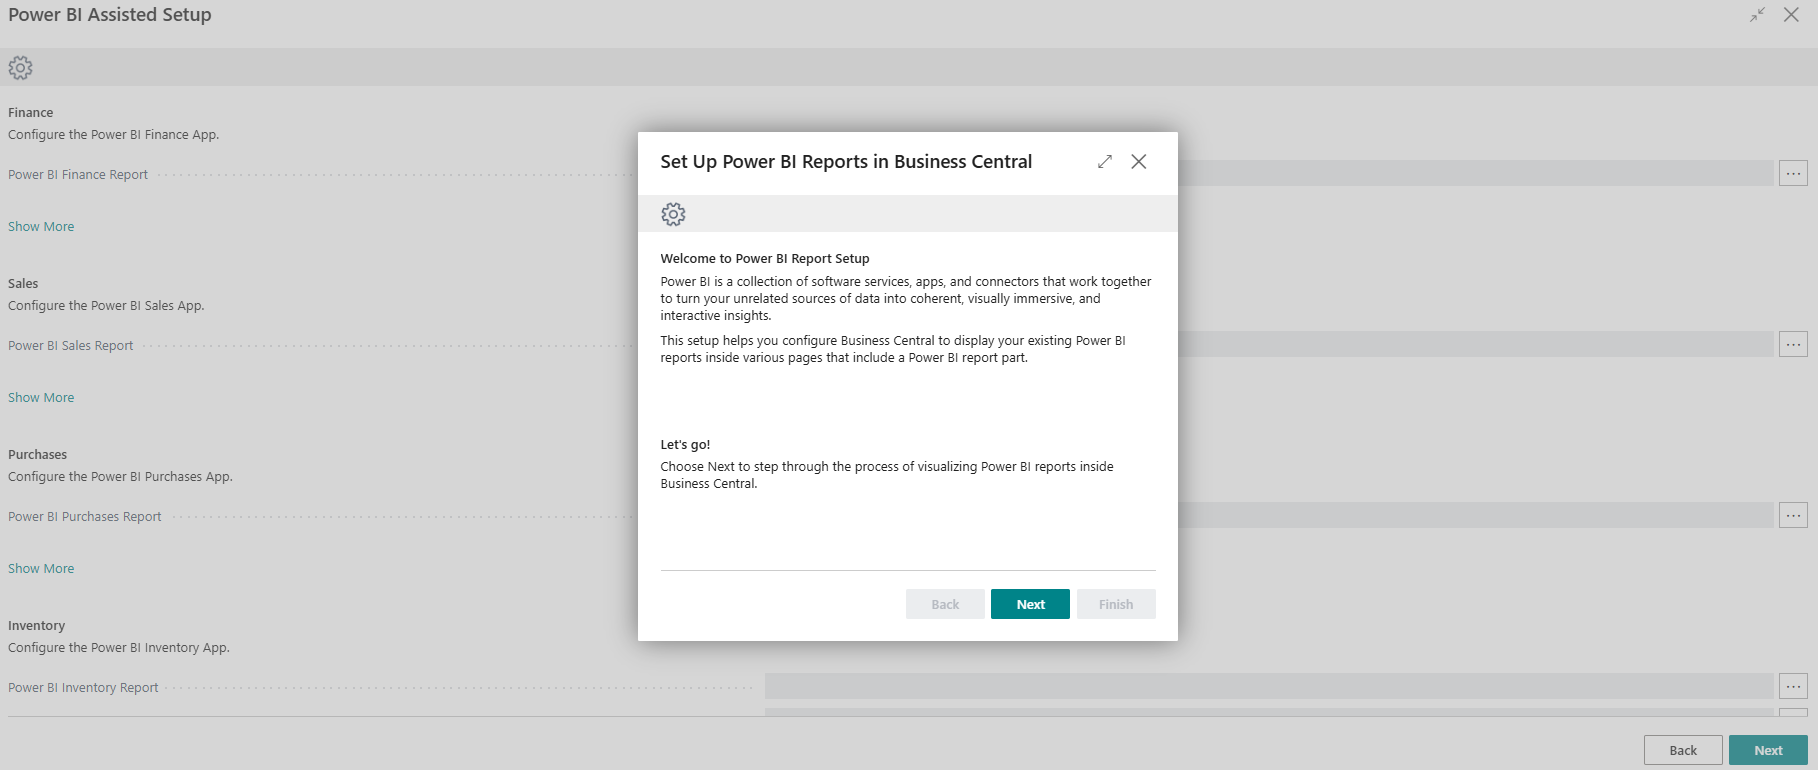
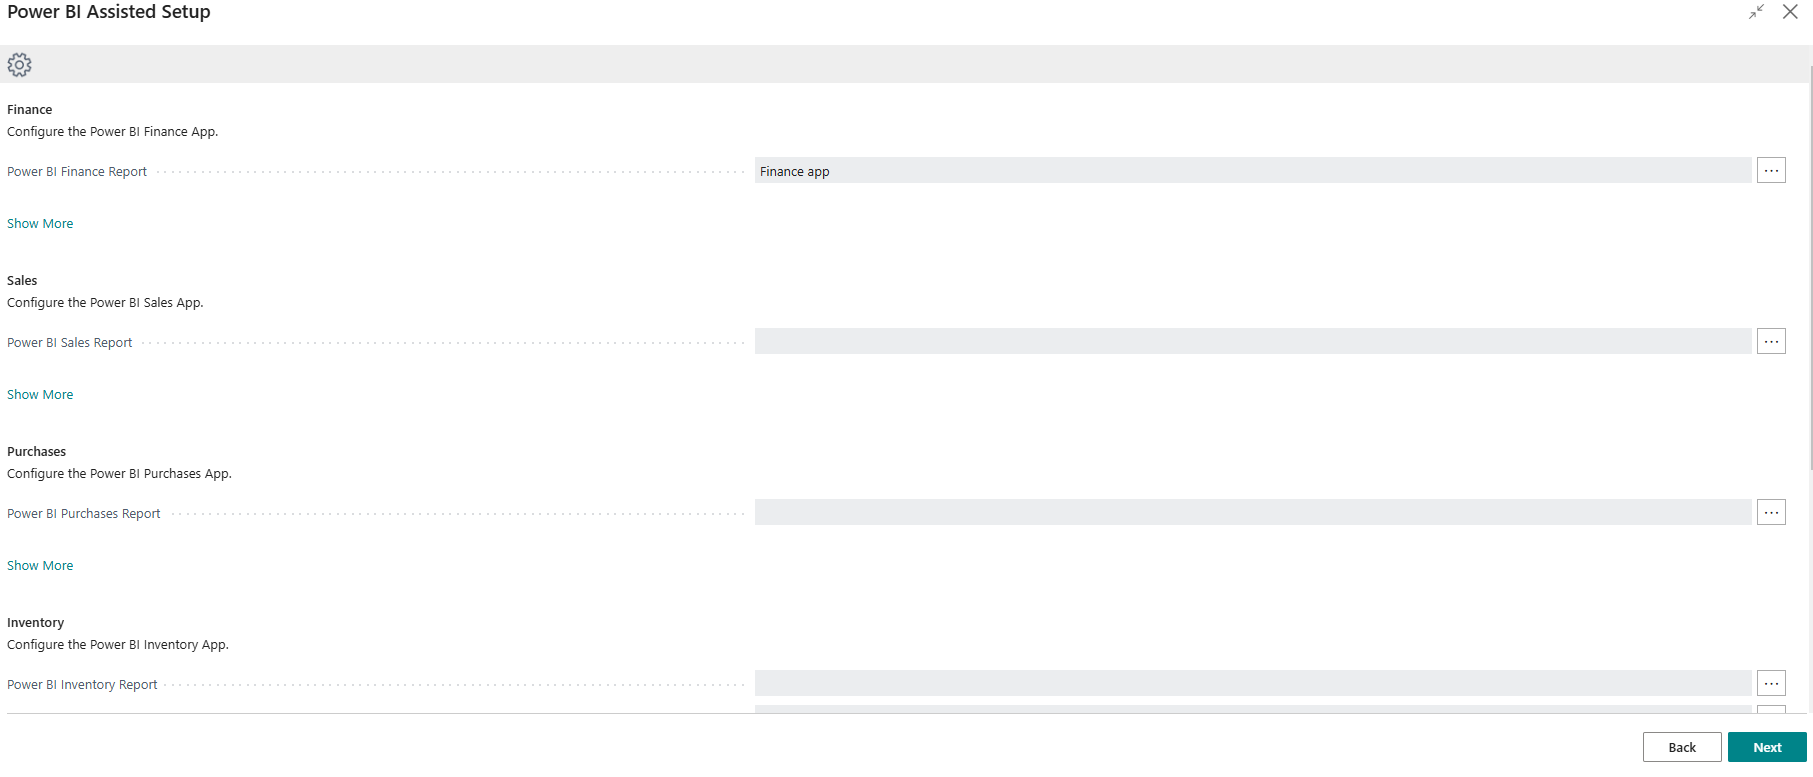
- Link your Power BI reports to Wiise. Select the 3 horizontal dots and make your selection. The Set up Power BI reports in Business Central process page displays. Follow the set of instructions.

- Select Next.
- Check your Power BI license.
Note: If you don’t have one yet, select the following link: Go to Power BI home page. - Select Next to continue the process.
- You’re set up for Power BI reports in Business Central. Select Finish to close the setup.
- The Select Power BI Workspace page displays.

- Select the appropriate workspace for the Wiise company. Then, select OK.
Note: The Power BI Finance Report – Finance app workspace has been selected. Repeat the process for the other Power BI apps.
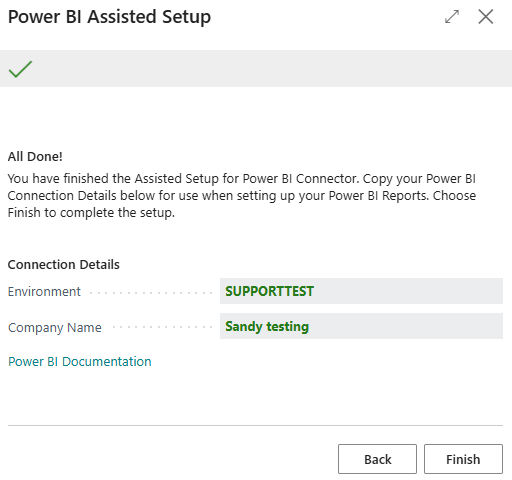
- You’ve finished the Assisted Setup for the Power BI Connector. Please confirm and if required update the Connection Details.
- Identify the Environment Name: Your Business Central environment and;
- Company Name: Your specific company (case-sensitive).
- Select Finish to close the process.

Note: Connection Details are recorded.
- Run the Connect to Power BI assisted setup guide in Wiise. This guide will help you set up important settings step-by-step.
- Manual Setup (Optional): If you prefer, you can manually configure settings on the Power BI Connector Setup page in Wiise.
- Use the Assisted Setup Guide:


Note: Key Settings to Configure in Power BI Assisted Setup:
- Calendar Type: Choose how your business year is set up.
- Fiscal: Starts in any month and runs for 12 months. This is the default.
- Standard: January 1 to December 31.
- Weekly: Groups weeks into patterns like 445, 454, or 544.
- UTC Offset: Set the time zone to ensure your data matches your location.
- Date Table Range: Automatically set based on your accounting periods. Adjust if your budgets go beyond these dates.
- Working Days: Define which days are workdays (default is Monday to Friday).
- Report Mapping: Link your Power BI reports to Business Central.
- Select the appropriate workspace.
- Choose the report you want to display.
Note: Update your data whenever you need fresh information or set up automatic updates at regular intervals. Find out how to refresh Power BI data.
Note: Ensure the right people can view and manage your reports. The user refreshing data and viewing reports needs Read permissions for relevant tables. Add multiple admins to each workspace for better management.
Note: You can control access by adjusting permission sets for each Power BI app and restrict who sees certain pages or reports.
Note: Keep your apps up to date to benefit from the latest features. Stay notified by looking out for update banners in Power BI. You may need to keep everything current but might overwrite custom changes, refresh data without changing the app structure and install a new workspace that will not affect the existing setup.
Tip: For more details, visit Install, share, and update template apps in your organisation.
Tip:
- Power BI PRO License is Essential: You need it to install and manage Power BI apps.
- One Workspace per App: Simplifies management and security.
- Multiple Companies: Install separate Power BI apps for each company in Business Central.
What’s next?
Find out how to add data to your Power BI library and highlight ways in which you can get this information from Wiise or Power BI.
If you have any questions, please reach out to support@wiise.com
-