Overview:
- Create Dimensions
- Set up Dimensions in General Ledger Setup
- Assign default Dimensions to G/L account
Why Set Up Dimensions for your G/L account?
Dimensions let you group and tag transactions by categories, making it easy to build smarter reports and perform analysis. They help simplify your Chart of Accounts by enabling flexible reporting without the need to create extra G/L accounts.
Before you Begin
You’ll need:
- Access to your Chart of Accounts
- Permission to edit General Ledger Setup
- An understanding of which dimensions should be Global and which should be Shortcut.
How to Set Up Dimensions for your G/L account?
1. Create Dimensions
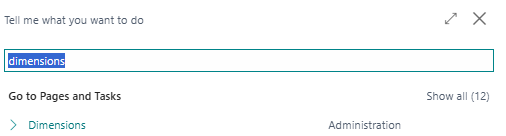
- Search for Dimensions on the top right-hand corner of the page. Select the relevant link.

- The page displays.

Note: You can view and manage all your existing dimensions on the Dimensions page. - Select + New.
- Fill in the following fields:
- Code: A short identifier for the dimension
- Name: The display name
- Description: This field is optional.
Note: Code and Filter captions are useful when you want your dimensions to display with clear labels in filters and dashboards.
- On the select dimension row, select Dimension. Then, select Dimension Values.

- The Dimension Values page display.
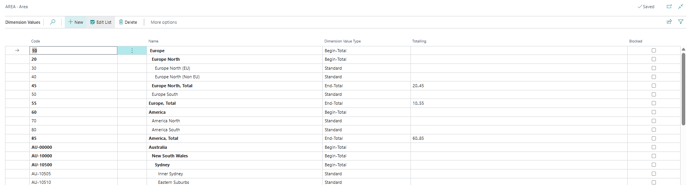
Note: Dimensions define what you want to track. Dimension values define the options available. - Select +New.
- Fill in the fields to add specific values.
- Code: Provide a unique code for each value
- Name: Provide a description of the value
- Dimension Value Type:
- Standard: Use for regular values.
- Begin-Total / End-Total: Use to create hierarchies for reporting.
- Totalling: This value is optional. Use to group values for summarised reporting.
- Repeat for all required dimension values.
- You’ve created dimensions.


Tip: Use Begin-Total and End-Total to create parent child values. This structure helps when you’re reporting by regions or business units using Wiise Dashboards.
Tip: You can indent dimension values between a matching Begin-Total and End-Total. The Totalling field for the End-Total updates automatically.
2. Set up Dimensions in General Ledger Setup
- Search for General Ledger Setup on the top right-hand corner of the page. Then, select the relevant link and the page displays.

- Navigate to the Dimensions section.
- Assign your most used dimensions as the Global Dimension 1 Code and Global Dimension 2 Code.
- Assign additional frequently used dimensions to Shortcut Dimension 3 to 8 Code as required.
- You’ve set up dimensions in the General Ledger Setup.
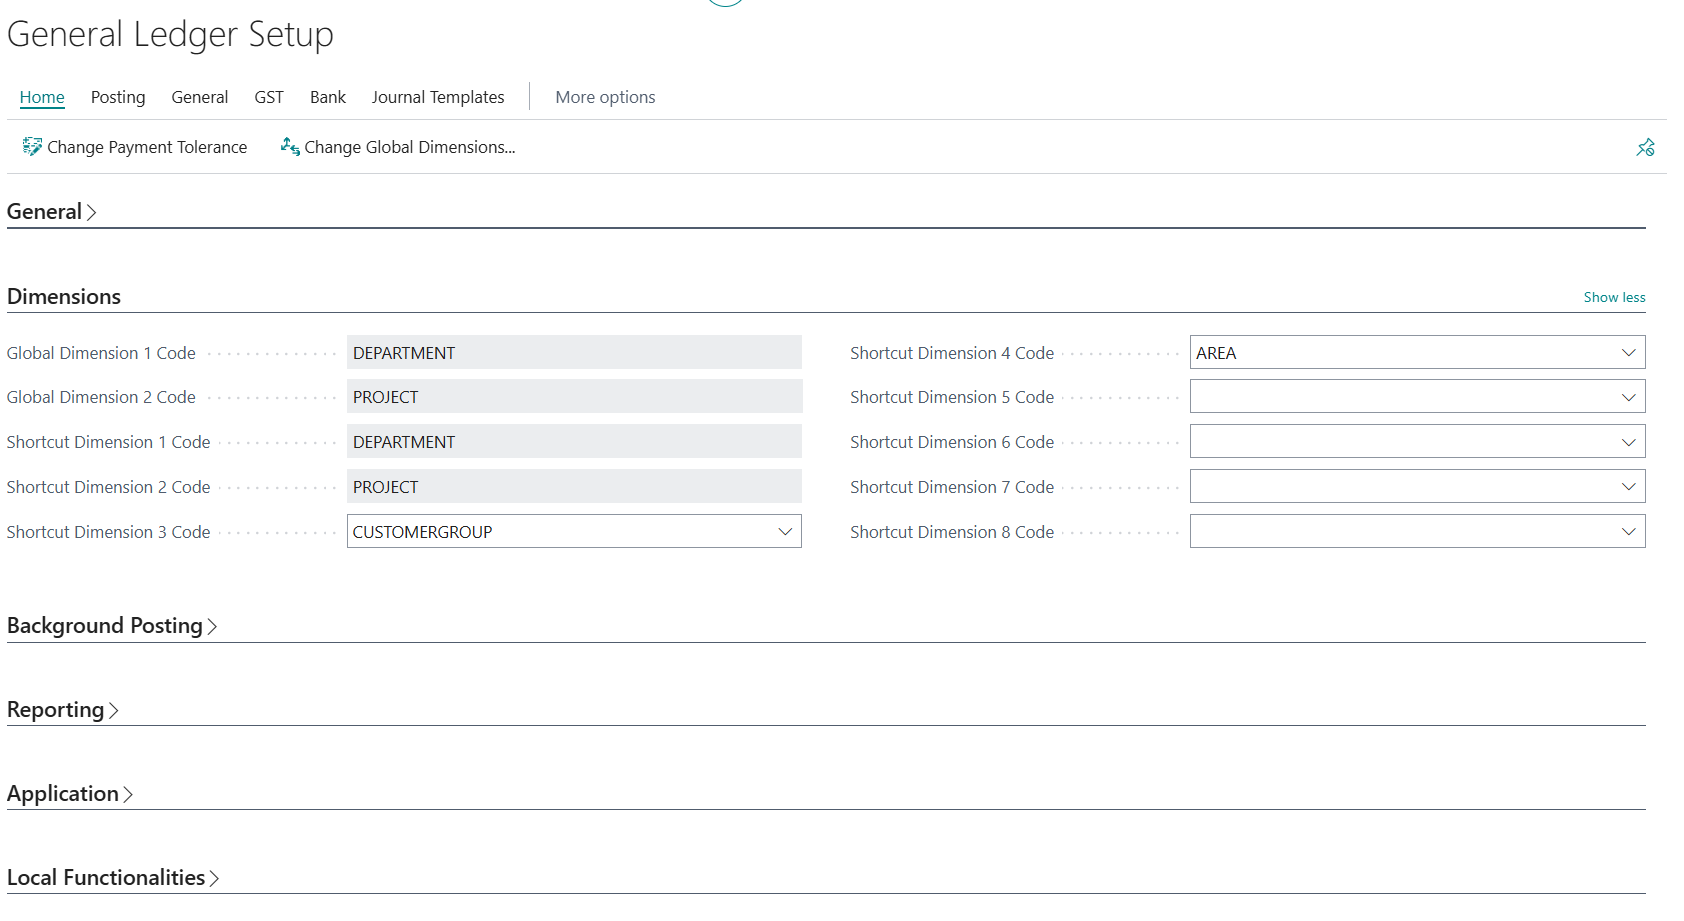
Note: You can use Global Dimensions on most transactions' pages and reports. Selecting the dimensions wisely improves your filtering and reporting.
Note: When it comes to shortcut dimensions, six is the maximum you can have but you’re not required to set up all six right away.
3. Assign Default Dimensions to G/L Accounts
- Search for Chart of Accounts on the top right-hand corner of the page. Select the relevant link and the page displays.
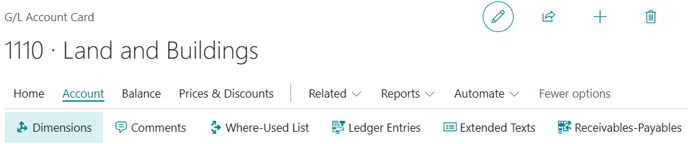
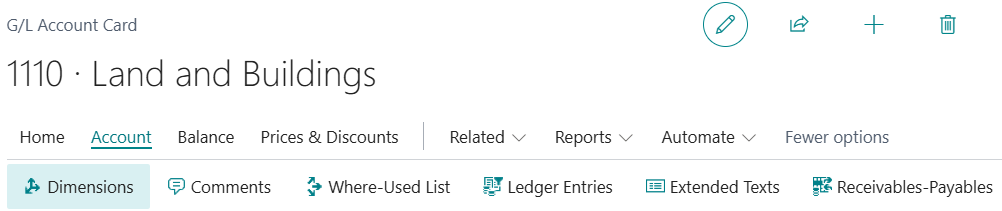
Note: You can select Chart of Accounts directly from your Wiise landing page when you bookmark the page. - Select the G/L account row. Then, select View. The G/L Account Card displays.
- Select Account. Then, select Dimensions.
- The Default Dimensions page displays.
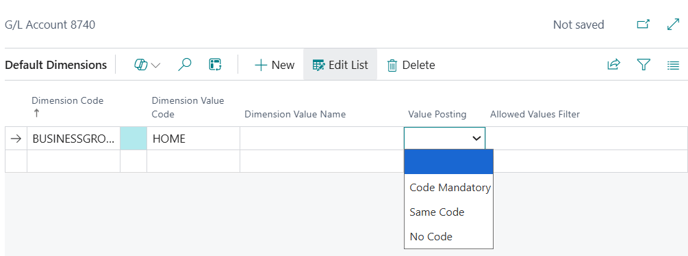
- Add the required dimensions and set the Value Posting rule.
- Code Mandatory: Requires the user to enter a dimension
- Same Code: Enforces a specific dimension value
- No Code: Blocks users from entering or posting any dimensions values to the account.
- Blank: The dimension isn’t required but can be entered if needed.
- Select the back arrow to save.
- You’ve assigned default dimensions to G/L accounts.

What’s next?
Find out how to set up Dimension Combinations to control which dimensions can or can’t be used together when posting transactions.
Need more help?
No problem, that's what we're here for. Reach out to support@wiise.com anytime you can't find what you're looking for.