Overview:
- Learn how to set up a purchase order on location with warehouse receipt and put-away enabled
Why set up a Purchase Order on location with warehouse receipt and put-away enabled?
Setting up a Purchase Order with a location and warehouse receipt and put-away enabled streamlines the receiving process by directing goods to specific locations for accurate tracking and organised storage. It ensures inventory is updated correctly and supports efficient warehouse management.
Note: Locations in Wiise represent warehouses or storage areas dedicated to storing goods for your operations. They help track inventory efficiently in both simple and complex warehouse setups.
How to set up a Purchase Order on location with warehouse receipt and put-away enabled?
- To set up a purchase order, complete steps 1 to 9 in Set up a Purchase Order. Then, follow the steps below to enable the warehouse receipt option.
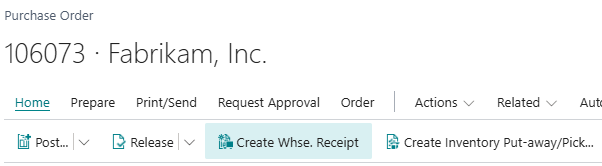
Note: You can process a purchase order with multiple locations by updating the Lines section. Enter the quantity and assign a Location Code for each line. If items are sent to different locations, ensure each line has the correct location code. Check the Shipping and Payment section to confirm the shipping method and agent match the multiple locations setup. - Select Home. Then, select Create Whse. Receipt.

Note: In advanced warehouse setups, the receipt and put-away processes are managed using warehouse documents, enabling accurate and organised inventory management. - A message box displays to confirm that the warehouse receipt header has been created. Select OK.

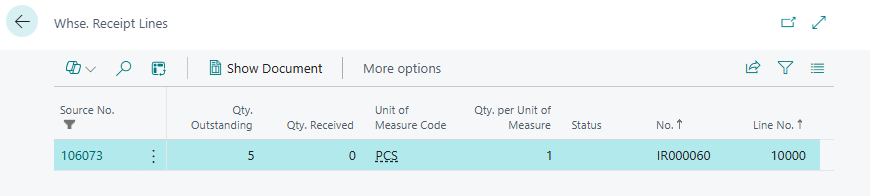
- The Whse. Receipt Lines list displays.

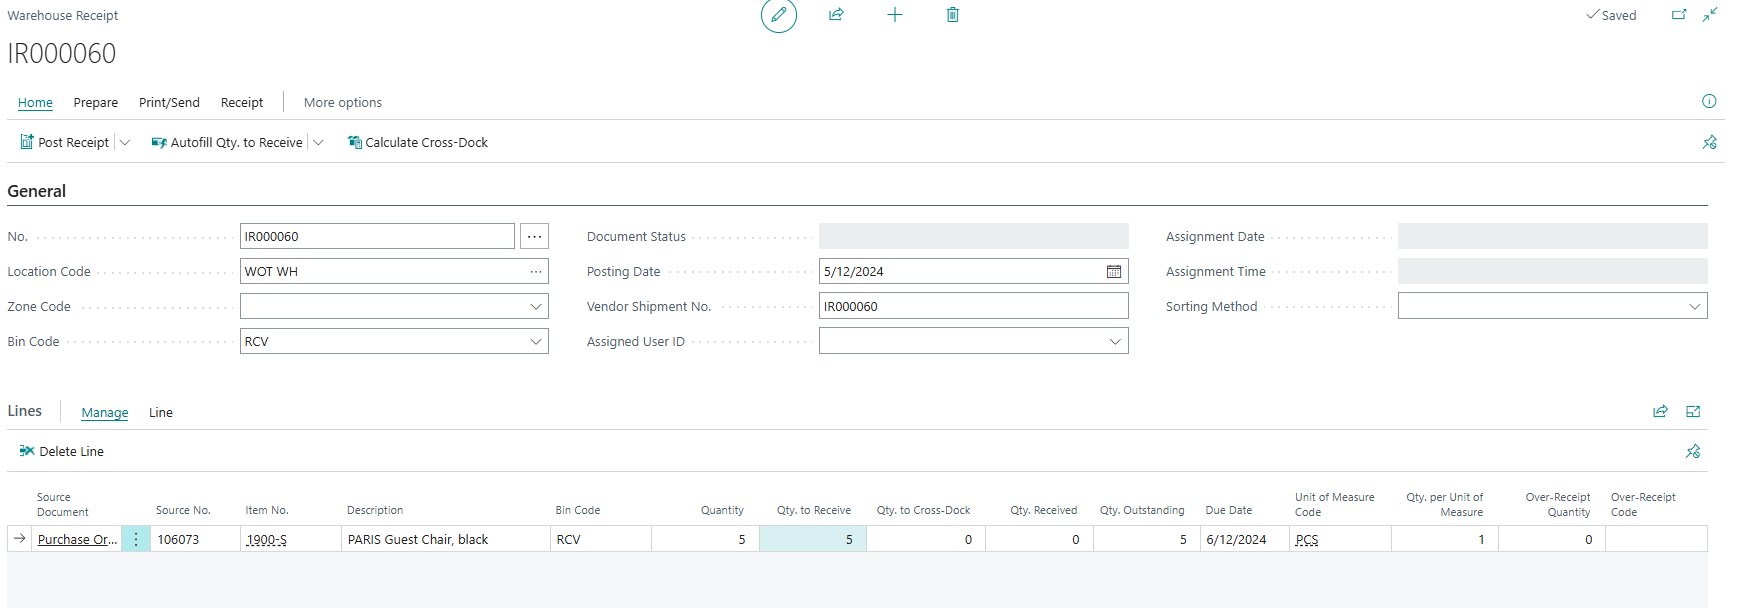
- Open the Warehouse Receipt document.

- Review and update the details, including quantities to receive and Vendor Shipment No.
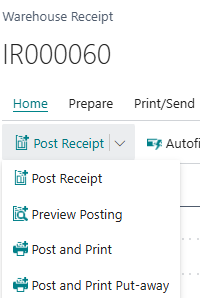
- Select Home, then select Post Receipt to post the received goods into inventory. From the drop-down menu, select Post Receipt.

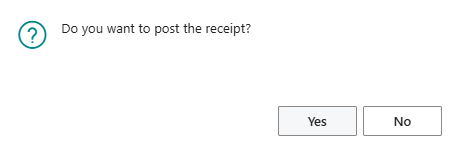
- A confirmation message displays asking if you want to post the receipt.

- Select Yes to continue.
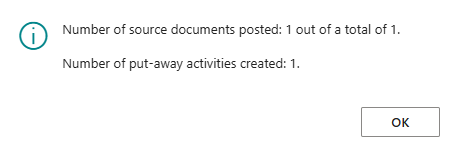
- A confirmation message displays with put-away activity created.

- Select OK to close the process.
- A put-away activity is created. You can now complete the put-away process.
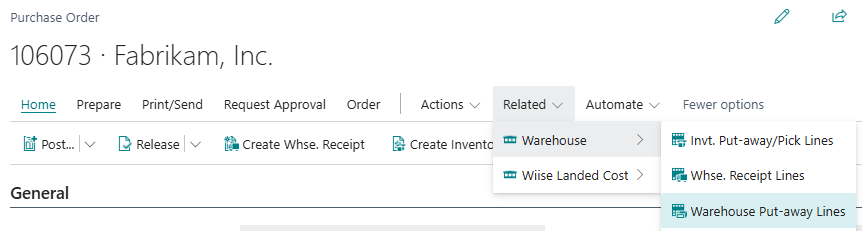
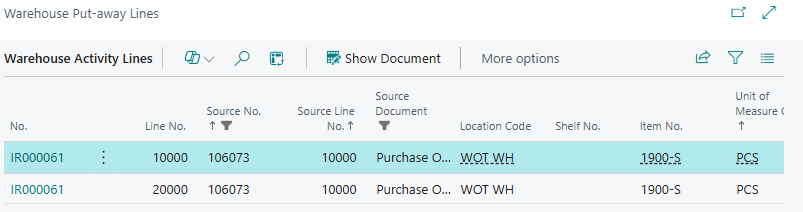
Note: Find out how to use Ontime to complete the warehouse receive and put away process. - Select Related. Then, select Warehouse. From the drop-down menu, select Warehouse Put-Away Lines.

- The Warehouse Put-away lines list displays.

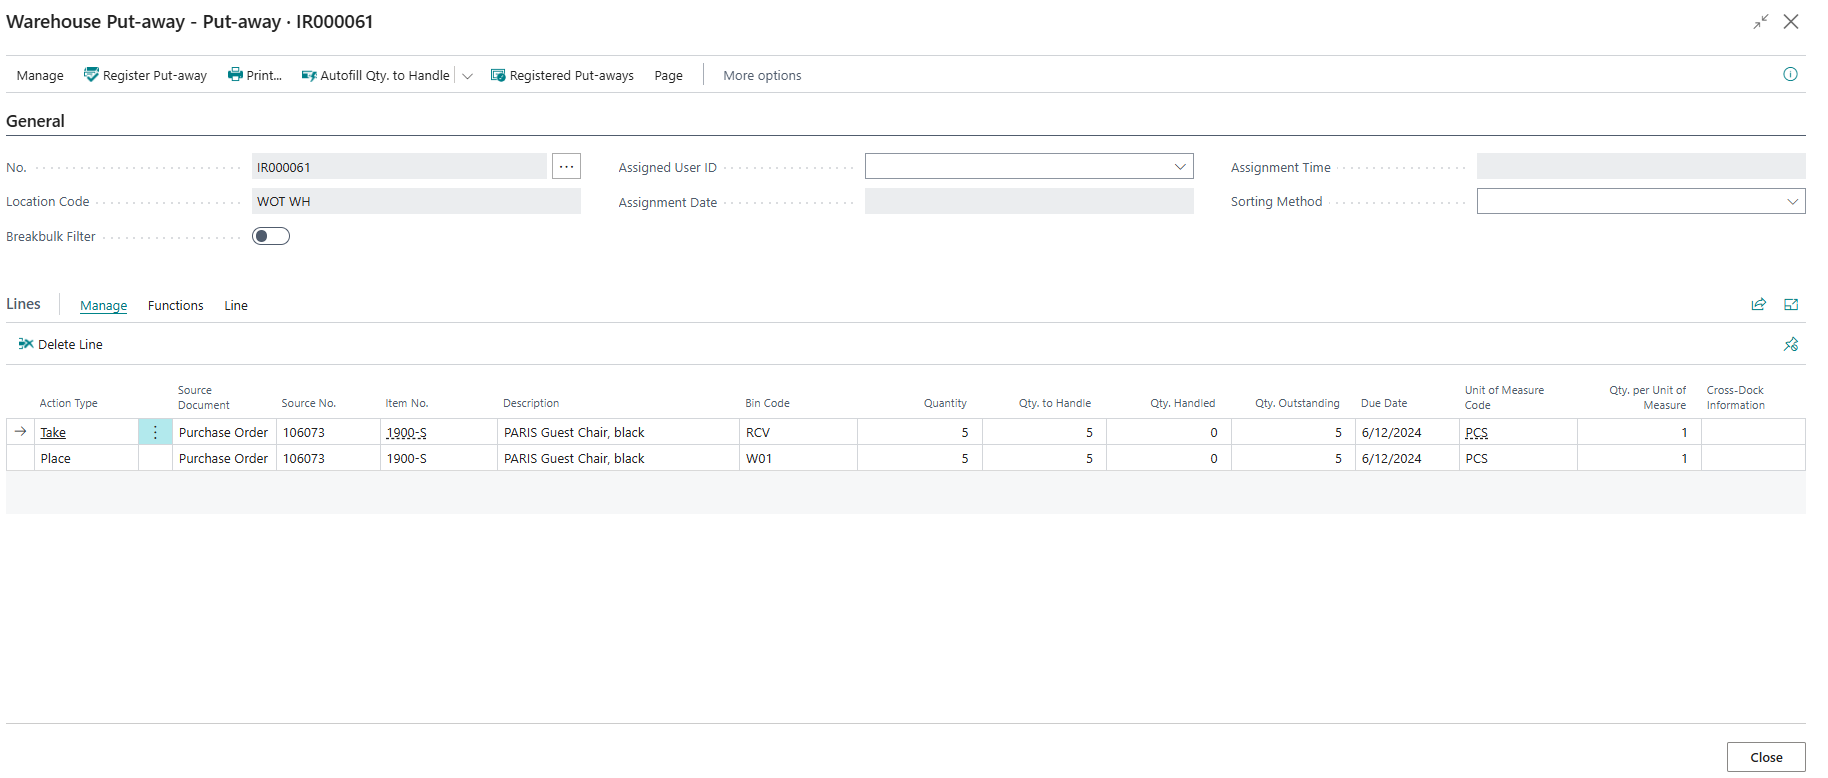
- Highlight a row and select Show Document. The Warehouse Put-away activity line displays.

- Update the required fields in the Lines section:
- Review the Bin Code to verify the storage bins are assigned to the received bins for the Action Type which are Take and Place.
- Update the Qty. To Handle field. The Qty. to Handle cannot exceed the quantity in the purchase order.
Note: You can do a partial take and place.
- Select Register Put-away.
- A message box displays to confirm if you want to register the Put-away Document?

- Select Yes to continue or No, to cancel the action.
- Return to the purchase order.
- Check the Quantity Received field to ensure it reflects the goods you received.

- You’ve set up a purchase order on location with warehouse receipt and put-away enabled.

Note: The receipted purchase order can be invoiced per your accounts payable process.
What’s next?
Find out how to set up a Purchase Order on location with require put-away option enabled.
If you have any questions, reach out to support@wiise.com.