Overview:
- Learn how to set up a Purchase Order on location with require put-away option enabled
Why set up a Purchase Order on Location with an Inventory Put-Away option?
Setting up a Purchase Order with a location using the inventory put-away option ensures items are stored in their designated space in the warehouse.
Note: This guide covers raising a purchase order with a location and inventory put-away enabled.
How to set up a Purchase Order on Location with an Inventory Put-Away option?
- To set up a purchase order, complete steps 1 to 9 in the Set up a Purchase Order article.
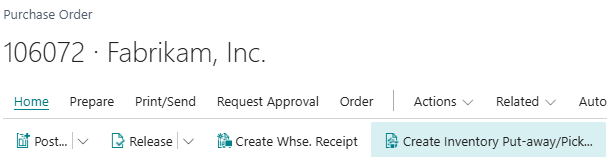
Note: Your location code must have the inventory put-away option enabled. - Select Home. Then, select Create Inventory Put-away/Pick.

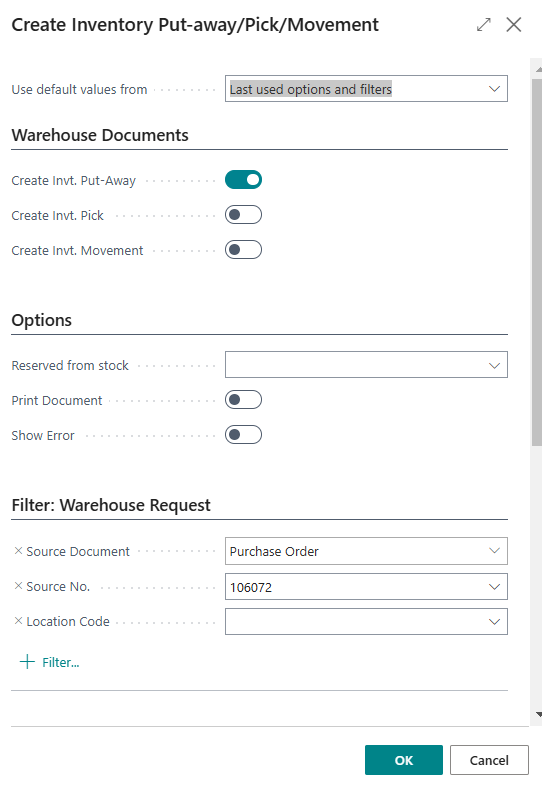
- The Create Inventory Put-away/Pick/Movement table opens.

- Enable the Create Invt. Put-away toggle.
- Filter to the purchase order you’re working on.
- Select OK to proceed or Cancel to exit.
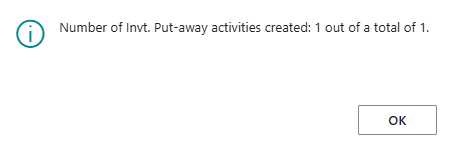
- Once you select OK, a confirmation message appears informing you that an inventory put-away activity has been created.

- Select OK to proceed.
- You’ll see the Qty. to Receive and Qty. to Invoice fields updated in the Lines section of your purchase order.

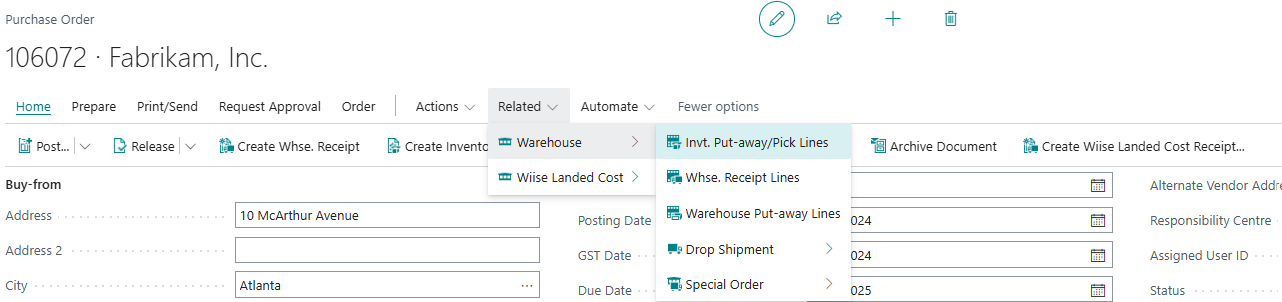
- View your inventory put-away lines. Select Related, then Warehouse, and then Invt. Put-away/Pick Lines.

Note: If you don’t see the Related menu, select More options. - The inventory put-away list displays. Select a Warehouse Activity by highlighting the row, then select Show Document.
Note: You can select the Inventory Put Away record hyperlink record No. to access the warehouse activity.
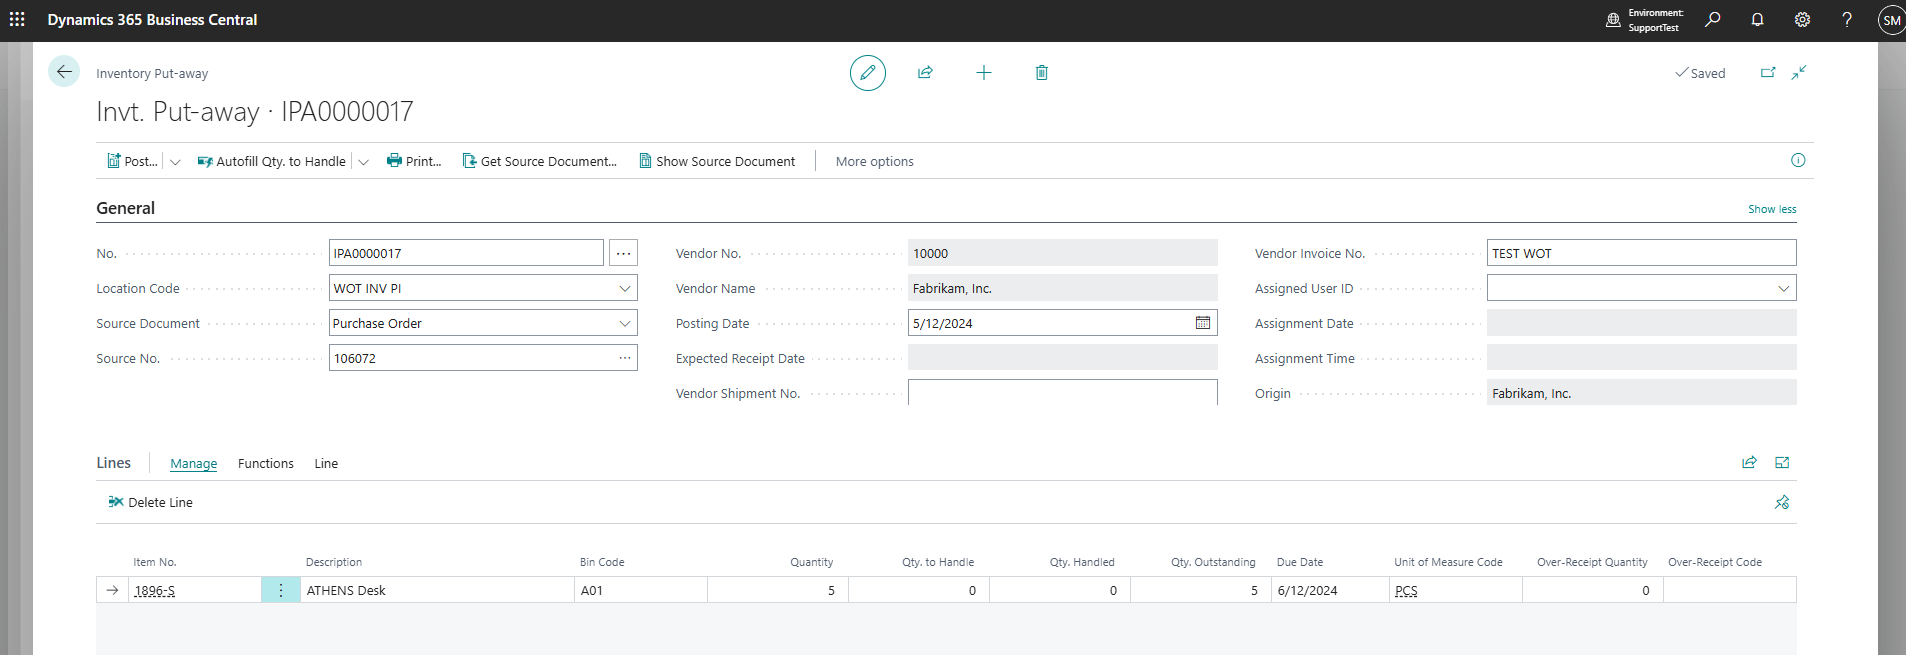
- The inventory put-away card shows details linked to the purchase order.

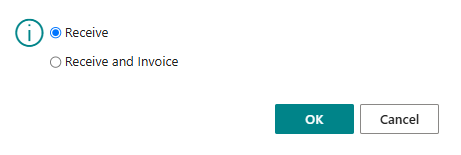
Note: Use Wiise Warehouse OnTime to complete the inventory receive and put-away. - Select Post, then select Post. You can either:

- Receive to record goods received.
- Receive and Invoice to record goods received and create an invoice.
- Select OK to proceed or Cancel to exit.
- If you select Receive and Invoice, the purchase order is also invoiced.
- If you select Receive, the Quantity Received and Qty. to Invoice fields are updated in the Lines section.
- After receiving the goods, you can create a purchase invoice from the purchase order.
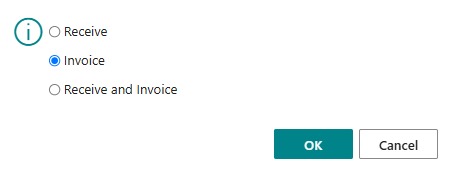
- Select Home. Then, select Post, and select Post from the drop-down menu.
- Select Invoice to generate the purchase invoice.

- Your invoiced purchase order is available in the Posted Purchase Invoices list.
- You’ve set up a purchase order on location with inventory put away.


What’s next?
Find out how to set up a purchase order with a warehouse receipt option enabled.
If you have any questions, reach out to support@wiise.com.