Overview:
- Add a new G/L account to your Chart of Accounts to track different types of transactions
- Edit an existing G/L account as needed
Tip: Wiise includes a preconfigured chart of accounts tailored to your industry. Use it as a starting point and adjust as your business grows.
Why set up a new G/L account?
Set up a new G/L account in your chart of accounts when you need to track new types of transactions to improve the accuracy of your reporting. This prevents the need to reclassify transactions later. Once set up, the new account can be included in budgets, posting groups, and reports.
Before you Begin
- You’ll need to be assigned the Business Manager or Accountant role to create or modify G/L accounts.
- Review your numbering structure to ensure your new G/L account fits logically within your chart of accounts (1000–1999 Assets, 2000–2999 Liabilities).
- Decide the account category and subcategory before setting up the new account.
How to set up a new G/L account?
Here’s how you add a general ledger (G/L) account to your chart of accounts.
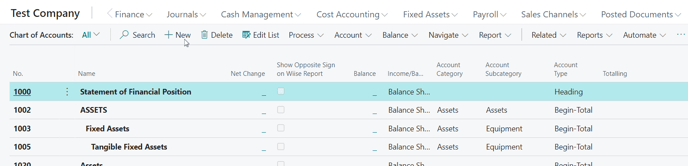
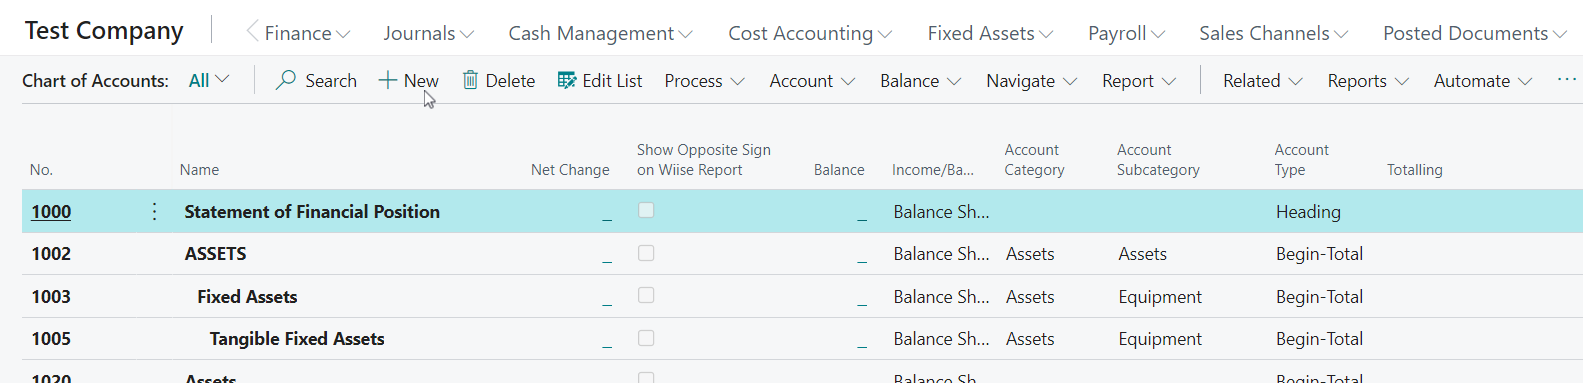
- Select Chart of Accounts on your Wiise landing page.

- The chart of accounts list displays existing G/L accounts.
- Select + New to add a new G/L account.
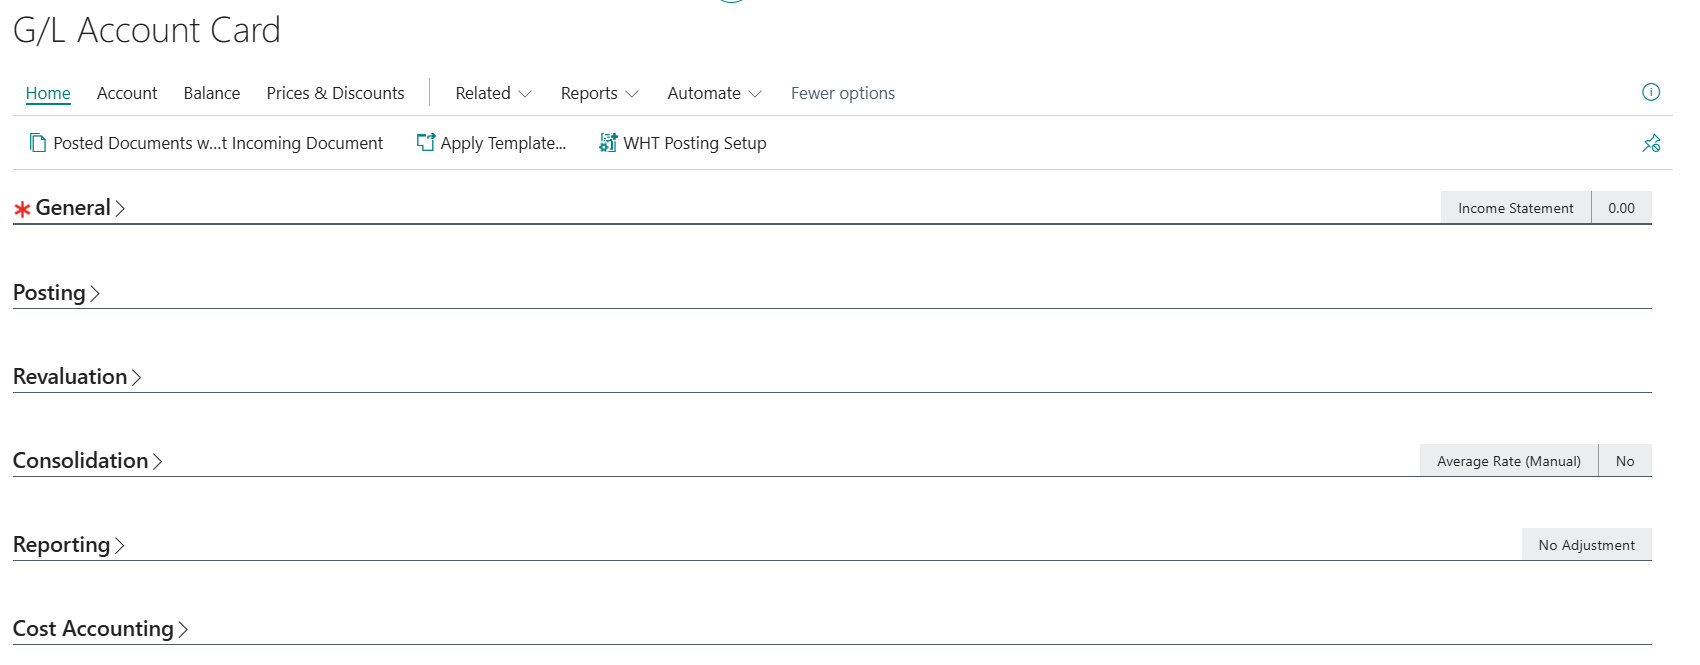
- The G/L Account Card page displays.

Note: There are 5 sections (Fasttabs) which are General, Posting, Consolidation, Reporting, and Cost Accounting.
Note: You’ll need to complete all fields marked with red asterisks as they are mandatory. - Fill in the relevant sections:
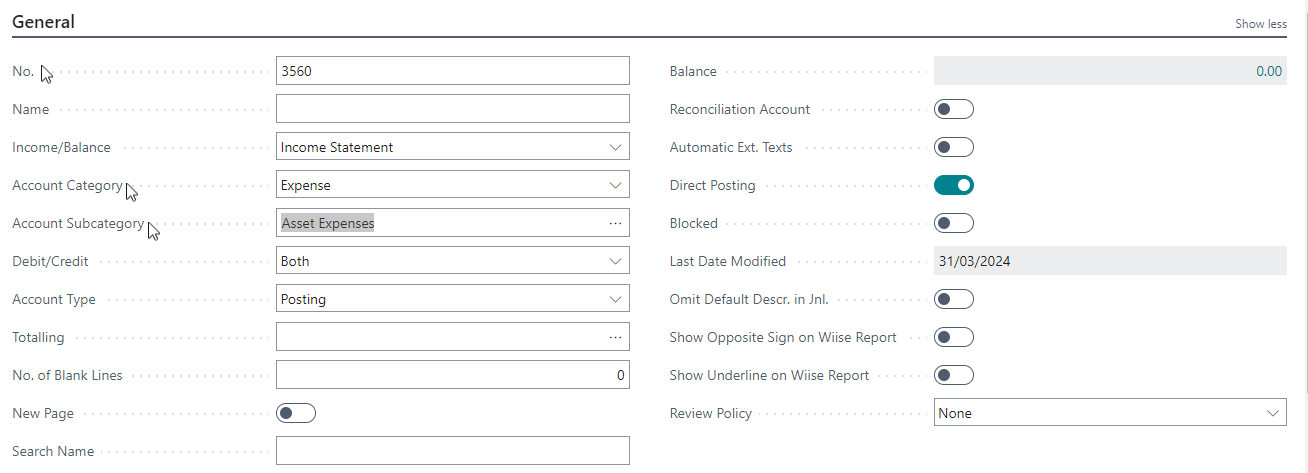
- General section:
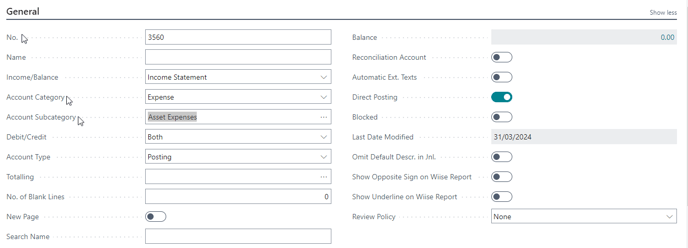
- No: Enter a unique G/L account number.
Note: It’s best to assign numbers based on the account category and numbering logic. This helps you maintain a clean and structured chart of accounts. - Name: Enter a clear account name or description for the account.
- Income/Balance: Specify whether the account belongs to the Income Statement or Balance Sheet.
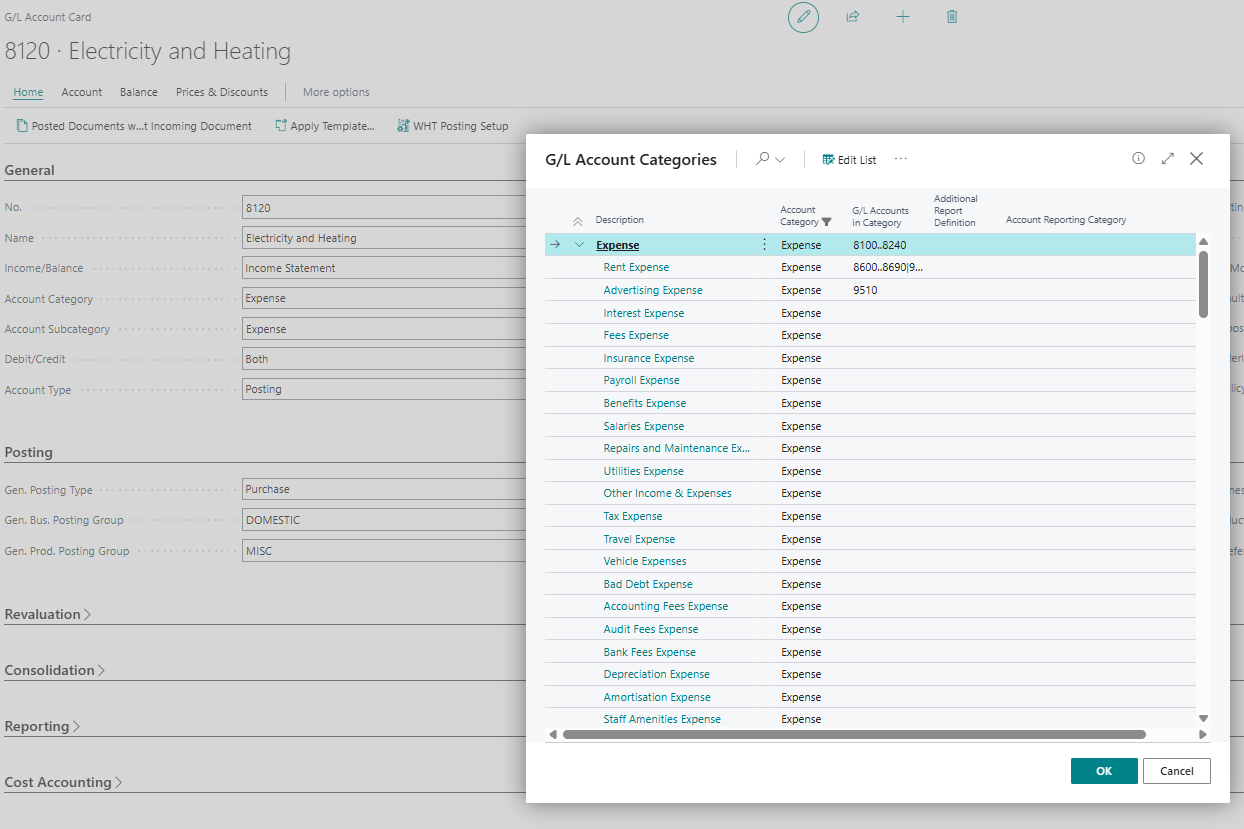
- Account Category: Select a relevant category. This can be Asset, Liability, Equity, Income, Cost of Goods Sold or Expenses.
- Account Subcategory: Select the horizontal three dotted lines to view options. Then, select a subcategory that aligns with the account category.

Note: If you can’t find the right account subcategory for the new G/L account, create a new one. - Debit/Credit: Define whether the account is a debit, credit or both.
- Account Type: Select one of the following options:
- Posting: Records actual transactions
- Heading: Group accounts but cannot post
- Total / Begin-Total / End-Total: Calculates subtotals and totals.
Note: You’ll need to specify if the account in the Income/Balance field belongs to an Income Statement or Balance Sheet as it helps in organising accounts for financial reporting.
- No: Enter a unique G/L account number.
- Posting section: Define how transactions are posted to this account by assigning the relevant posting groups.
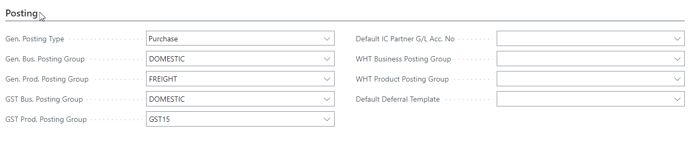
Note: If you use dimensions for reporting or analysis, you can set them up for the account as dimensions add additional capabilities to your GL accounts. You can add dimensions directly from your G/L account card.
Note: After you’ve set up the new G/L account, review your setup to ensure it meets your requirements. You’ll see the new account listed in your Chart of Accounts.
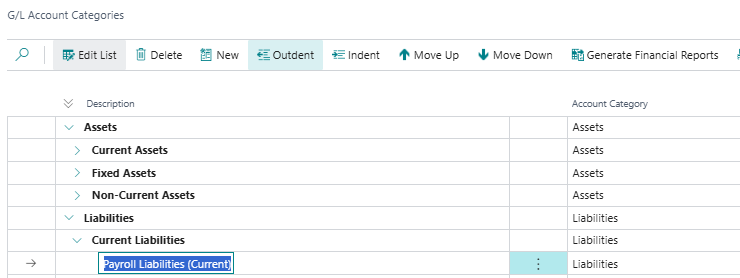
Note: Indenting your accounts positions them correctly in your financial statements, ensuring subtotals and totals are calculated accurately in reports. You can indent, outdent, move up or move down your G/L account in G/L Account Categories page.
- You may need to indent your new G/L account in chart of accounts.
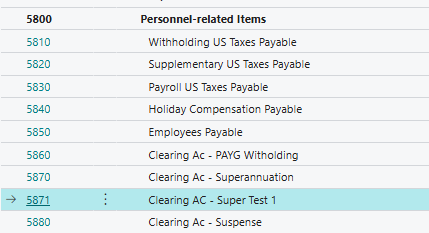
- Go to your Chart of Accounts.
- Find the G/L account to indent to move under a heading.
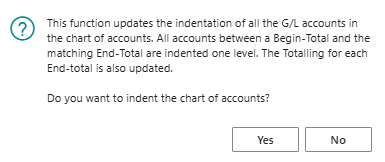
- Select Home. Then, select Indent Chart of Accounts.

- A message displays to confirm if you want to indent the chart of accounts.

- Select Yes to proceed or No to cancel the request.
Note: The selected account shifts to the right, showing that it is a sub-account.
- Repeat as needed for other accounts to build your chart of accounts structure.
- You’ve set up a new G/L account in your chart of accounts.


Tip: Run a Trial Balance or Financial Report to confirm the structure is correct.
Note: New G/L accounts may need to be added to your financial report layouts to appear in reports.
Note: If you need to add more G/L accounts, repeat the process for each new account. Once your G/L accounts are set up, test by posting transactions to ensure they are working as expected.
Note: You can’t delete a G/L account that has posted entries, but you can block it to prevent future use while keeping historical data intact.
What’s next?
Find out how to set up Dimensions for your G/L account and use the Wiise Standard Reports.
Need more help?
No problem, that's what we're here for. Reach out to support@wiise.com anytime you can't find what you're looking for.