Overview:
- Learn to set up and post a NDIS sales invoice
- Learn to split a sales invoice when required
Why generate a NDIS Sales Invoice?
Generating an NDIS Sales Invoice ensures that services provided to NDIS Participants are billed correctly using the NDIS Product Catalogue. Providers can claim payments from NDIA or plan managers with accurate and compliant records.
Note: Here are the steps to use as a reference to set up a Sales Invoice.
How to generate a NDIS Sales Invoice?
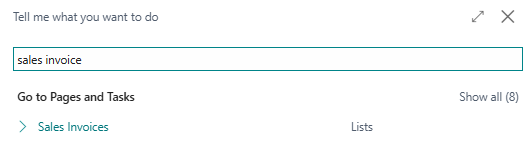
- Select Sales on your Wiise landing page. Then, select Sales Invoices.
Note: You can search for Sales Invoices on the top right-hand corner of the page. Select the relevant link and the list displays.
- Select New to set up a new sales invoice.

- Fill in the relevant fields in the sections:
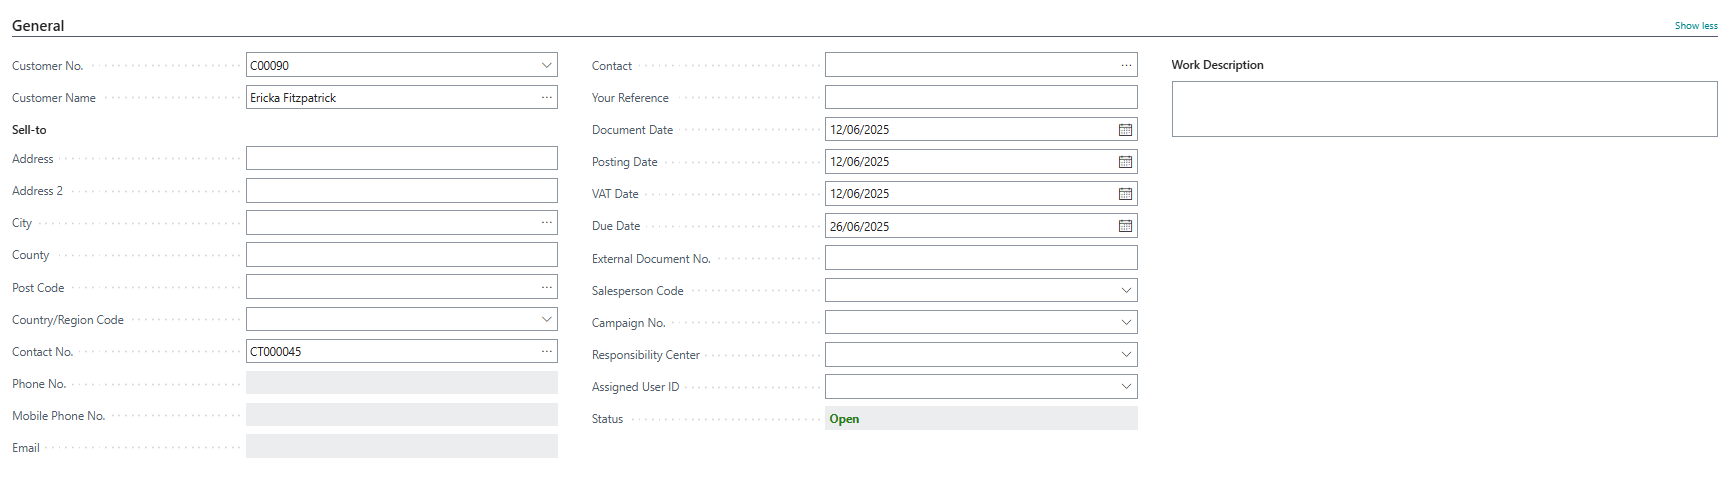
- General section:

- Customer Name: Select the NDIS customer to invoice. Their details will auto-populate.
- Contact No: Auto-filled from the customer card.
- The Posting Date defaults to today’s date but can be changed if needed.
- The Due Date is auto-calculated based on the customer's payment terms but can be edited.
- Lines section:

- Select Item in Type, Then, identify the NDIS items that your customer is claiming in the No., field from the drop-down list.
- The Description, GST Product posting Group, GST Business Posting Group, Unit of Measure Code, Unit Prices based off the sales price list will be auto filled in based on the item card set up.
- Update the Location and Quantity fields.
Note: You can review or adjust the prices by selecting the List Price link for the item.
Note: It is recommended to update the NDIS Claim Type, NDIS Supports Delivered From, and NDIS Supports Delivered To fields in the sales invoice. This ensures that these custom fields are carried over when the invoice is split. These fields are also used for validation when submitting NDIS payments.
- Invoicing Details section:

- Review the Posting Details.
- Add or confirm required dimensions such as Department Code or Project Code for reporting.
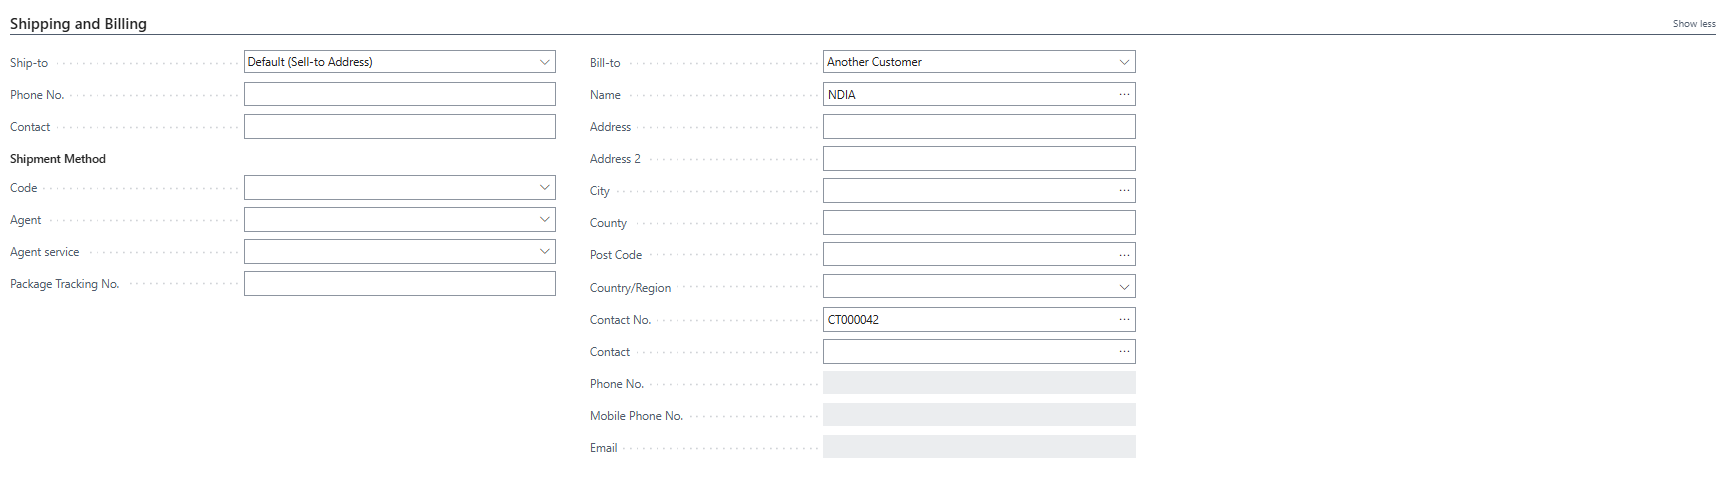
- Shipping and Billing section:

- In the Ship-to field, use the default customer address, select an alternate saved address, or enter a custom one.
- The Bill-to field is automatically set to Another Customer.
- The Name field is set to NDIA, and the Contact No. field is also automatically filled.
- You’ve updated the relevant sections of the sales invoice.
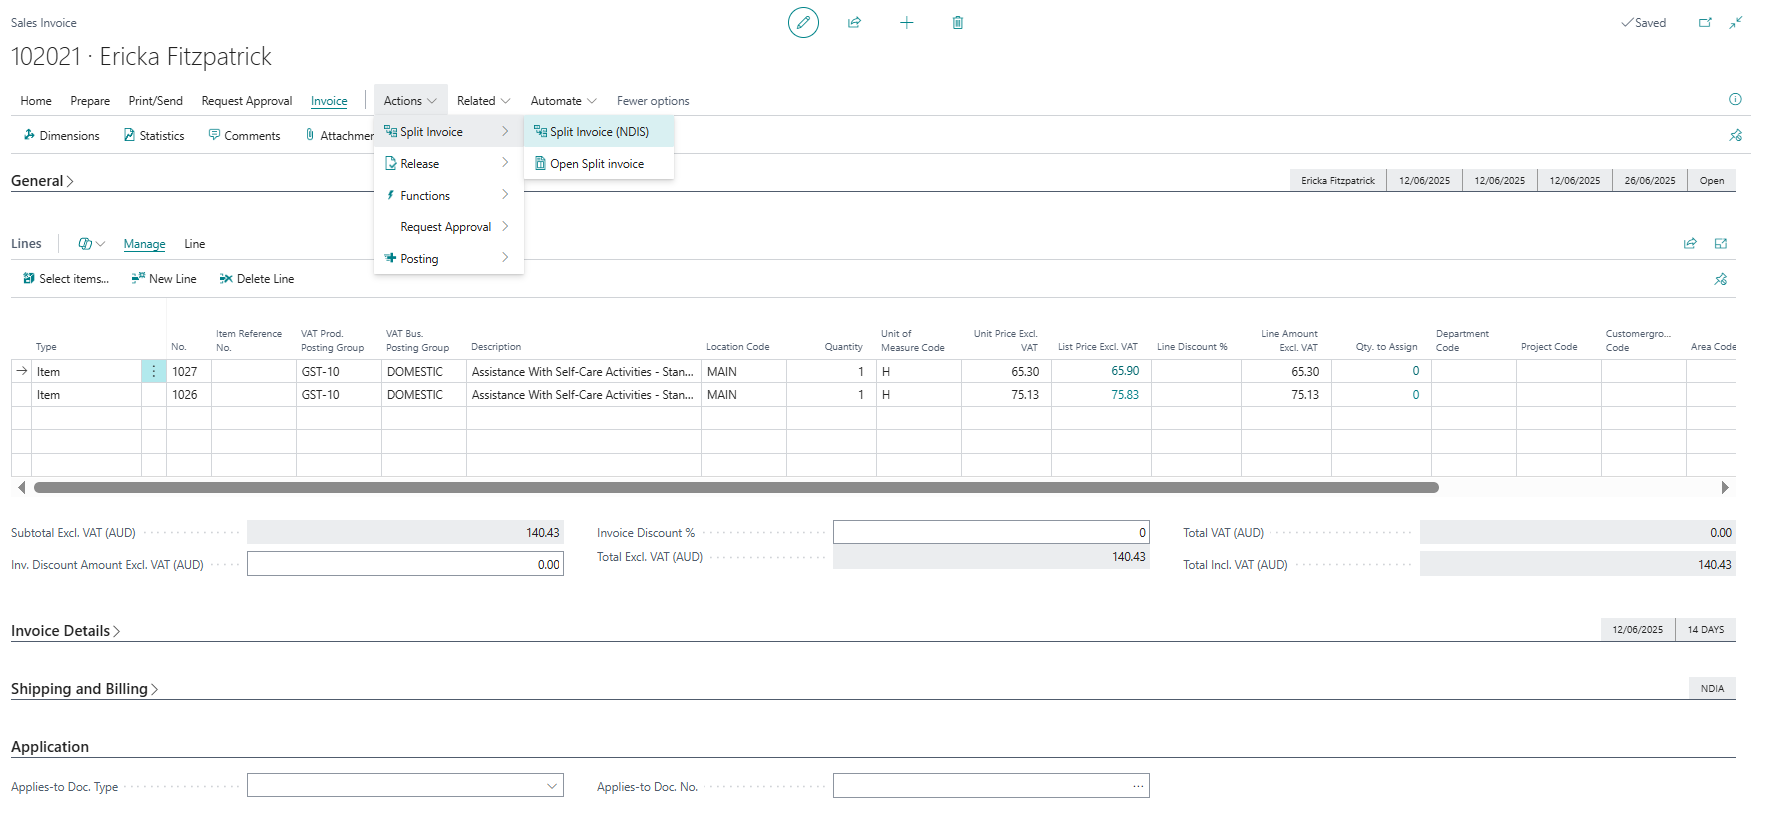
Note: Invoices are split to reflect how the support is funded. If part of the cost is covered by the NDIA and the remainder by the participant or a plan manager, separate invoices ensure each party is billed correctly. - General section:
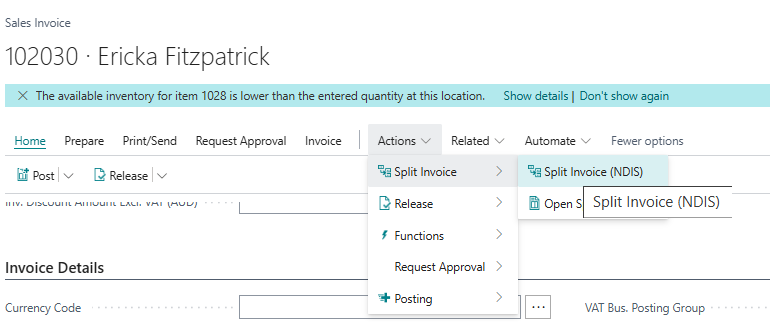
- Select Actions. Then, select Spilt Invoice. Select Split Invoice (NDIS).

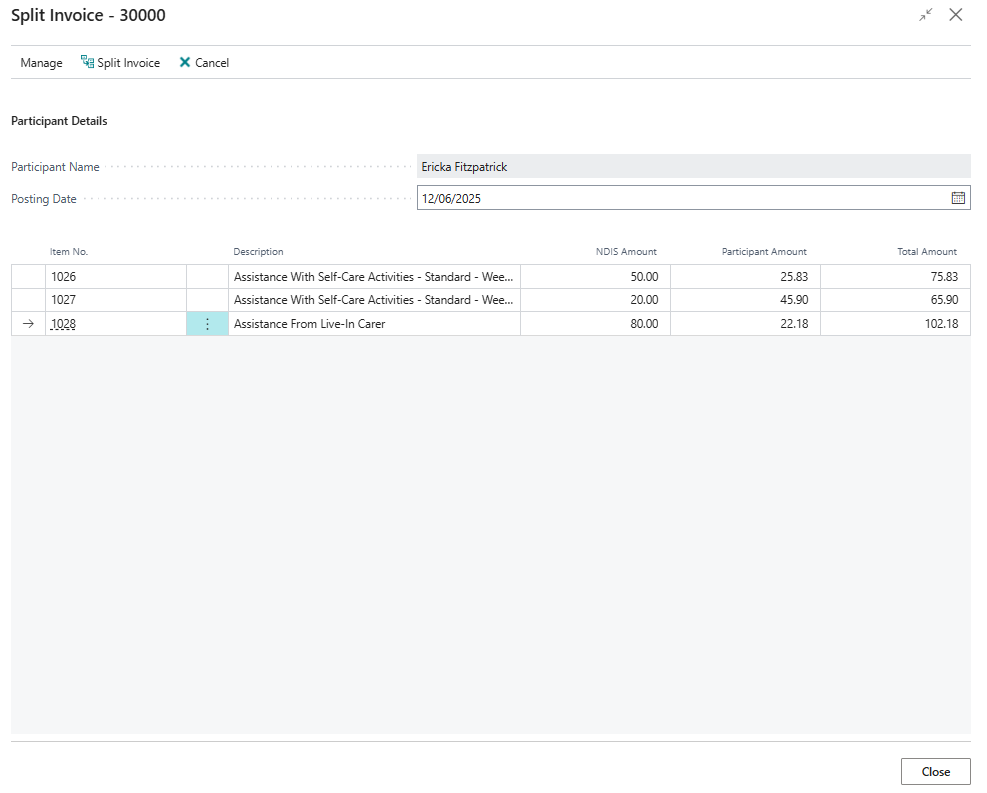
- The Split Invoice request page displays.

- You’ll need to adjust the NDIS Amount or Participant Amount. The system auto calculates the remaining value to match the Total Amount.
- Then, select Split Invoice.
- A message displays that a new invoice has been created.

- Select OK to continue. You’ll be taken back to the Sales Invoices list.
Note: In the Sales Invoice list, you can view the split invoices and see the Original NDIS Invoice Number they were generated.
- You can now post the sales invoices.
- Select the original and split invoices from the Sales Invoices list.

- Then, select Release. Select Release again.
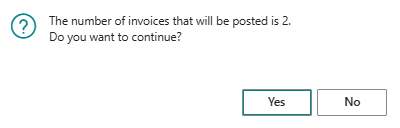
- Then, select Post. A message displays that you’re posting the selected invoices.

- Select Yes to continue.
- A message displays confirming that the selected sales invoices have been processed and posted.

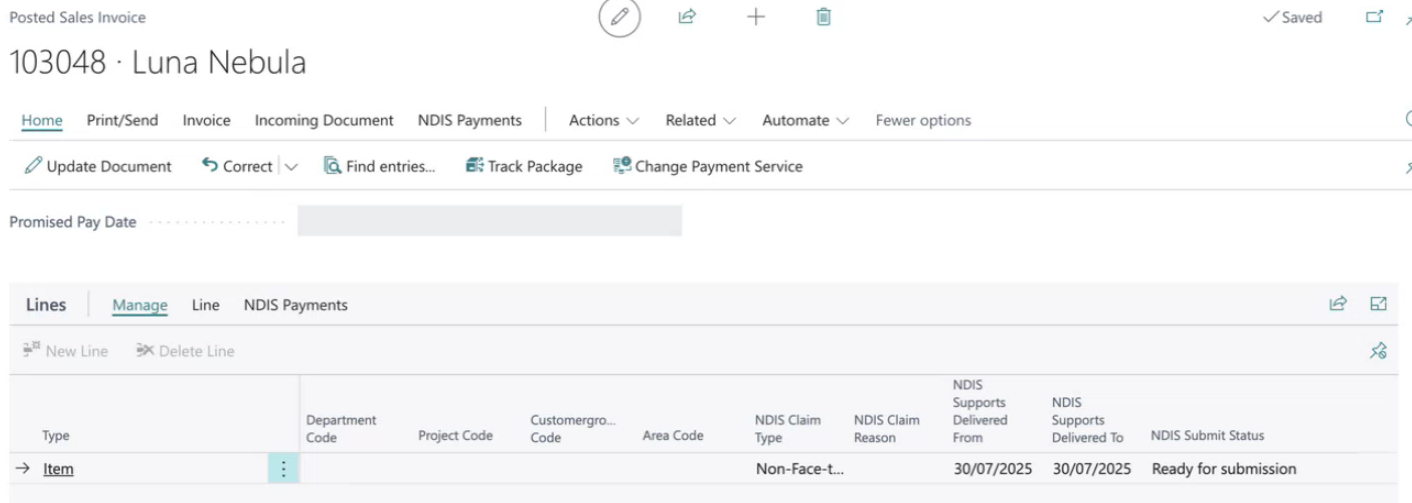
Note: Only posted sales invoices billed to the NDIA will, by default, be marked as ready for submission. You can view the Ready for Submission status in the NDIS Submit Status field on the Posted Sales Invoice lines.
- Search for Posted Sales Invoices in the top right-hand corner of the page. Select the relevant link and the Posted Sales Invoices list displays.
- You’ve processed an NDIS Sales Invoice and have marked your posted sales invoice as Ready for Submission.


Note: Use the NDIS Bulk Payment Request tool to submit the posted sales invoices for payment by the NDIS.
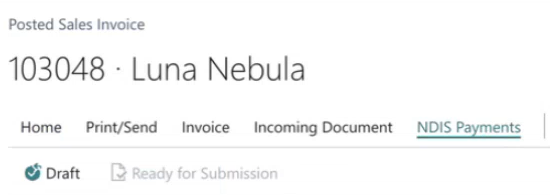
Note: If you need to amend a posted sales invoice, you'll first need to convert it to a draft.
On the posted sales invoice, select the NDIS Payments action, then select Draft to make your changes. Once you've finished updating, select Ready for Submission.
Note: Each individual posted sales invoice must be marked as Ready for Submission before you can include it in the NDIS Bulk Payment Request.
What’s next?
Find out how to submit invoices for payment using the NDIS Bulk Payment Request tool.
Need more help?
No problem, that's what we're here for. Reach out to support@wiise.com anytime you can't find what you're looking for.