Overview:
- Learn how to do warehouse pick using OnTime
Why use Ontime to do warehouse pick?
Using Ontime, warehouse pickers can receive pick information directly from their mobile devices. Ontime increases the accuracy and efficiency of the order-picking process.
How to use Ontime to do warehouse pick?
Here are the steps required to be completed by a warehouse manager for warehouse pick tasks to appear on the OnTime app.
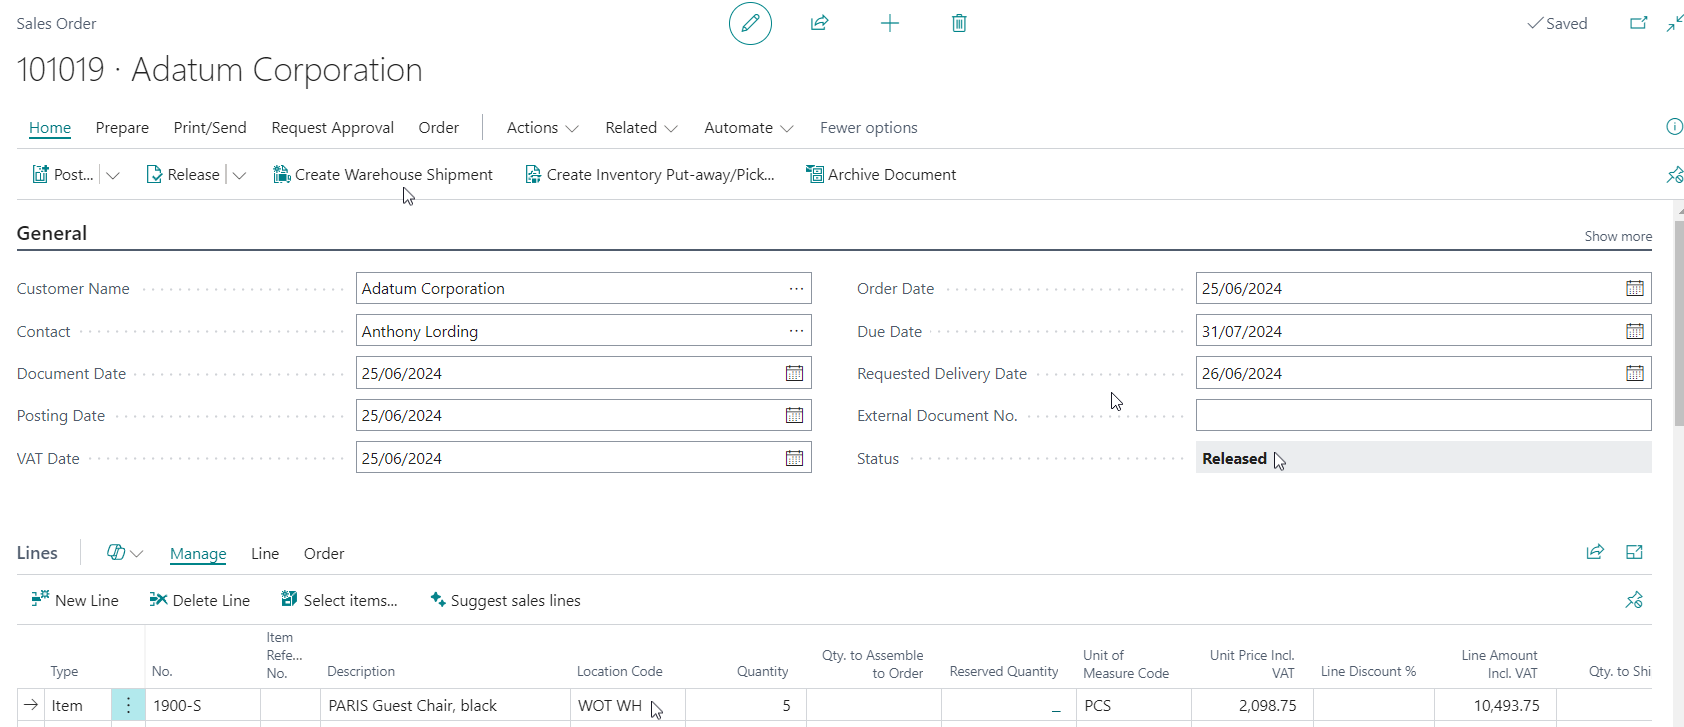
- The warehouse manager creates an order on Wiise ERP desktop. When you’ve updated the Lines section, select Release. Then, select Create Warehouse Shipment.

- Review the information on the created warehouse shipment.

- Select Create Pick.
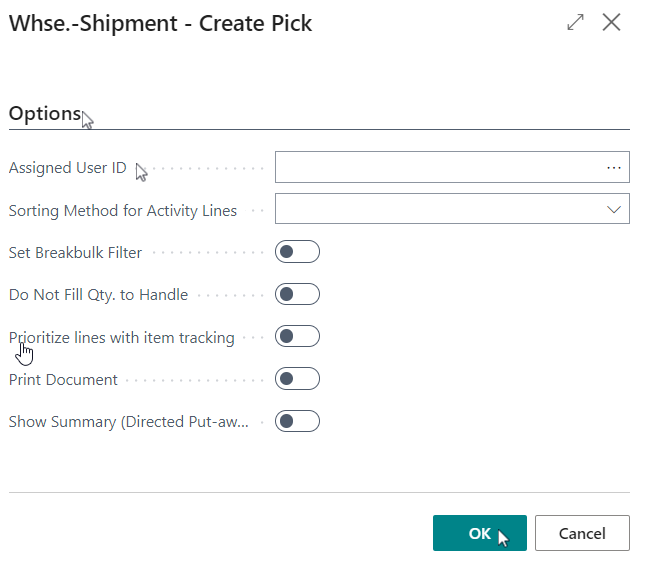
- The Whse-Shipment – Create Pick request page displays.

- Update the Options fields as required:
- Assign User ID: You can assign the warehouse worker user ID on the create pick request page. Or using the OnTime app, a warehouse worker can assign themselves the task.
- Select OK to continue.
- Update the Options fields as required:
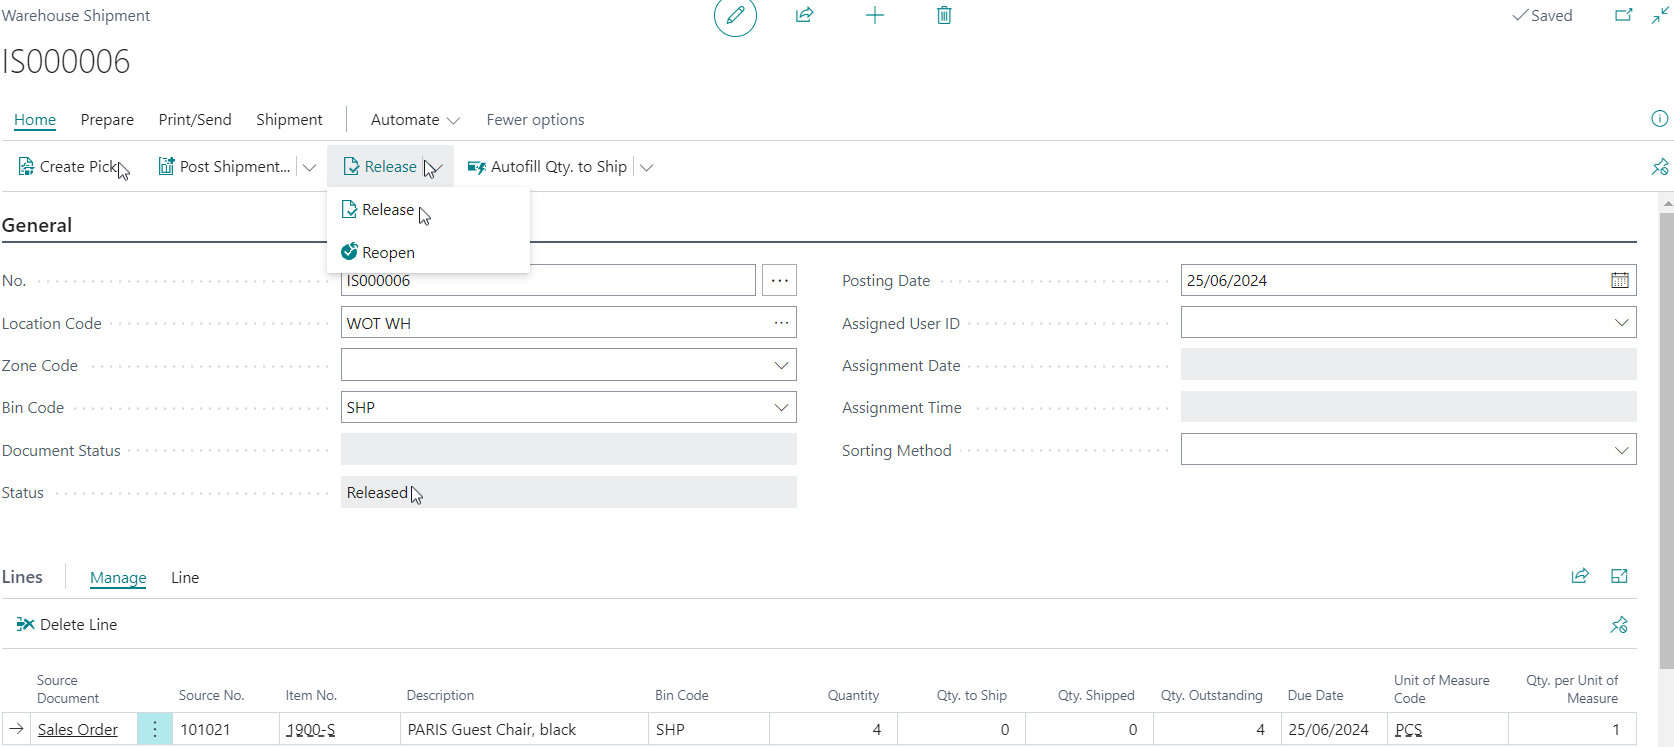
Note: When the pick activity is created, the warehouse shipment is updated to Released.
Note: The Create Pick action creates the Pick and Ship tasks on the OnTime app.
Below are the steps a warehouse worker completes on the OnTime app.
- Login to the OnTime app.
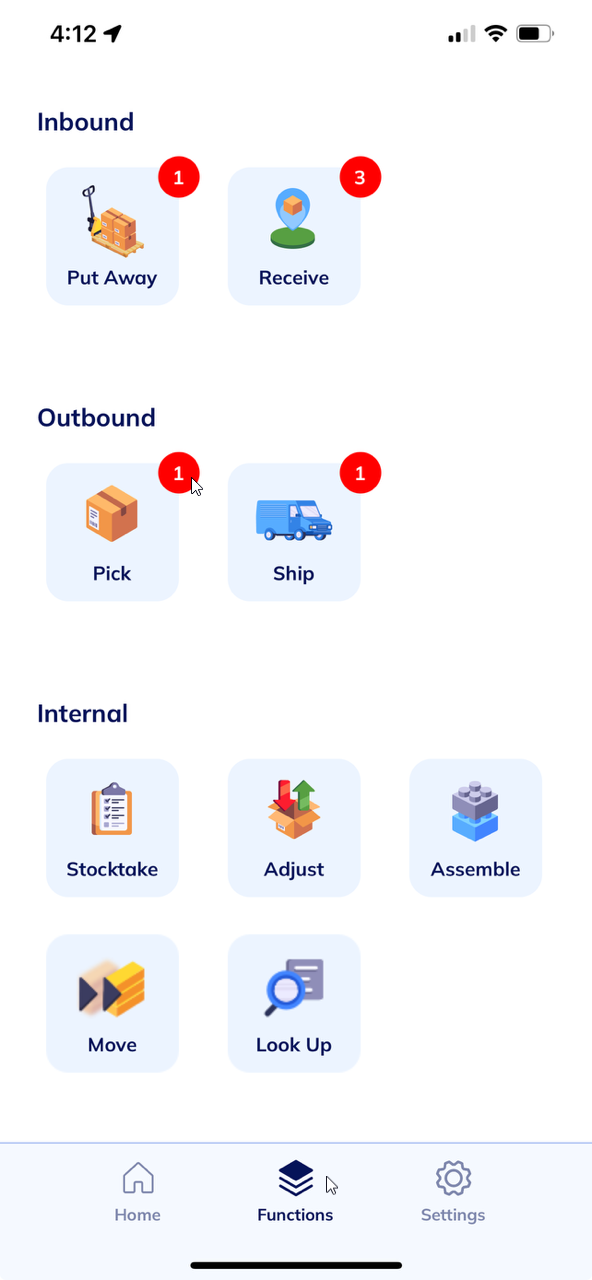
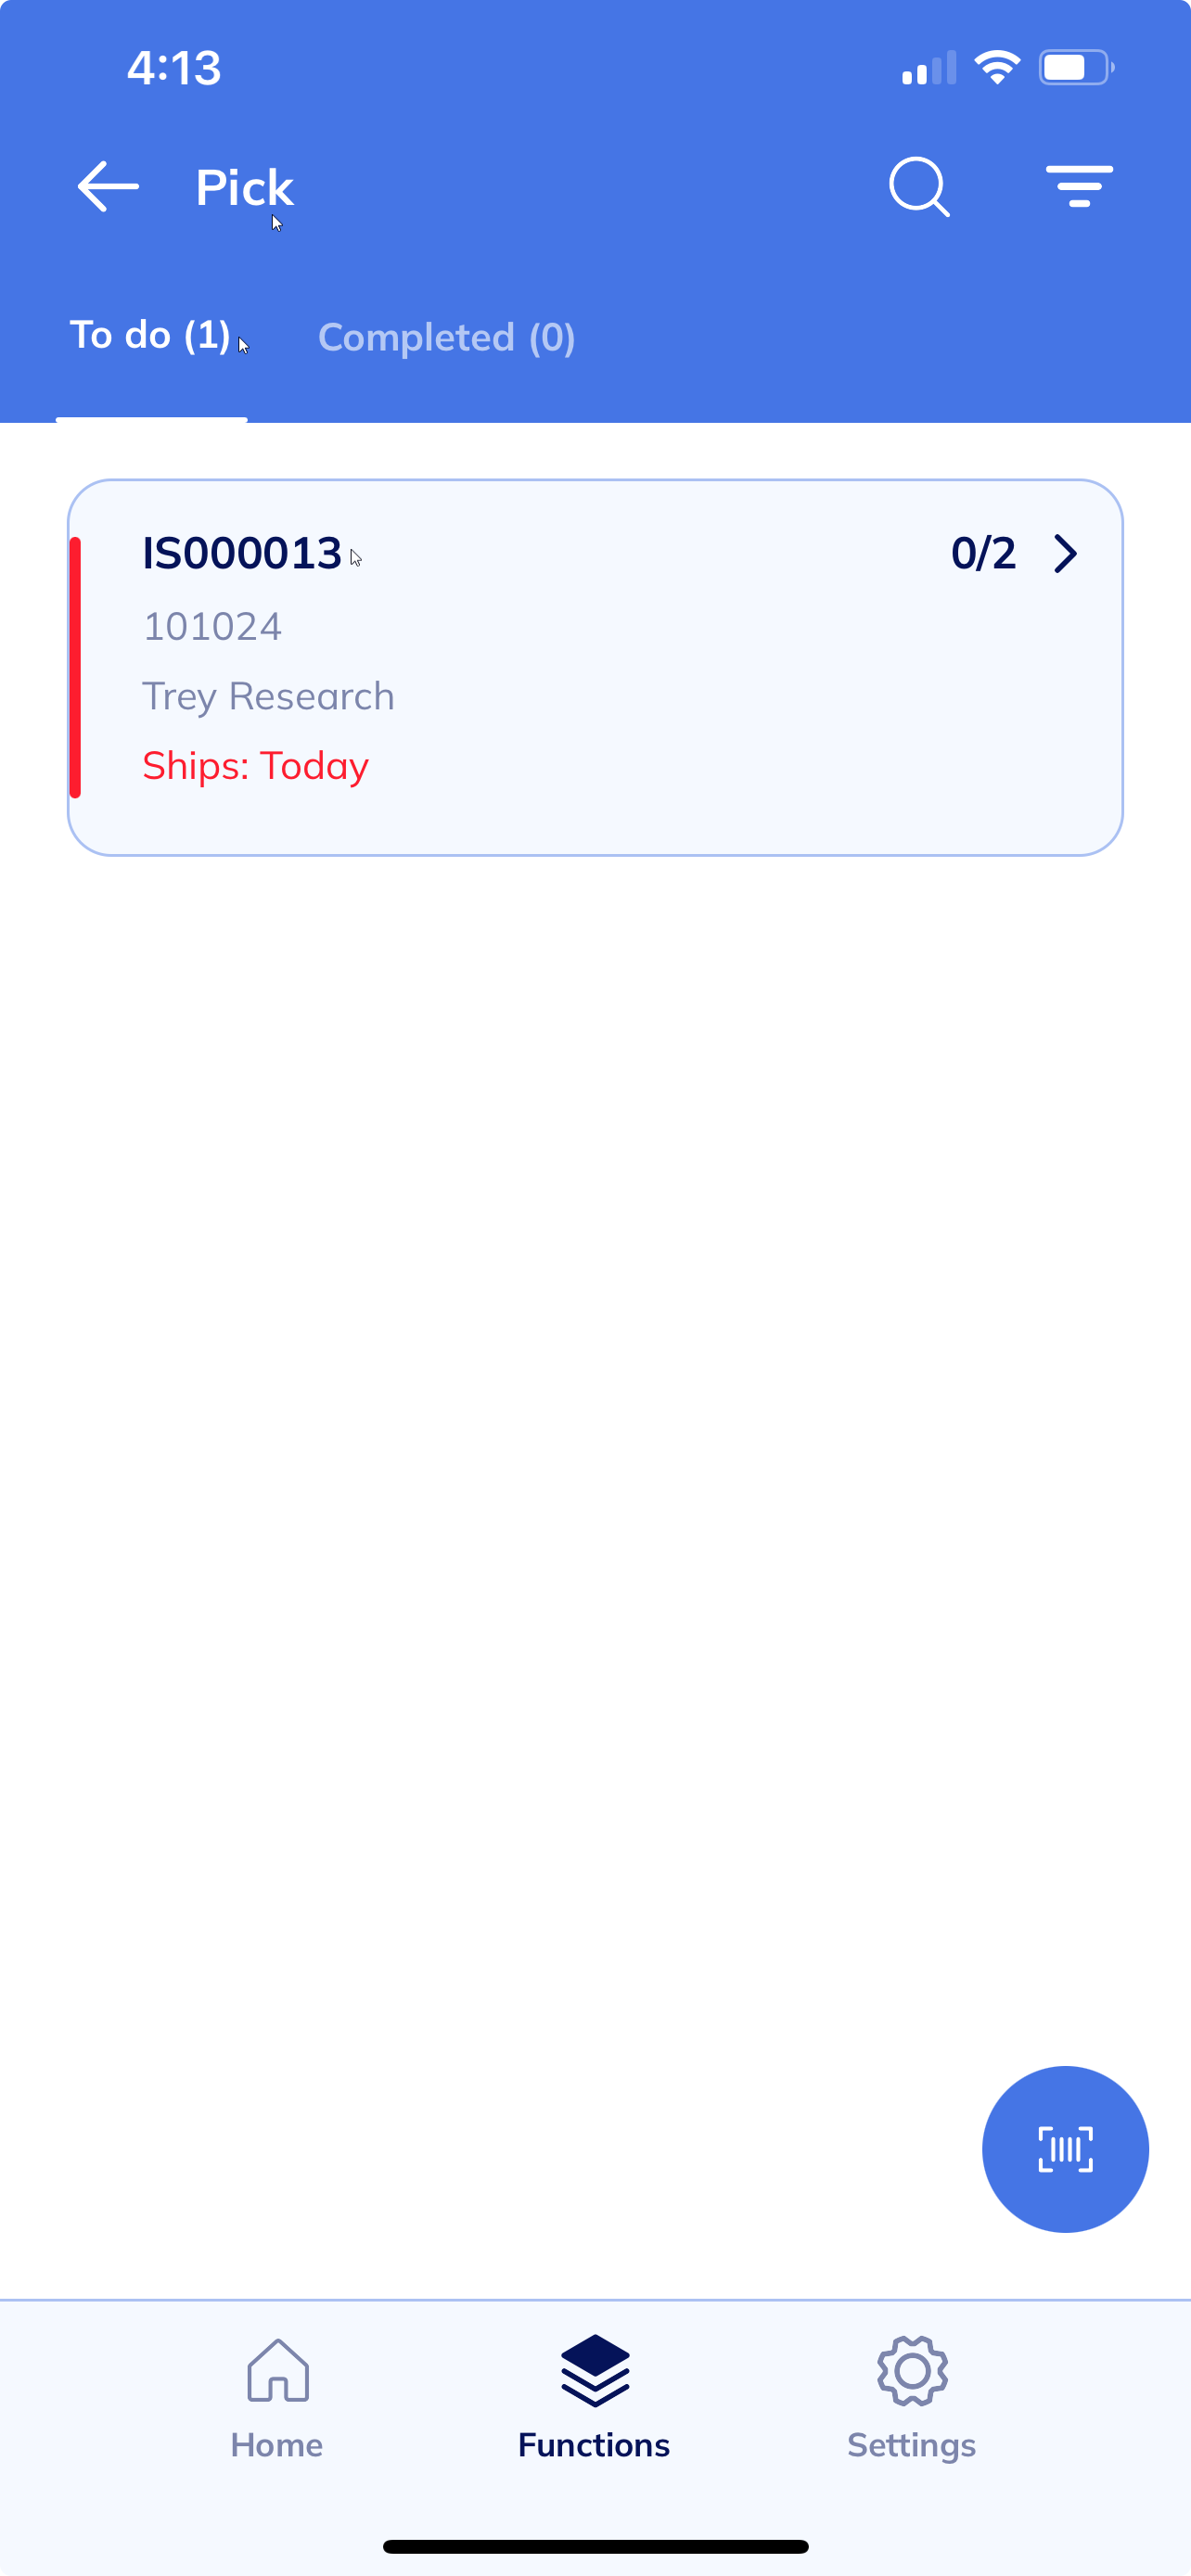
- Select Pick from your To do list on the OnTime app.
Note: You can select your Pick task from the Home tab or Functions tab.
- Then, select the related pick to work on.

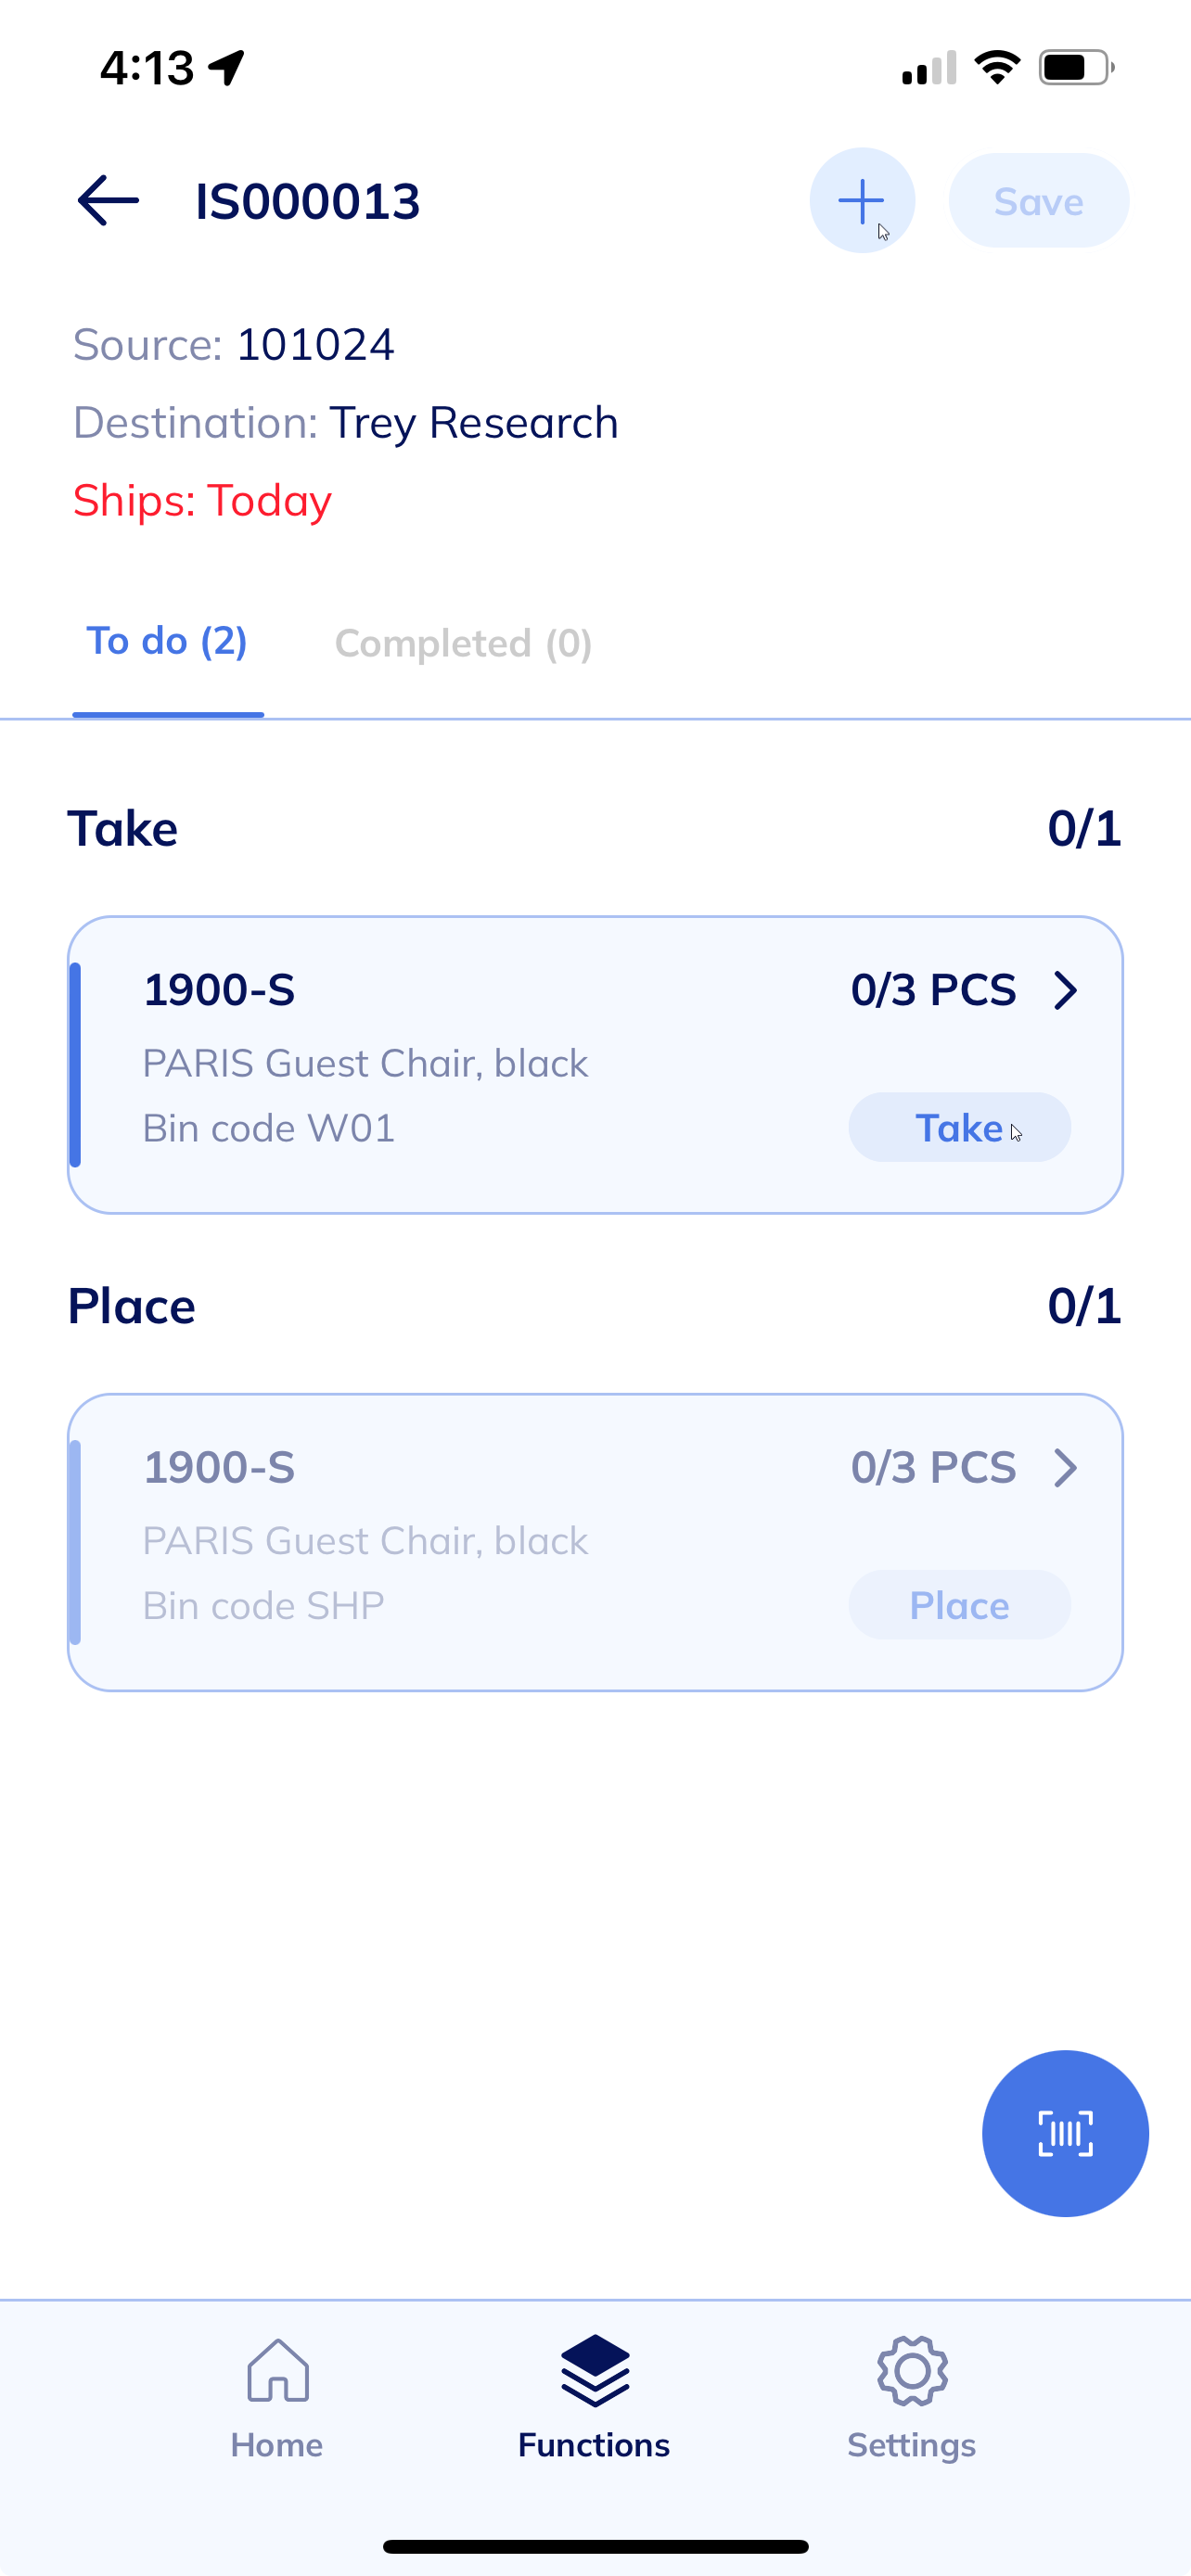
- The Take and Place page display.

- Select the + sign on the top right-hand corner of the page to assign yourself this warehouse pick task.
Note: Warehouse workers can view both their assigned tasks and any unassigned tasks. If they start working on an unassigned task, they can assign it to themselves. However, if a task needs to be reassigned to another worker, the warehouse manager must handle this through the Wiise ERP desktop. - Select Take.
Note: You’ll notice Place is disabled. It’ll be enabled when you’ve completed Take.
Note: Priority tasks appear in red that need to be done immediately.
- Select the + sign on the top right-hand corner of the page to assign yourself this warehouse pick task.
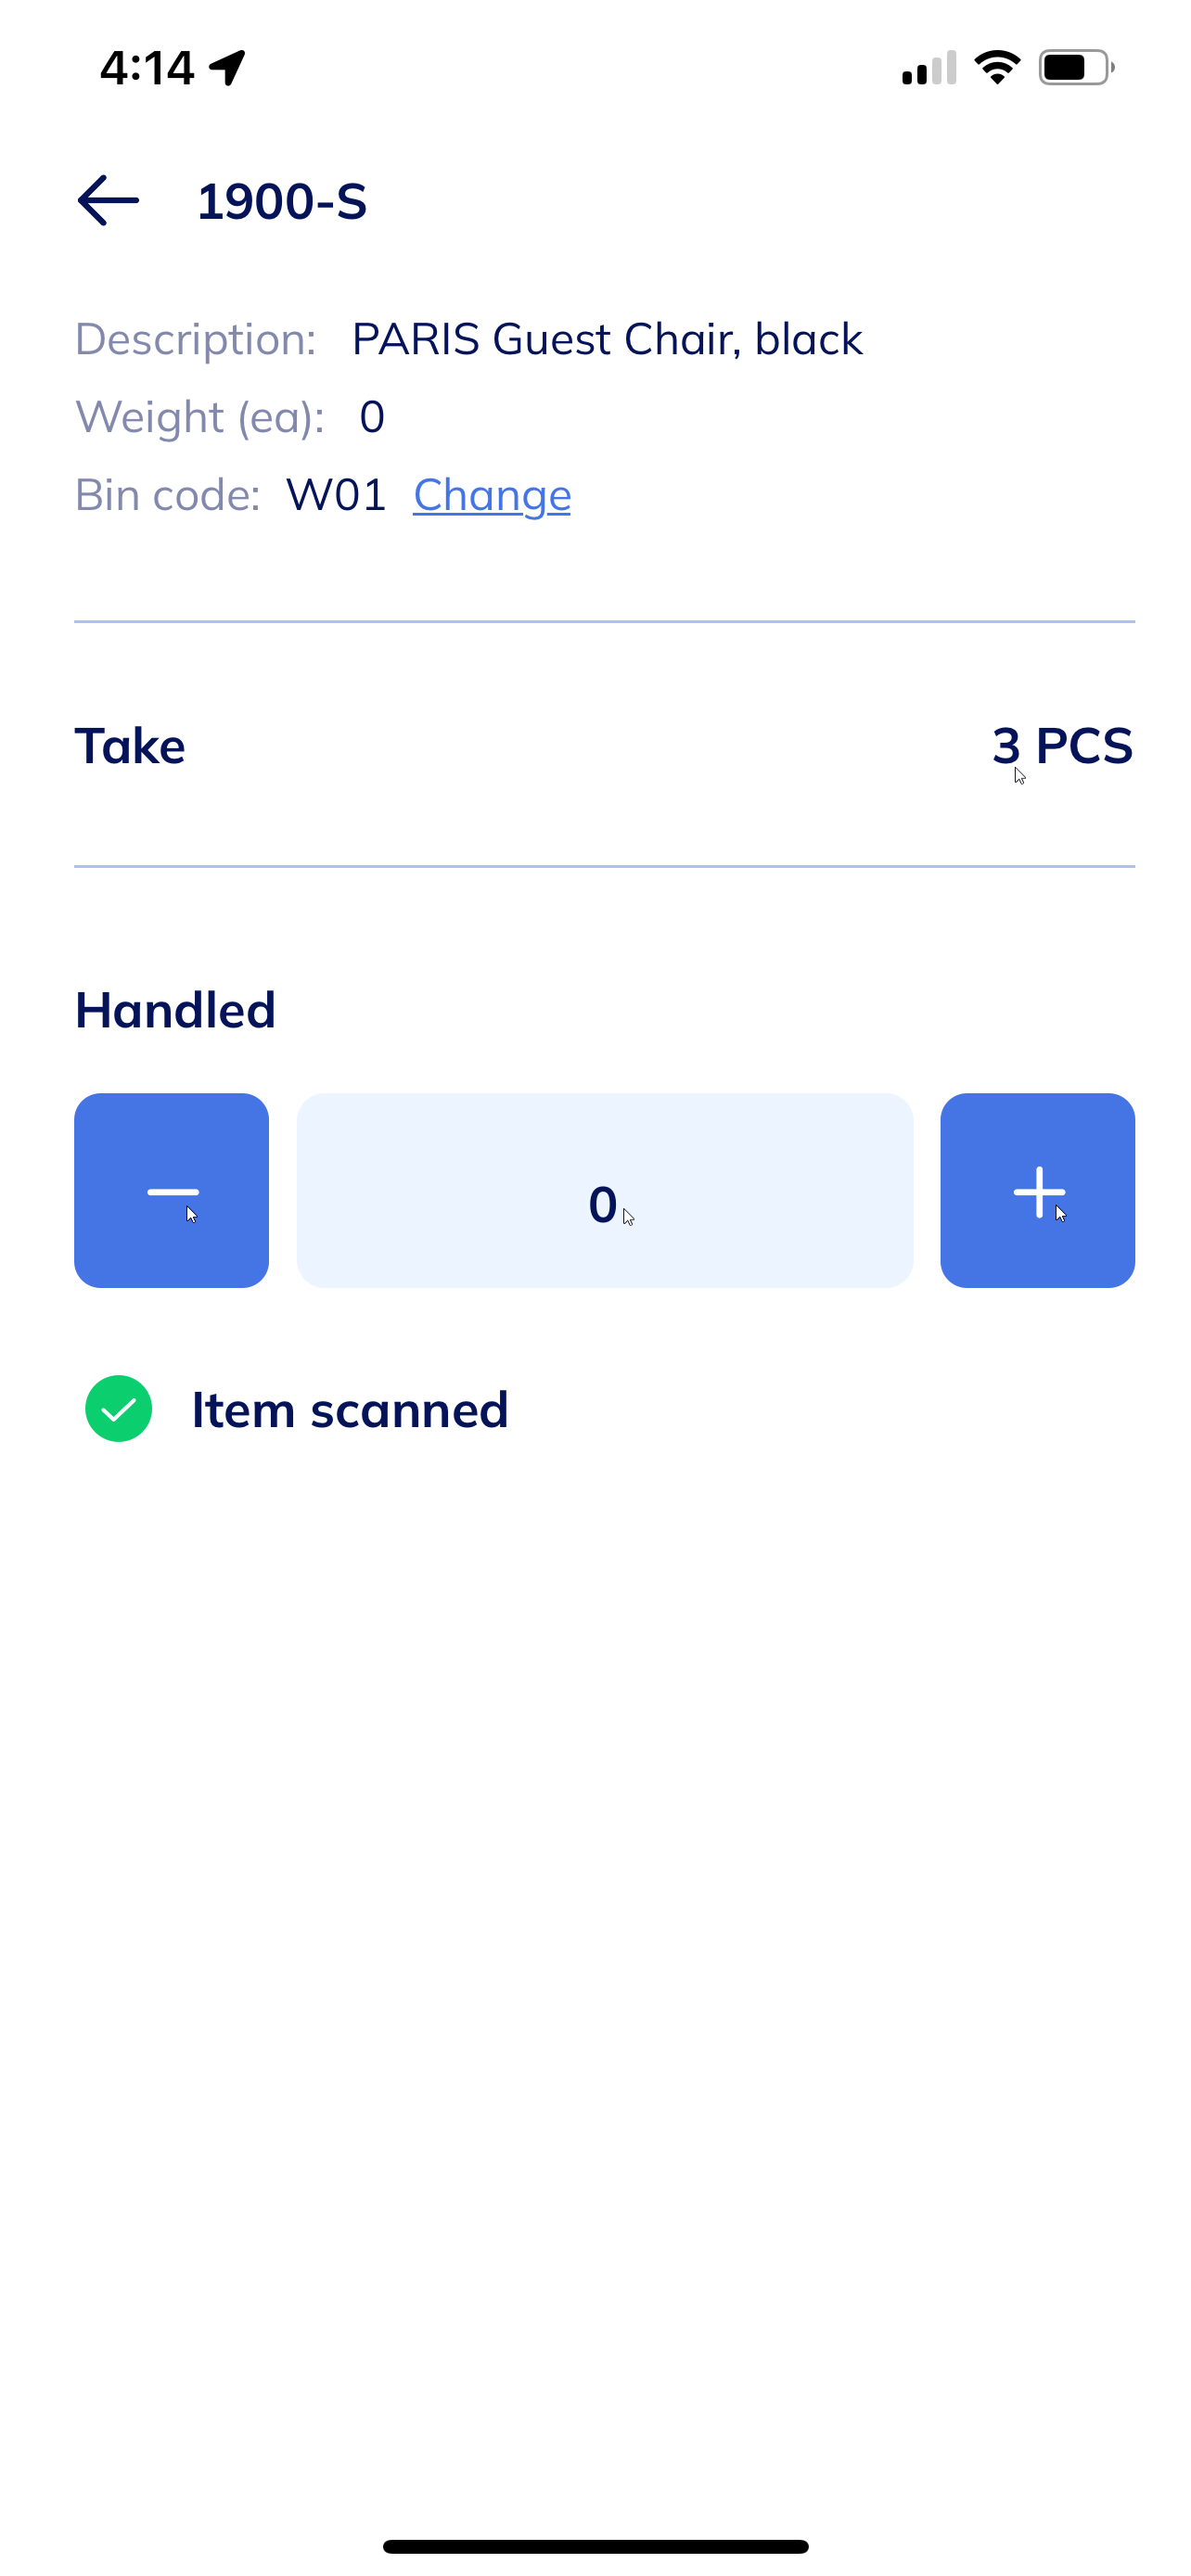
- Select Scan item.
- The OnTime app confirms that items are scanned.

- Select all the items.
Note: You can change the designated bin code when required.
Note: Instead of selecting the + or – button, you can tap on the number and use your keyboard to enter the quantity.
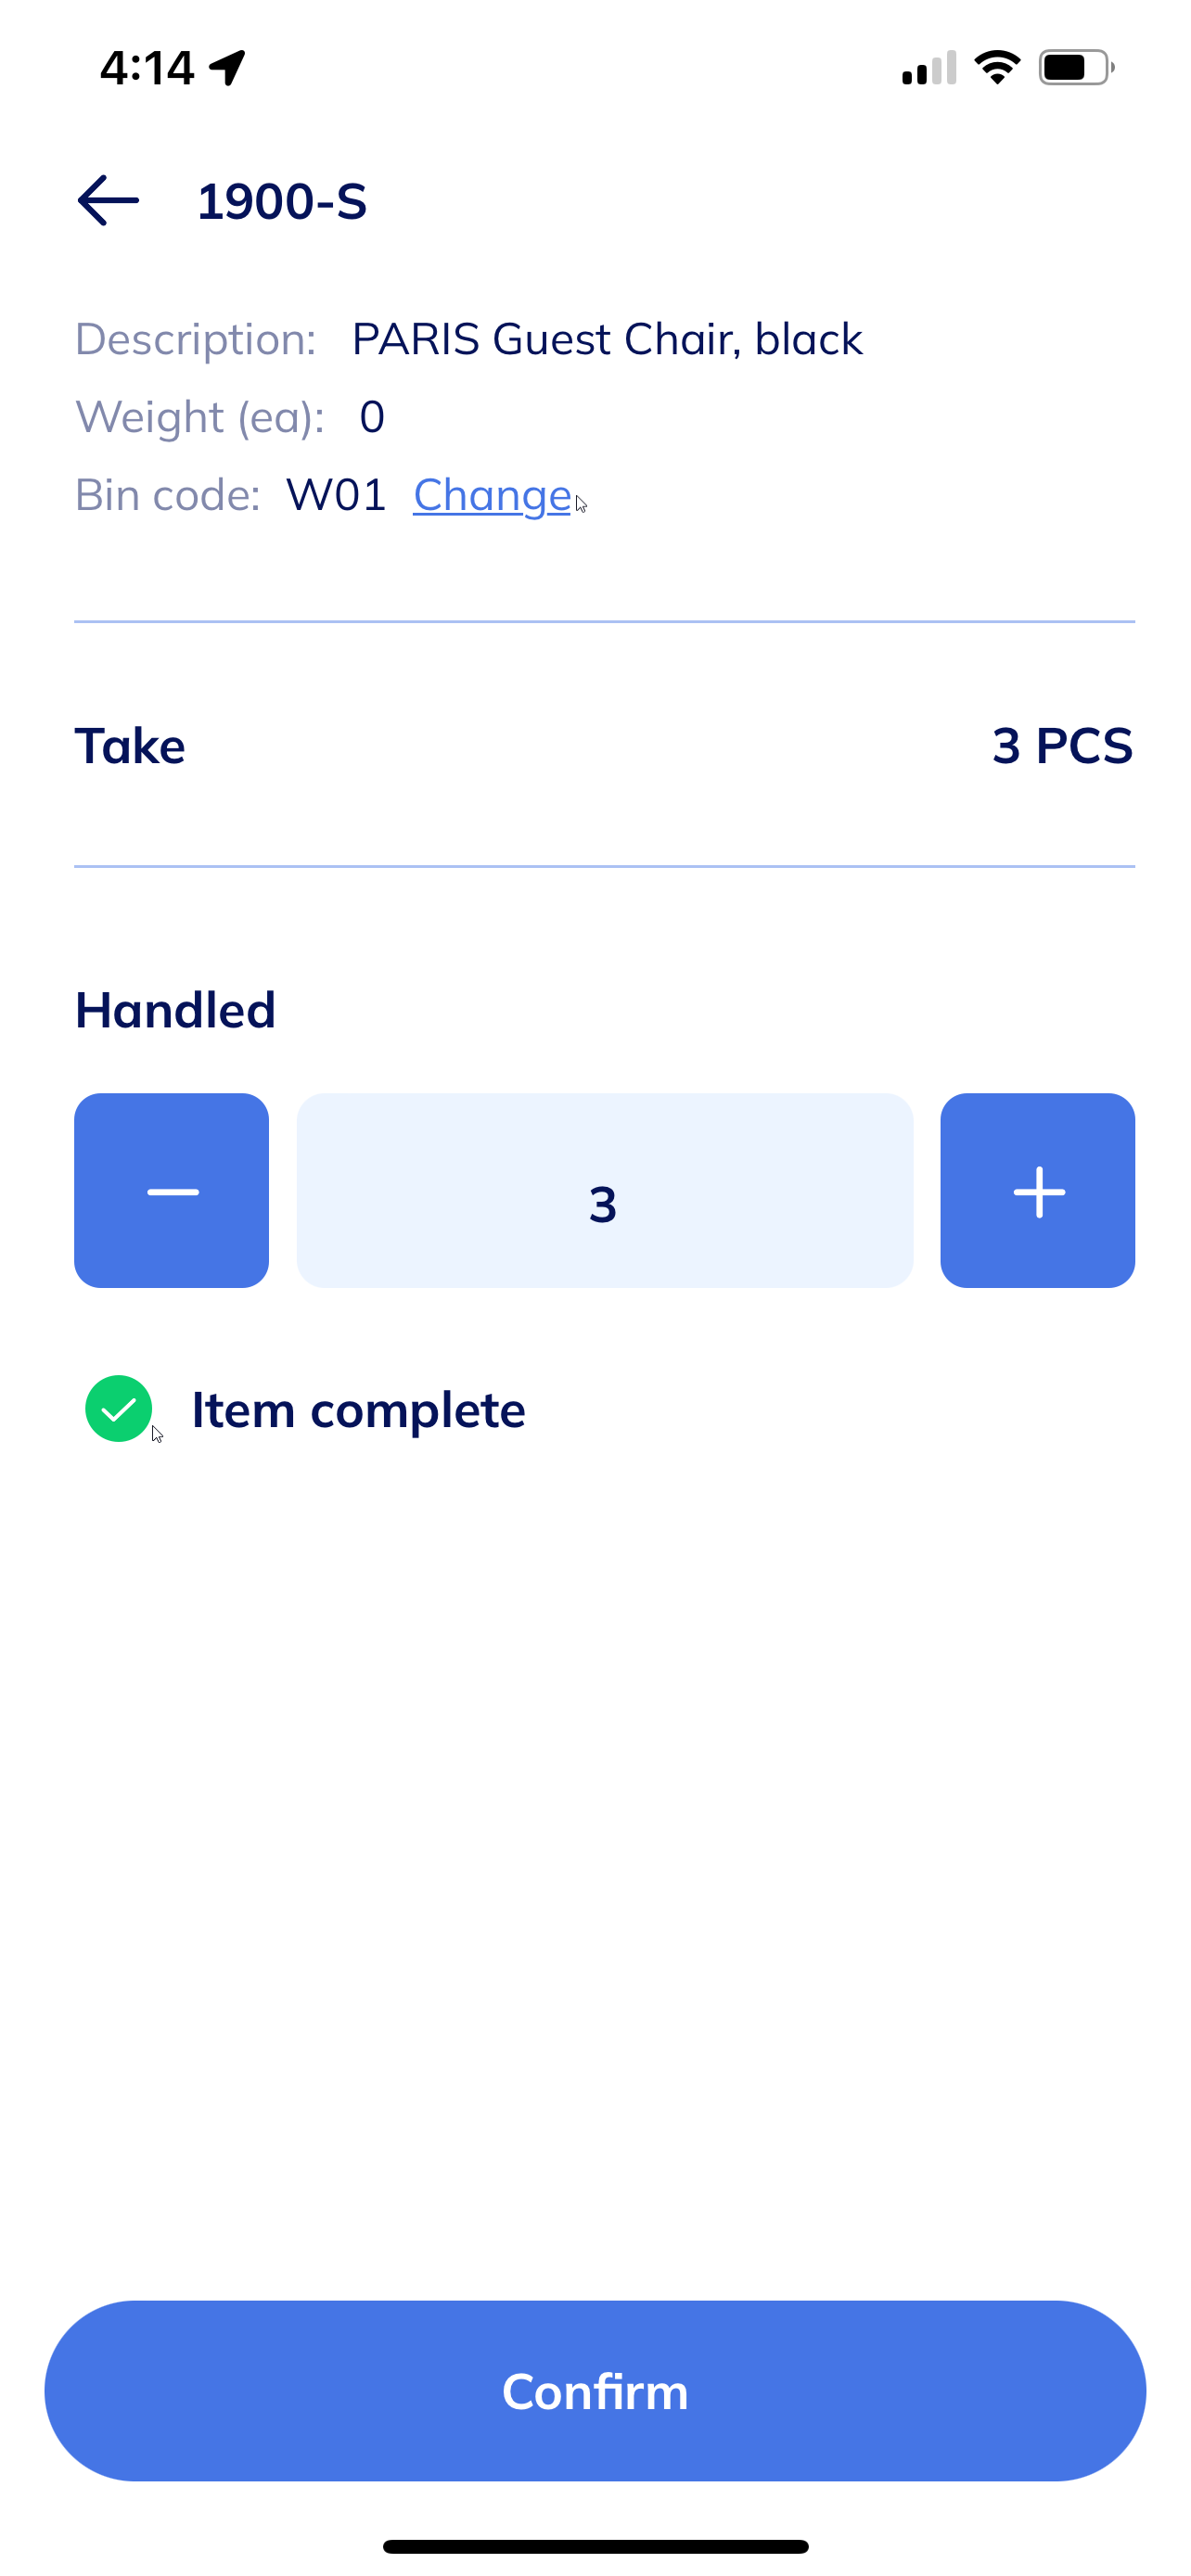
Note: When all items are selected, the app confirms Item complete.
- Select Confirm to continue.
- Take is completed. Place is now enabled.

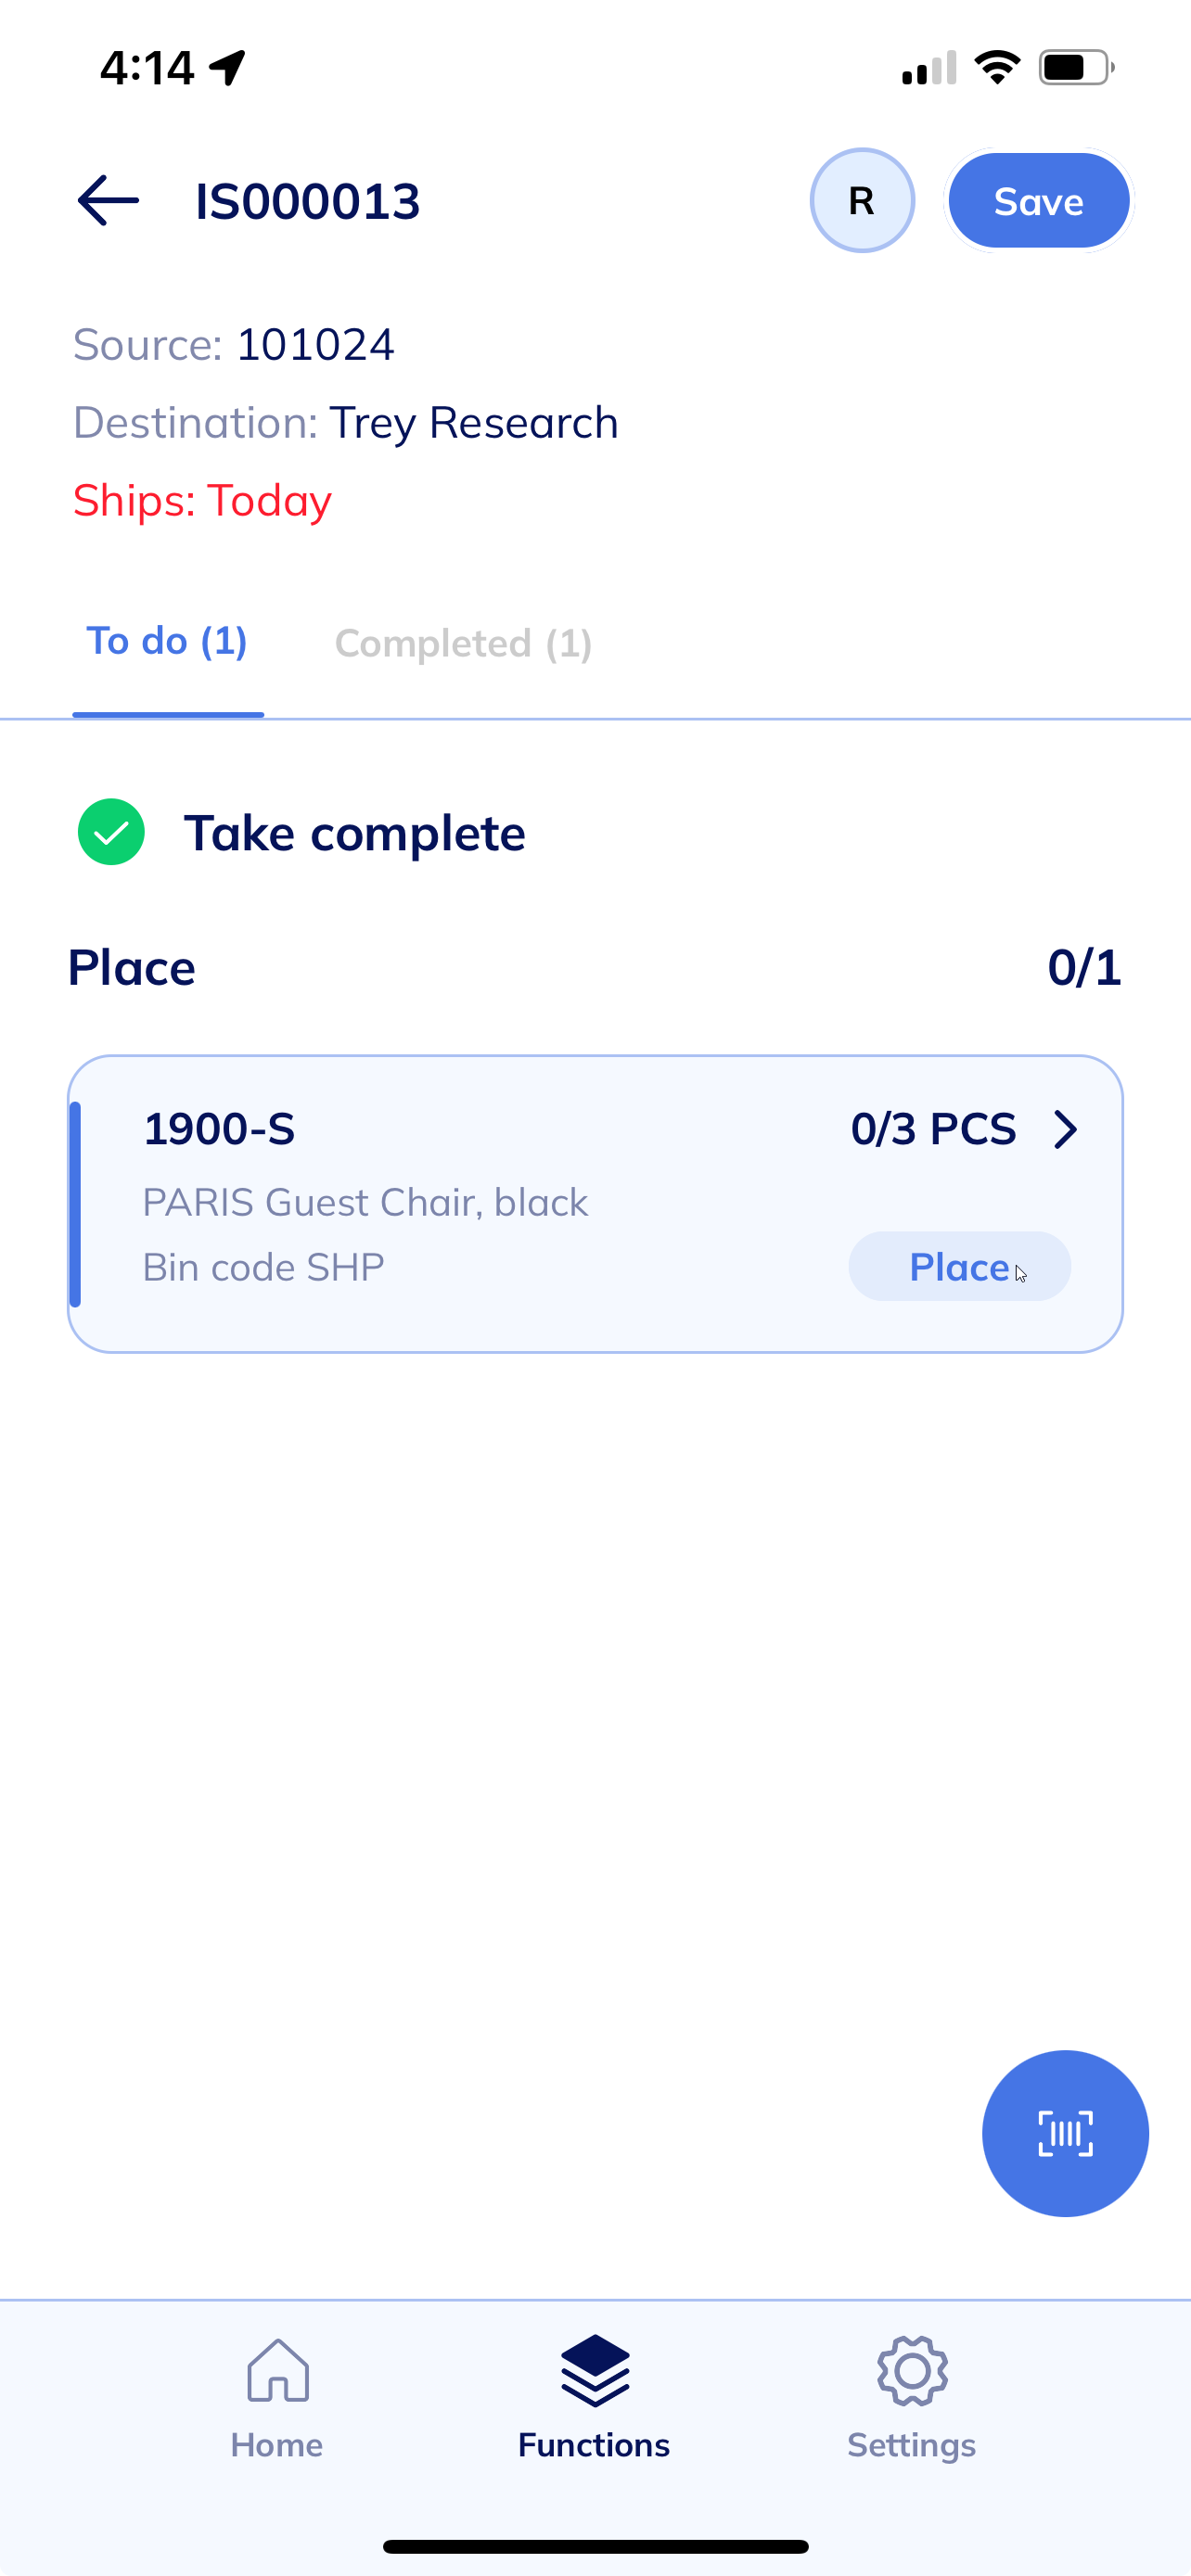
- Select Place.
- Then, select Scan item.
- Select the + or – button to increase or decrease the number of items to ship. You can ship less than the total number of items or the full number of items.
Note: You can change the designated bin code when required. - Select Confirm.
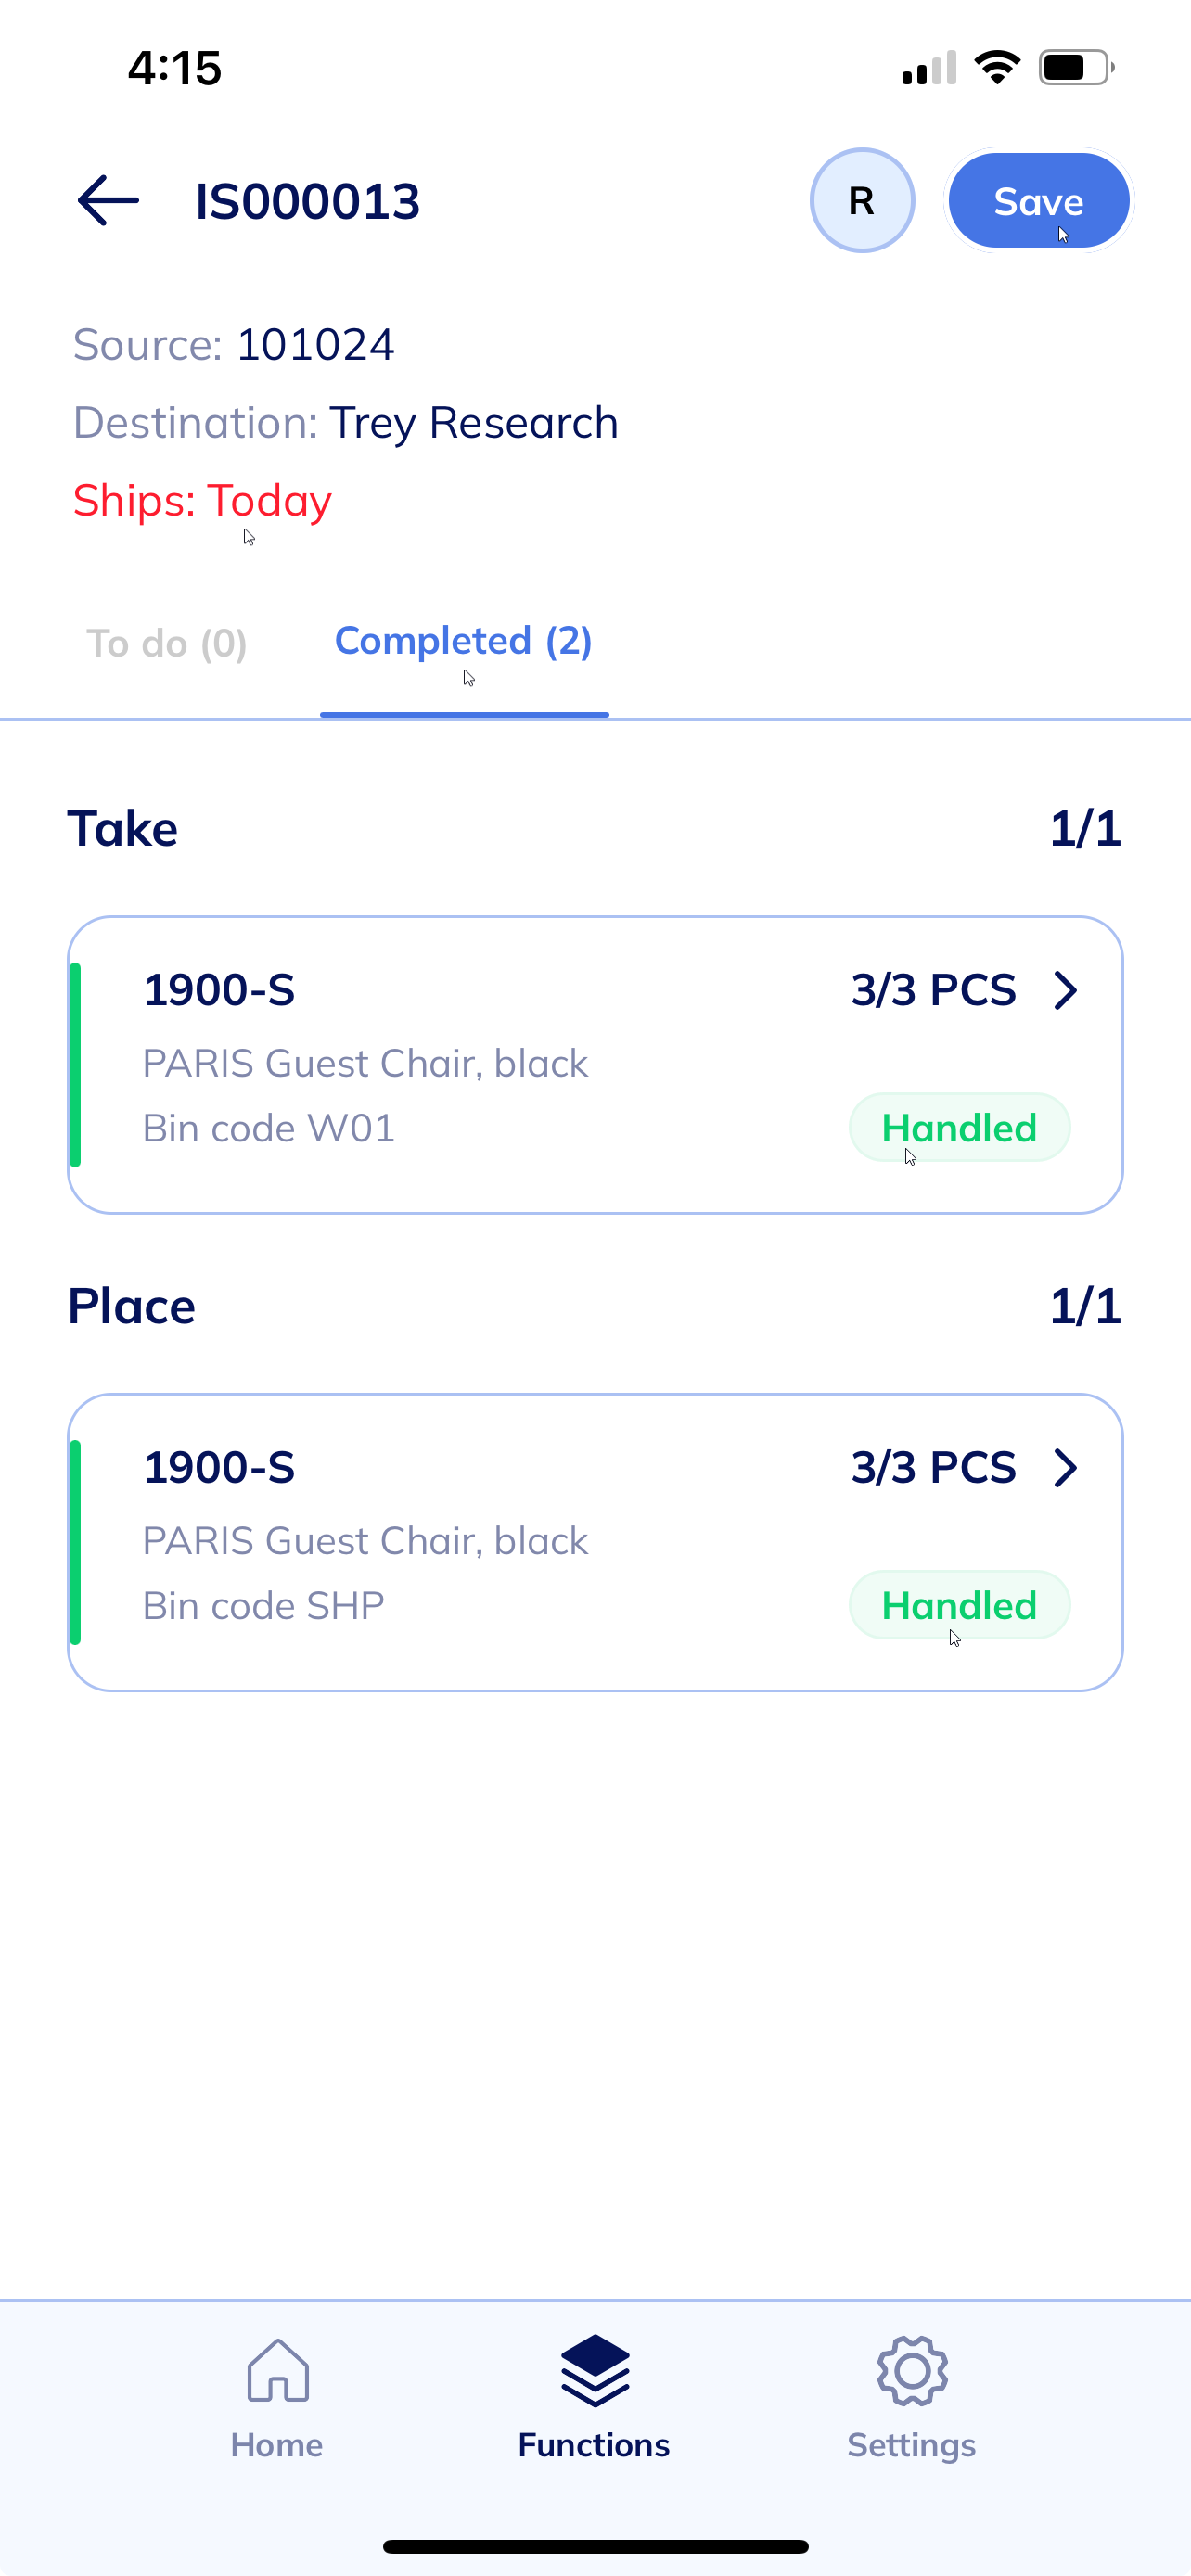
- Place is completed. The pick screen displays both Take and Place are handled as completed tasks.

- Select Save on the top right-hand corner of the page. This action saves the pick process in Wiise ERP desktop.
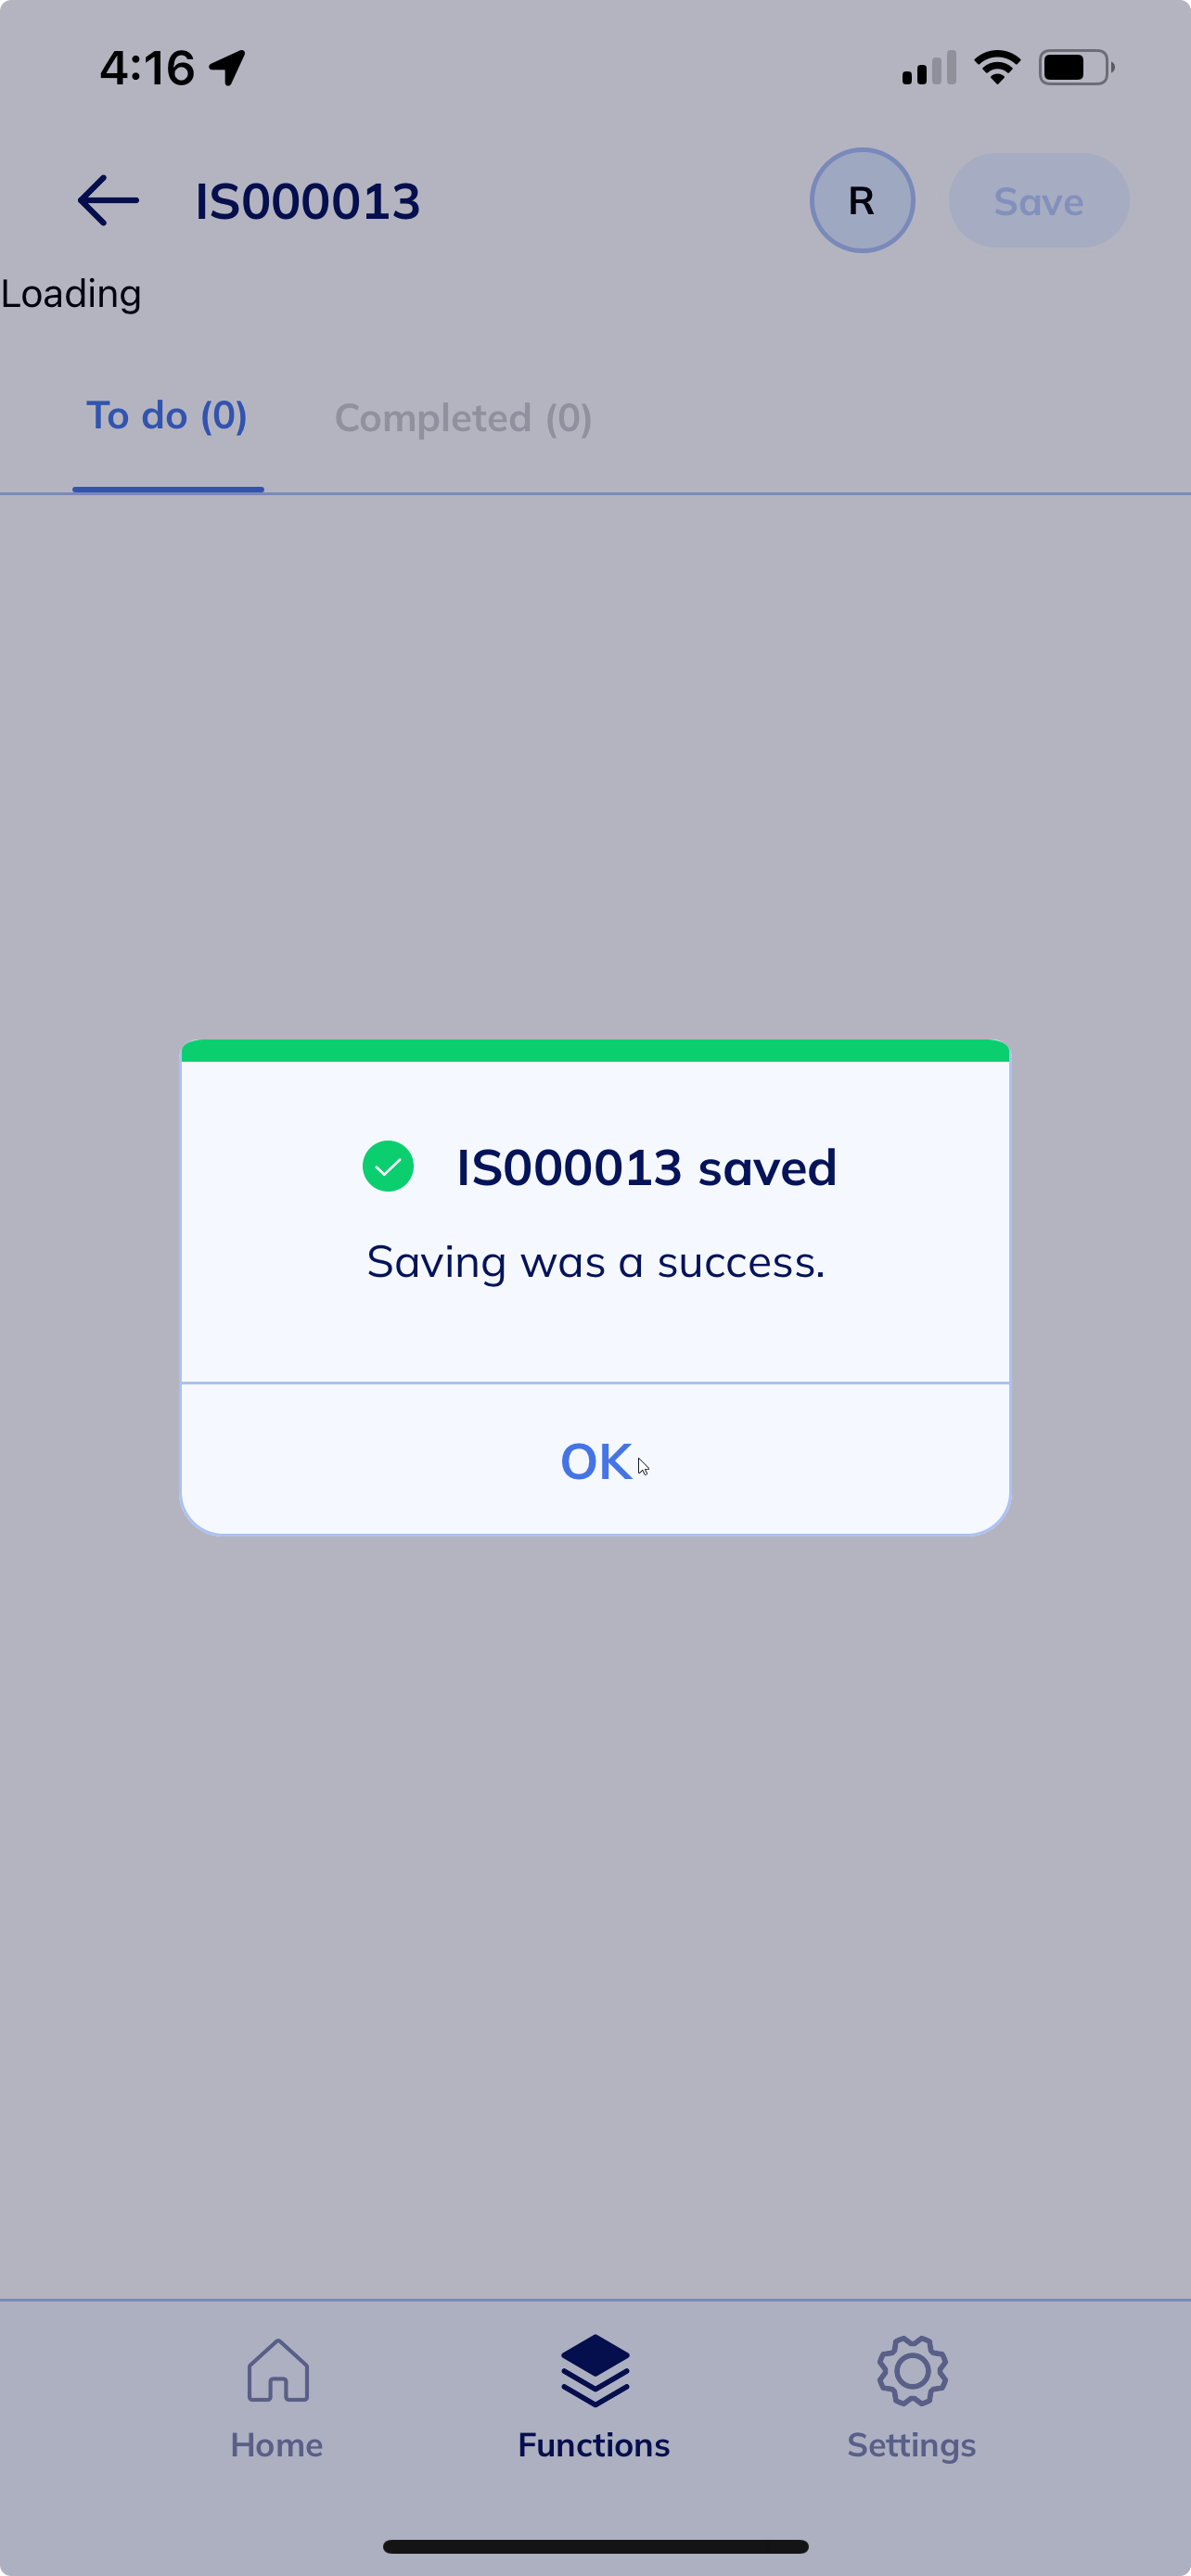
- A message displays confirming that the warehouse pick is saved.

- Select OK to continue.
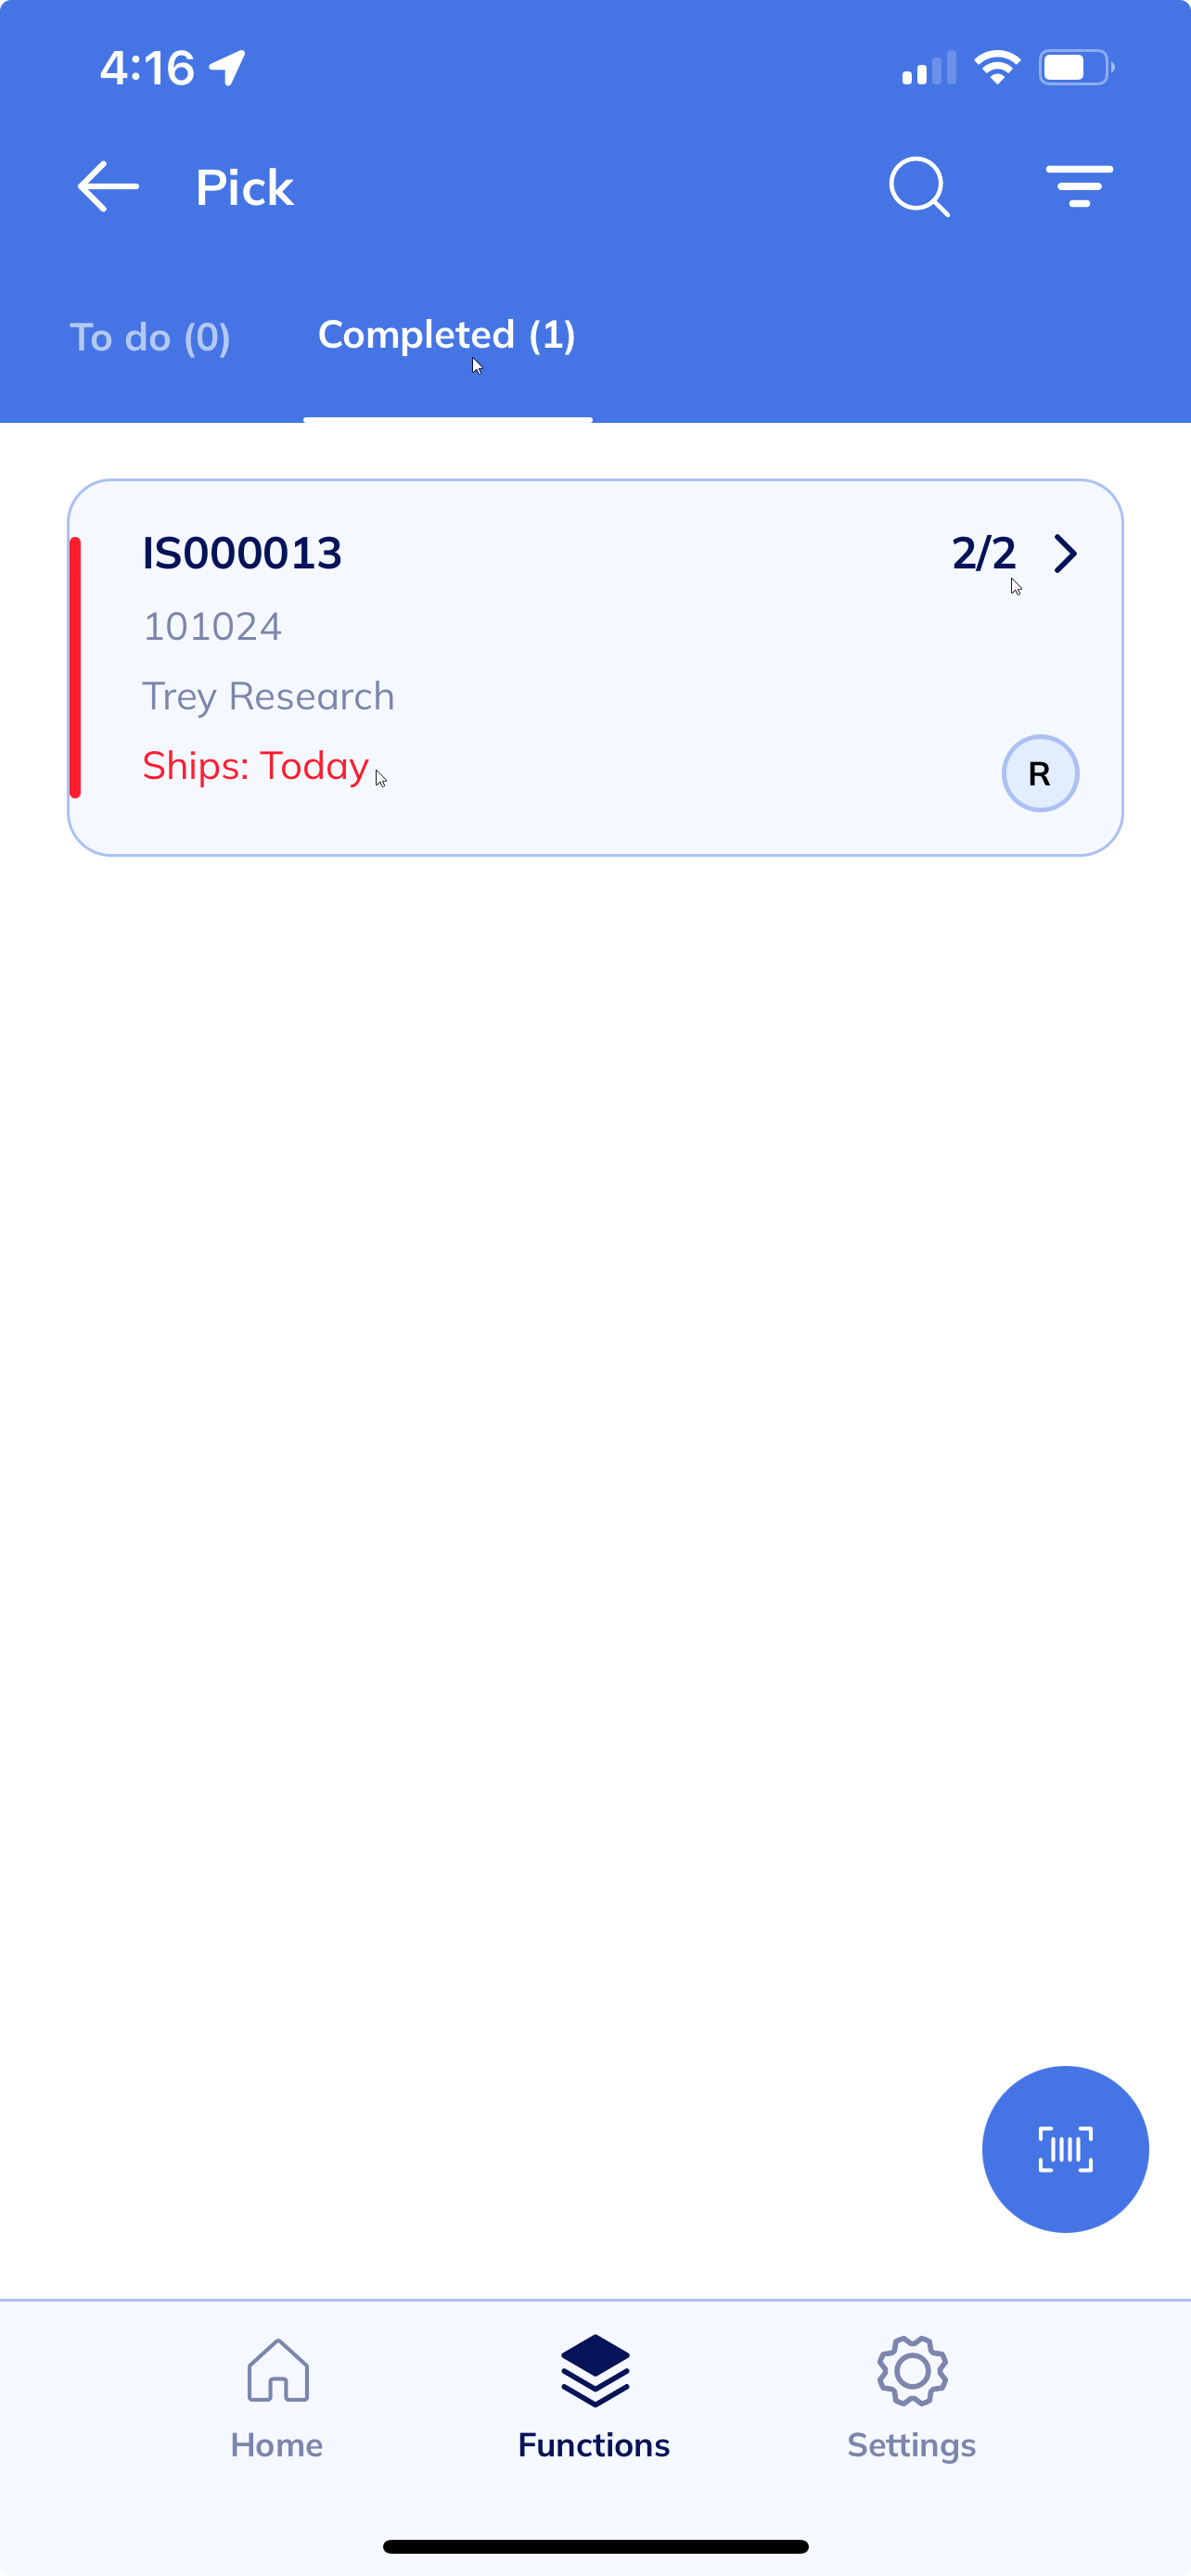
- You’ll be taken back to the completed Pick task.

- Select the completed pick again.
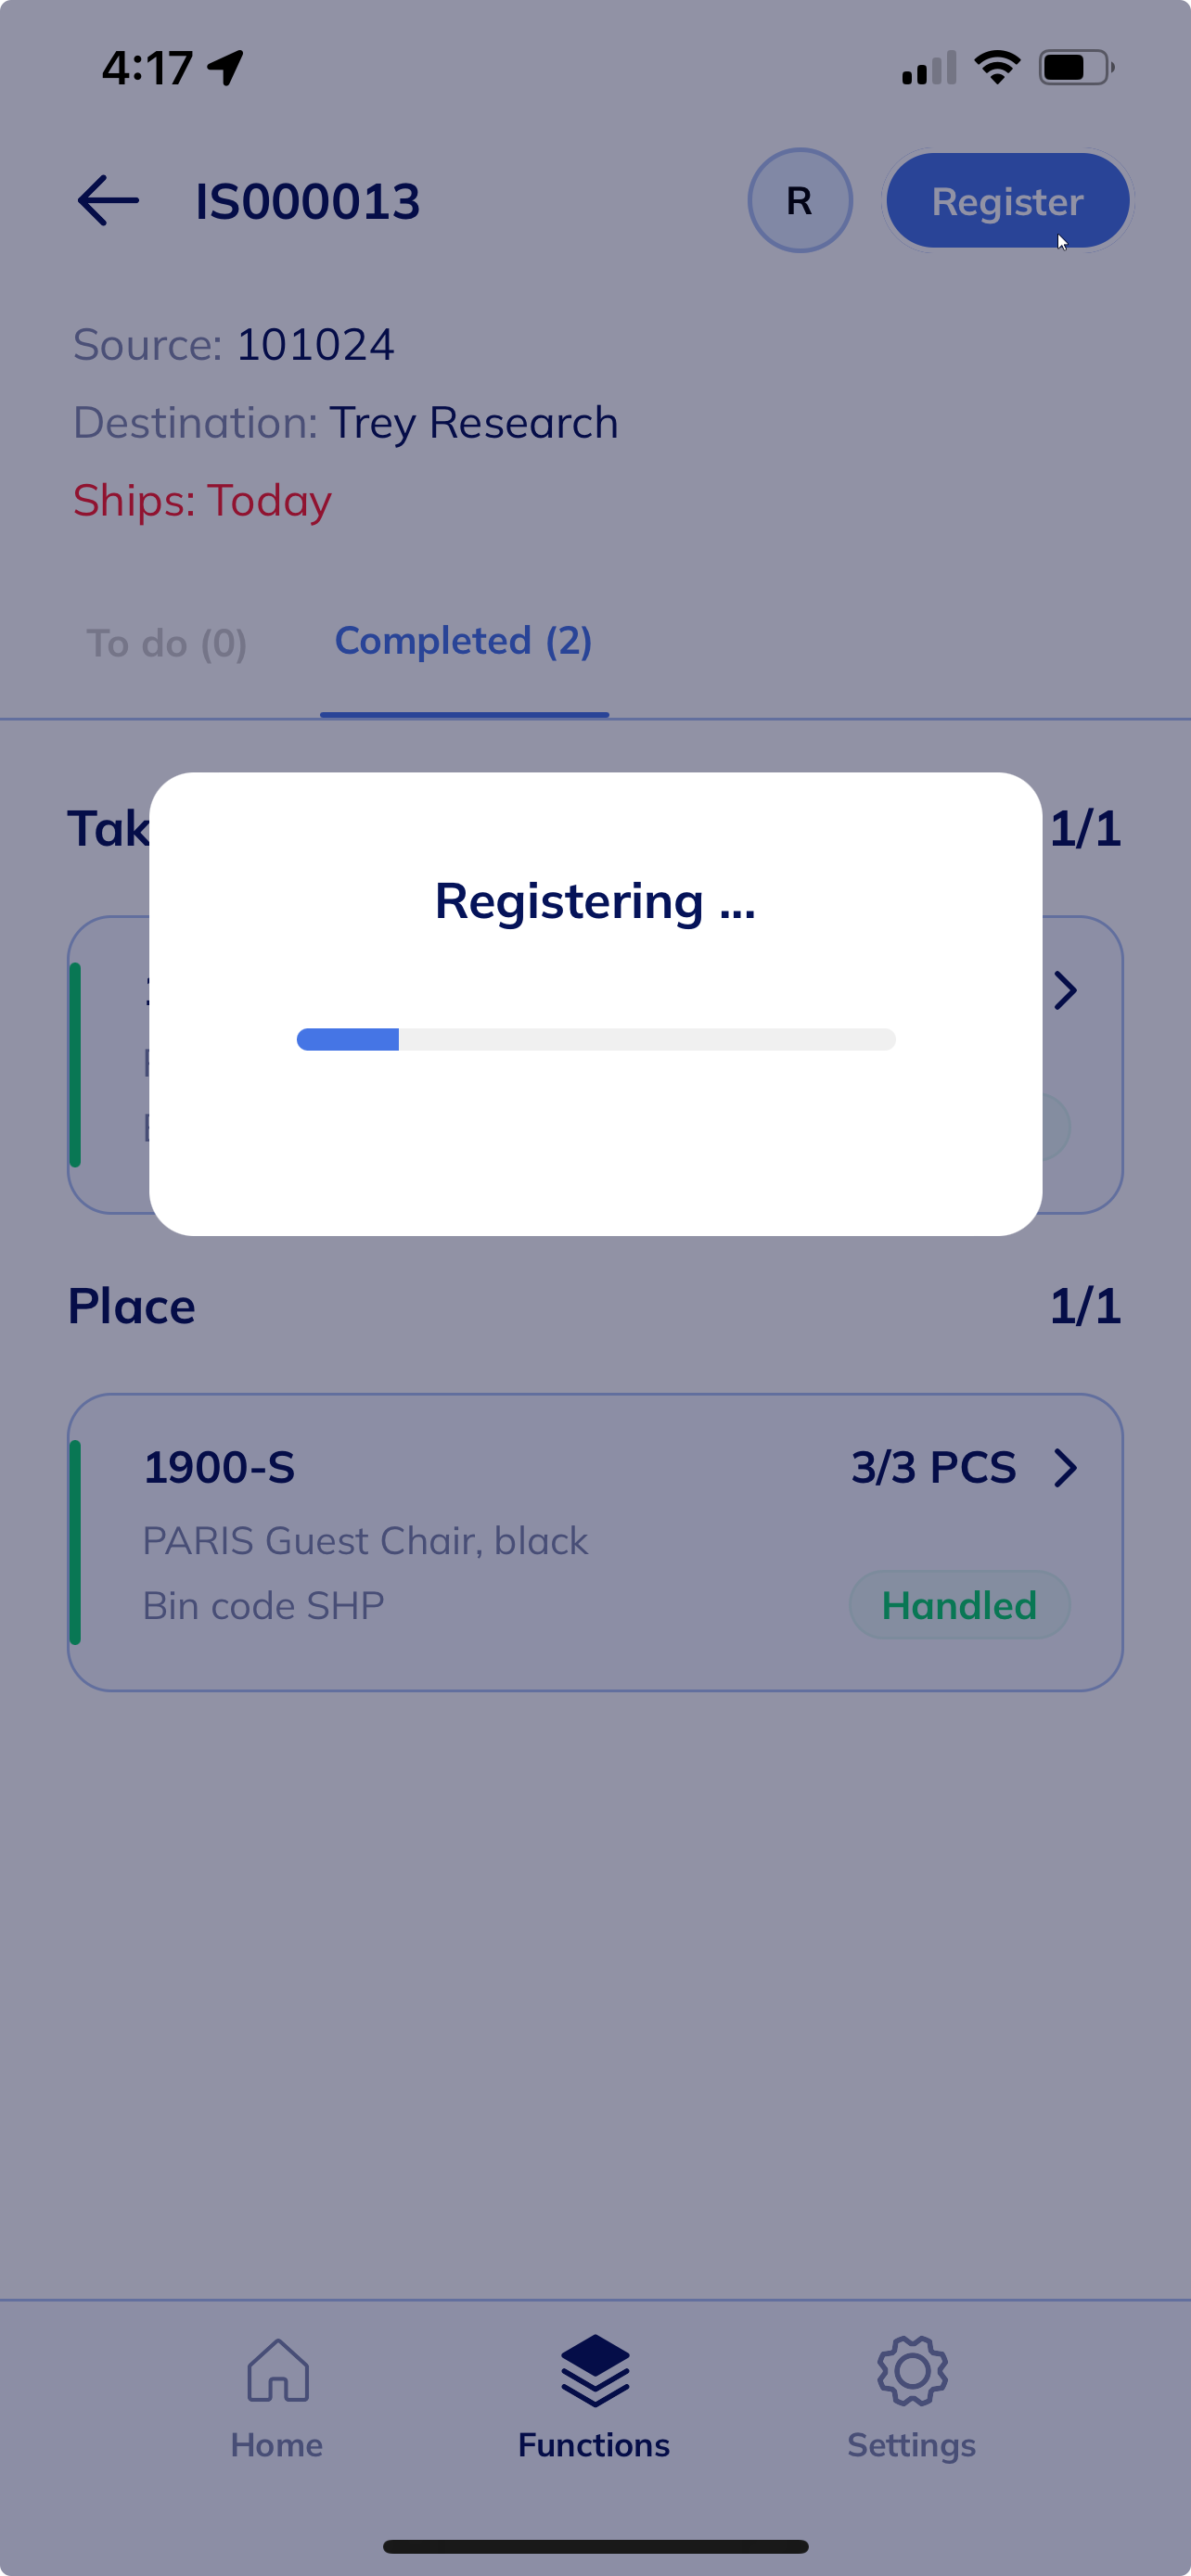
- Then, select Register for the completed tasks on the top right-hand corner of the screen.

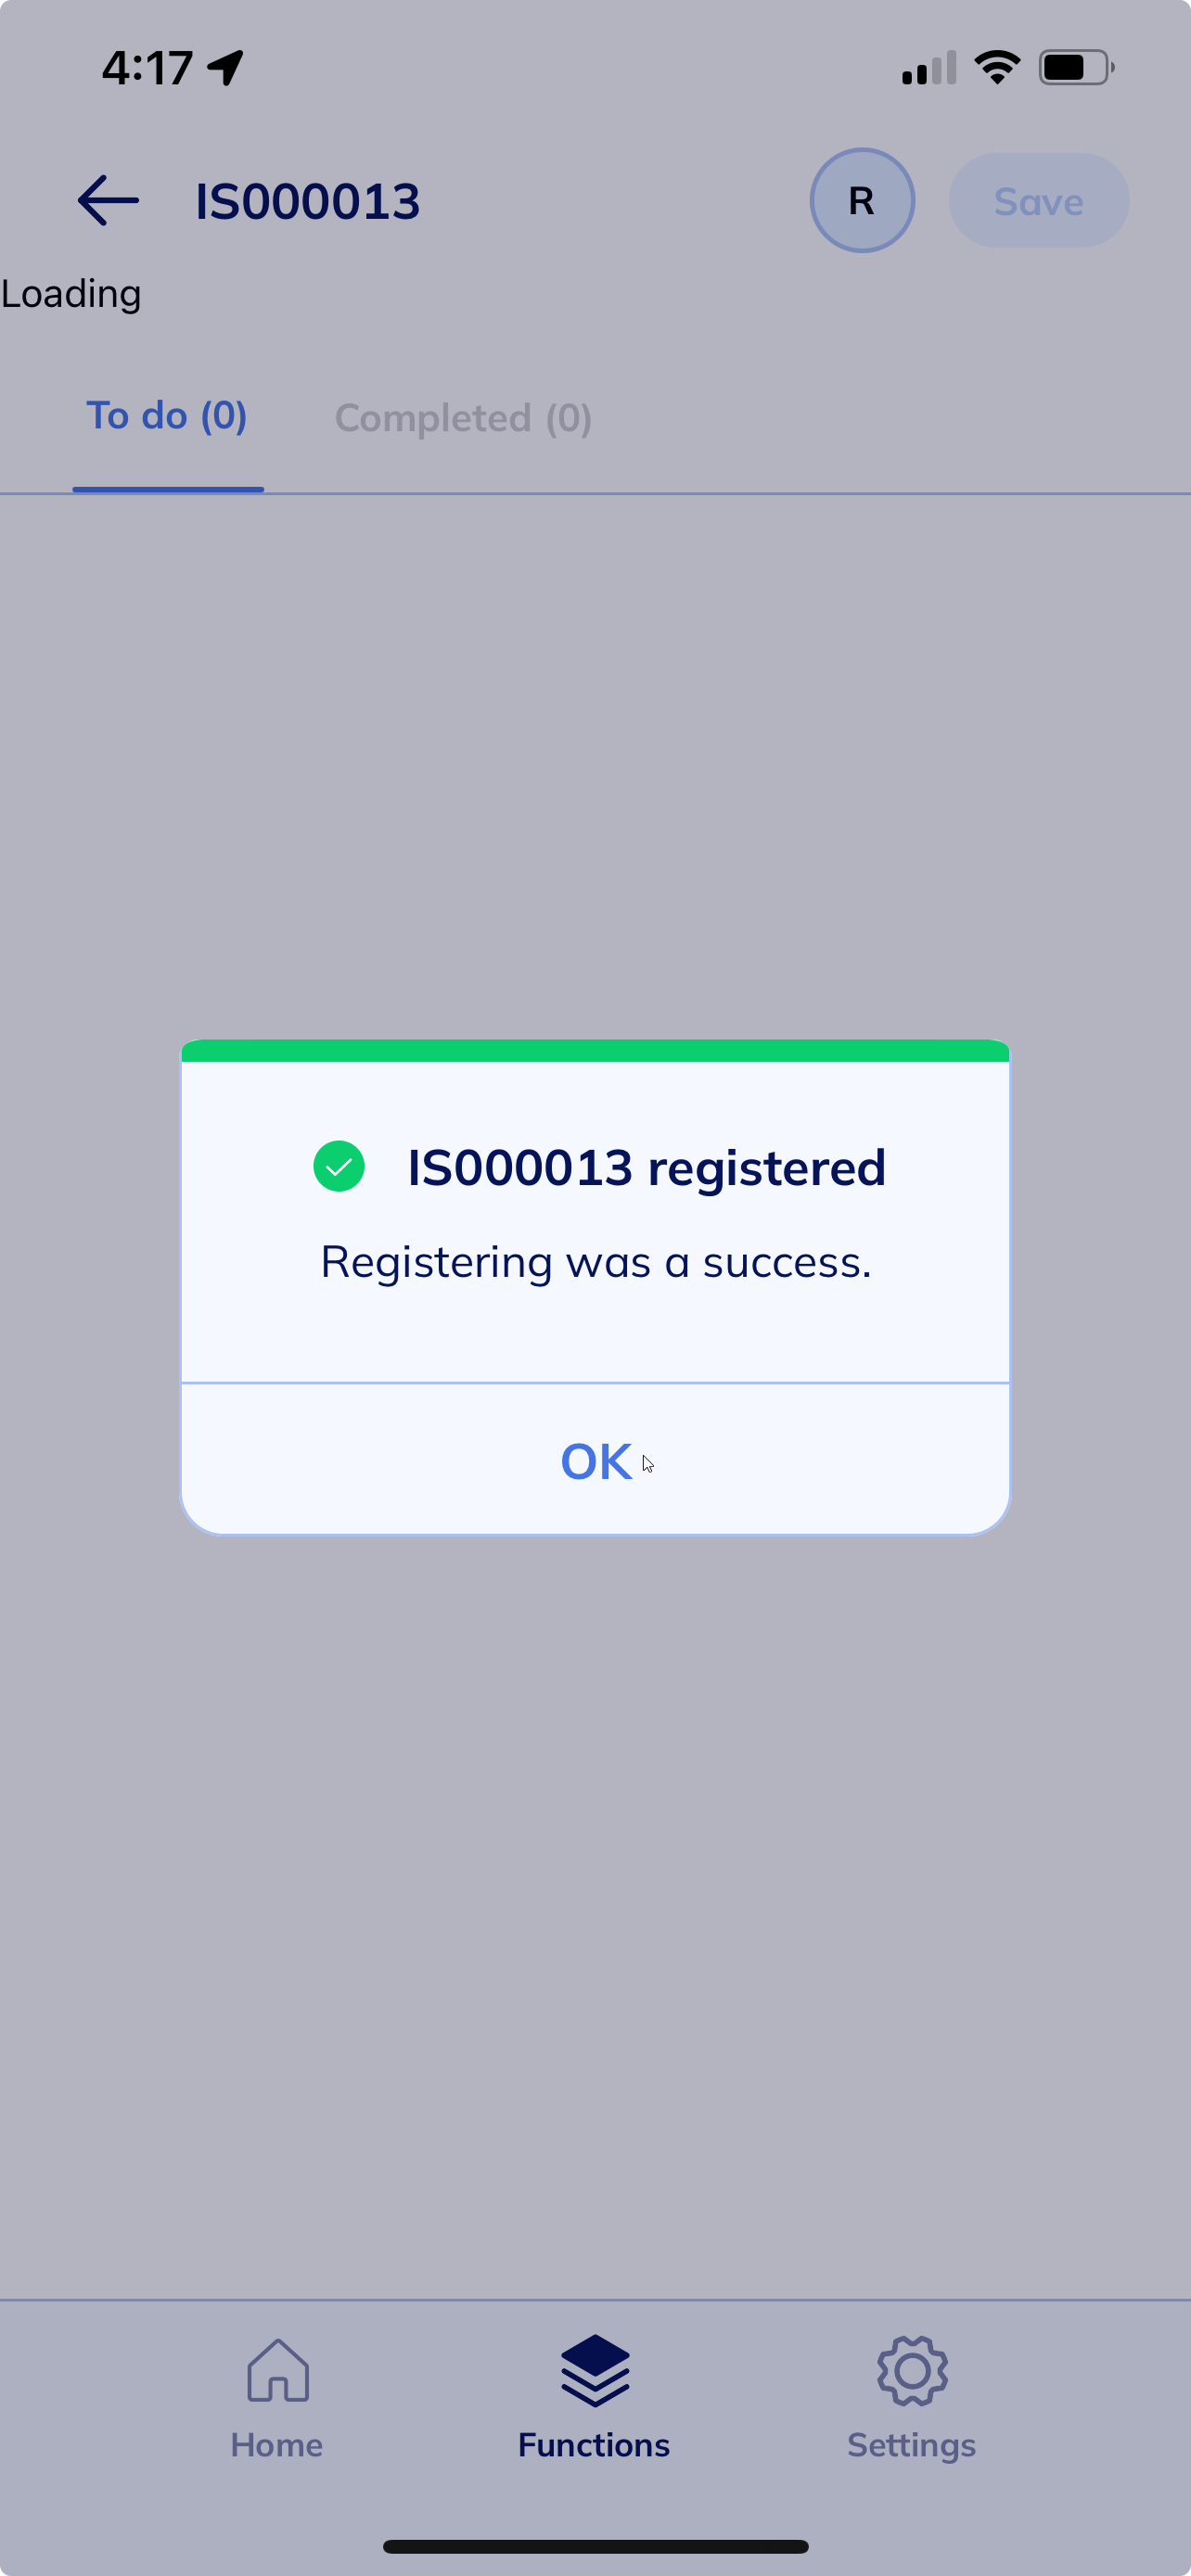
- A message displays confirming that registering was a success.
Note: The registered warehouse pick updates Wiise ERP desktop.
- Select OK to continue.
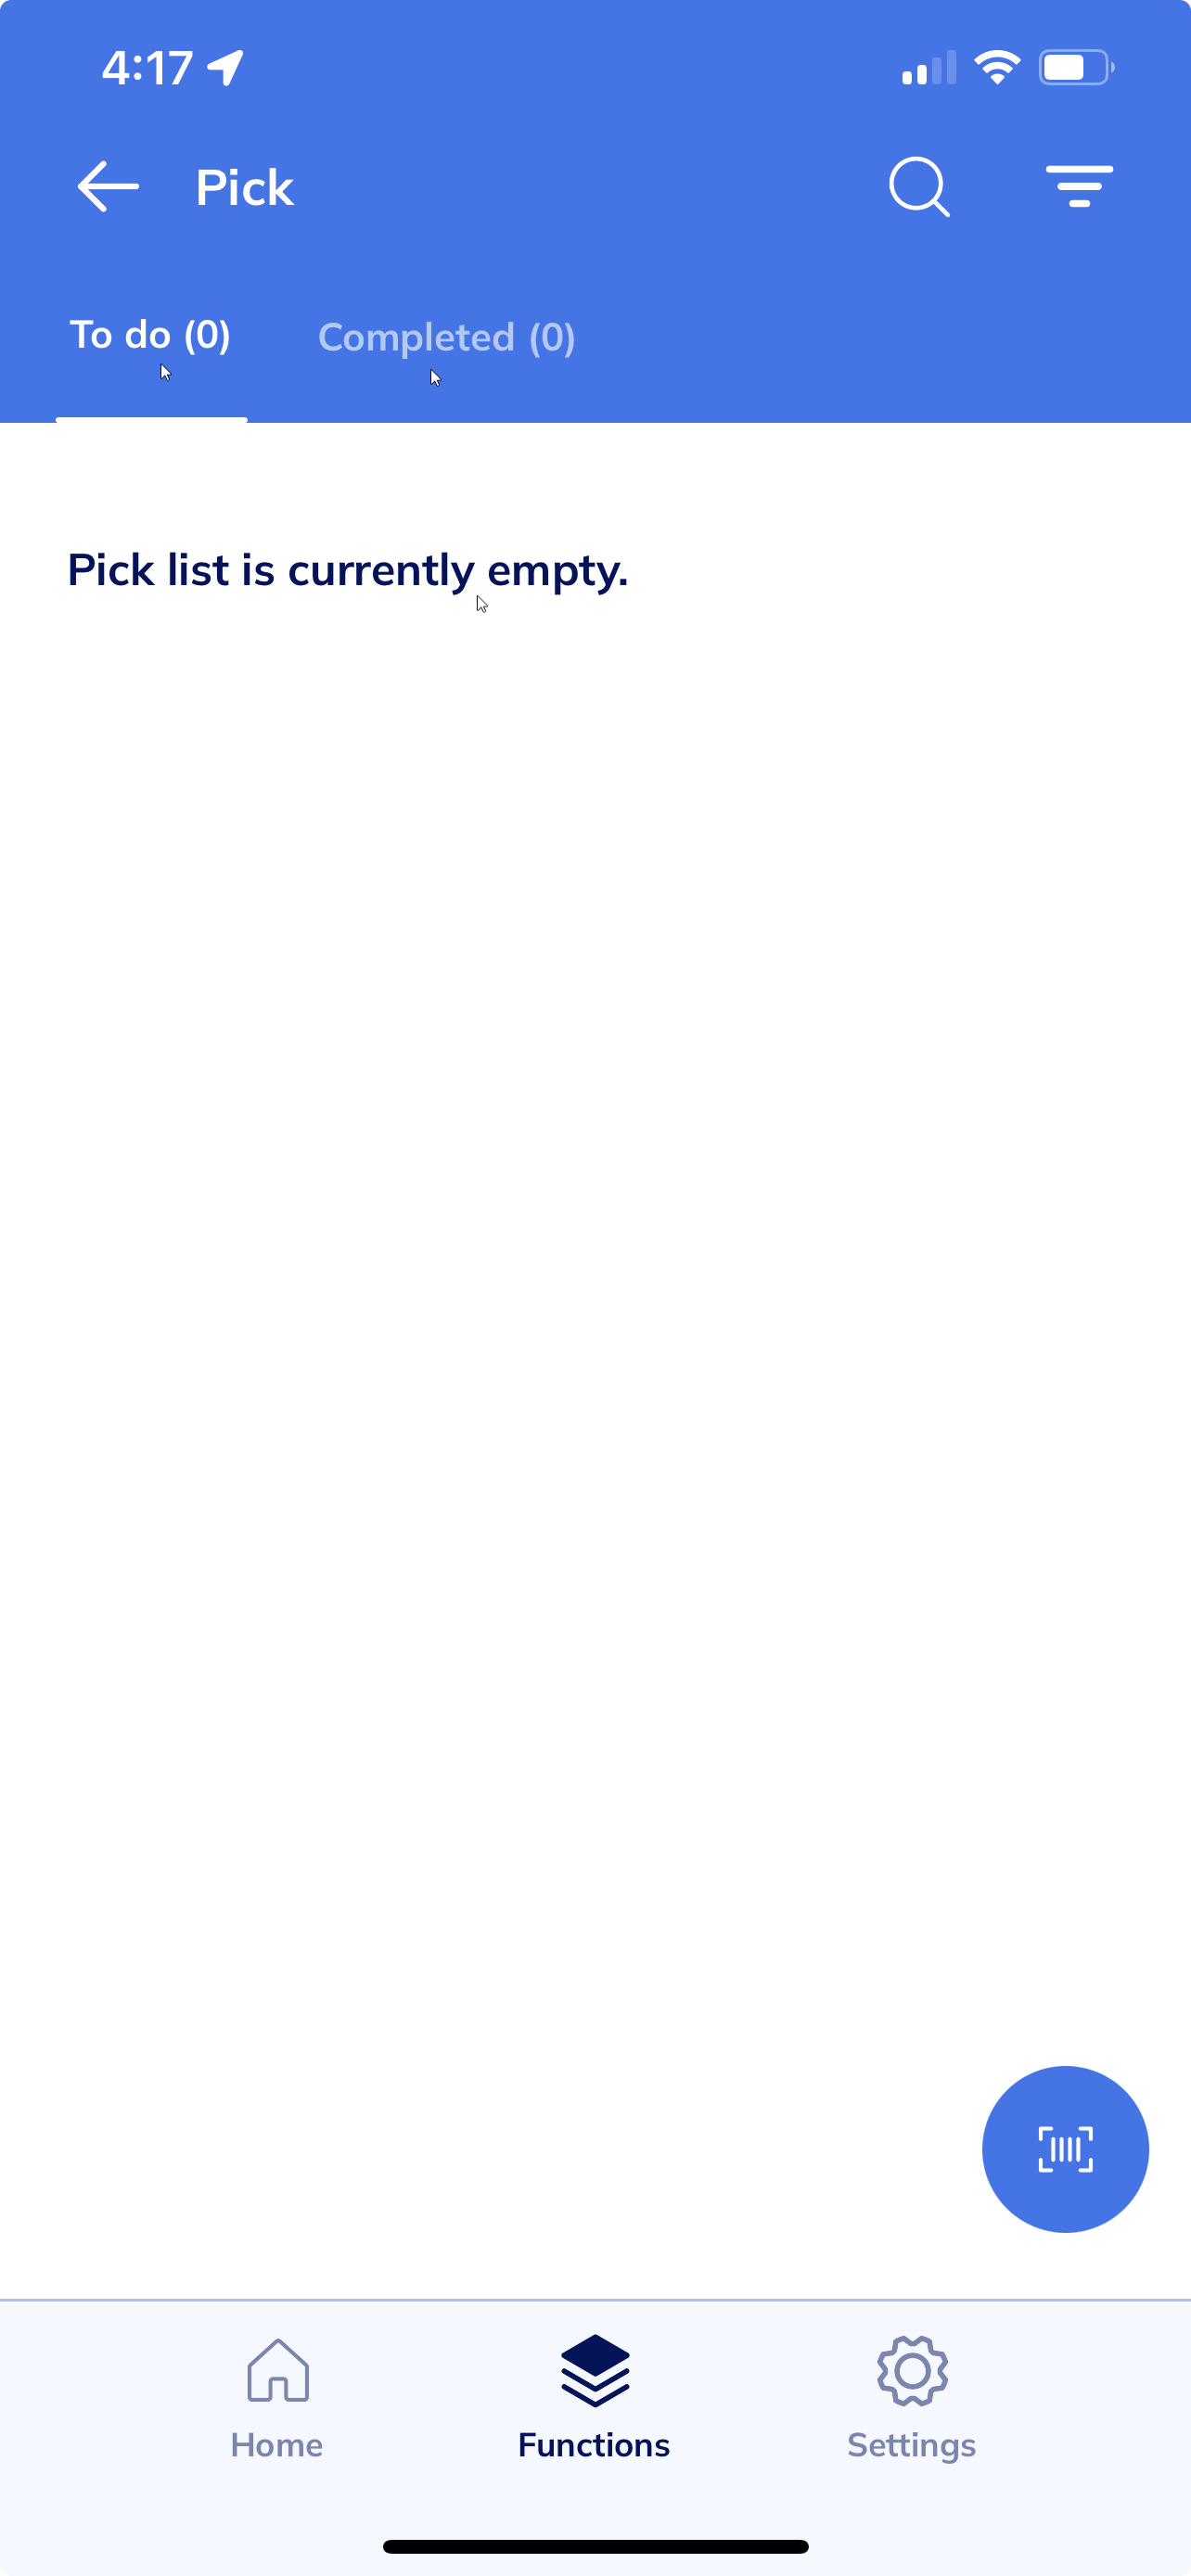
- The Pick task is completed and disappears from the To do and Completed list.

Note: The Ship task disappears after the Pick task is completed. The Ship process completes the posting for shipment. - You’ve completed the warehouse pick process in the OnTime app.
Note: You can complete the shipment process in the ERP desktop.
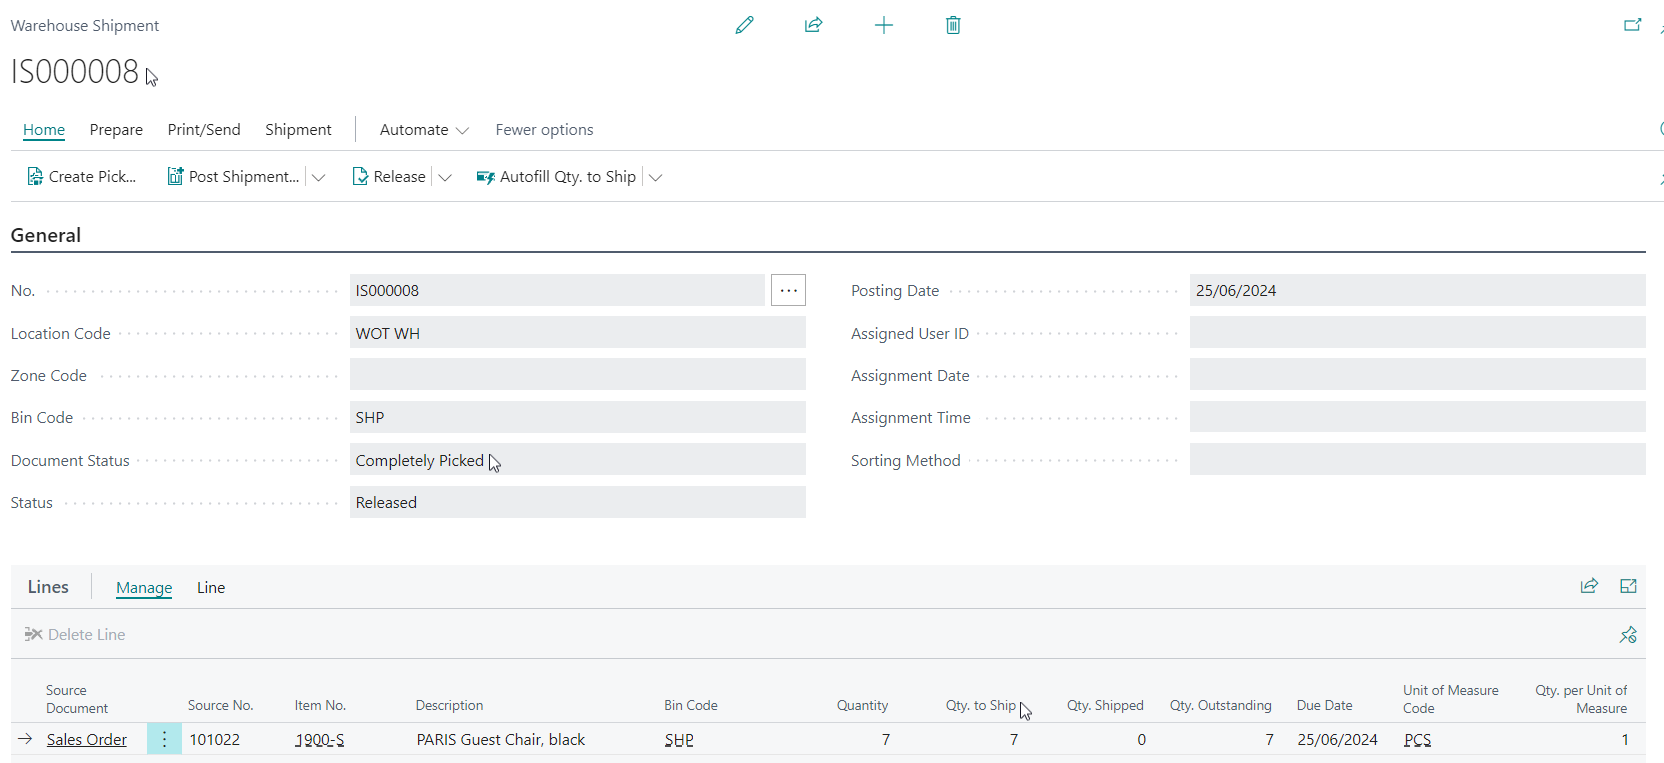
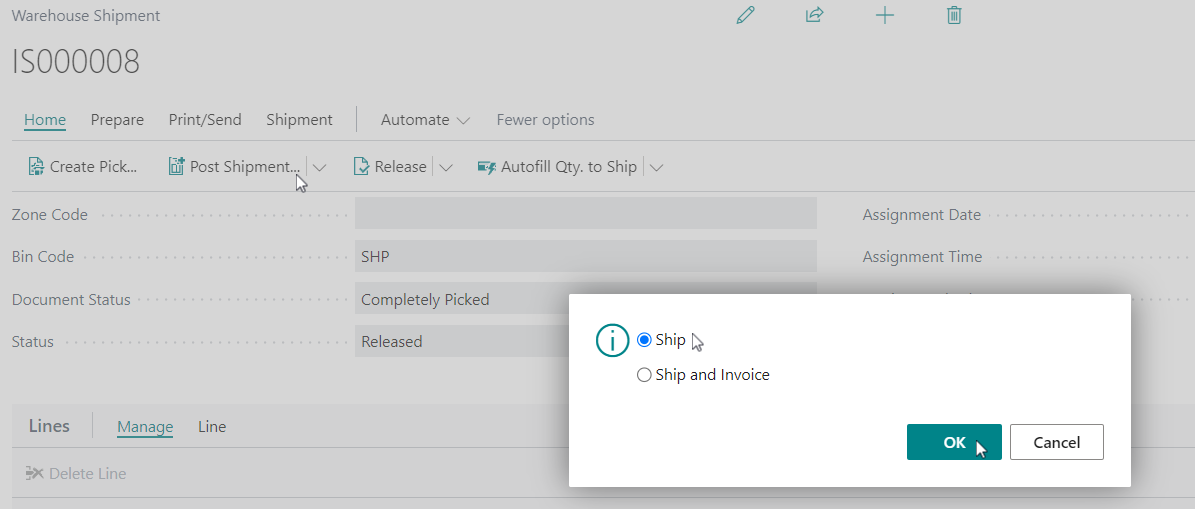
- In Wiise ERP desktop, the warehouse shipment document status displays as Completely Picked.

- Select Post Shipment. Select Ship. Then, select OK.

- Select Post Shipment. Select Ship. Then, select OK.
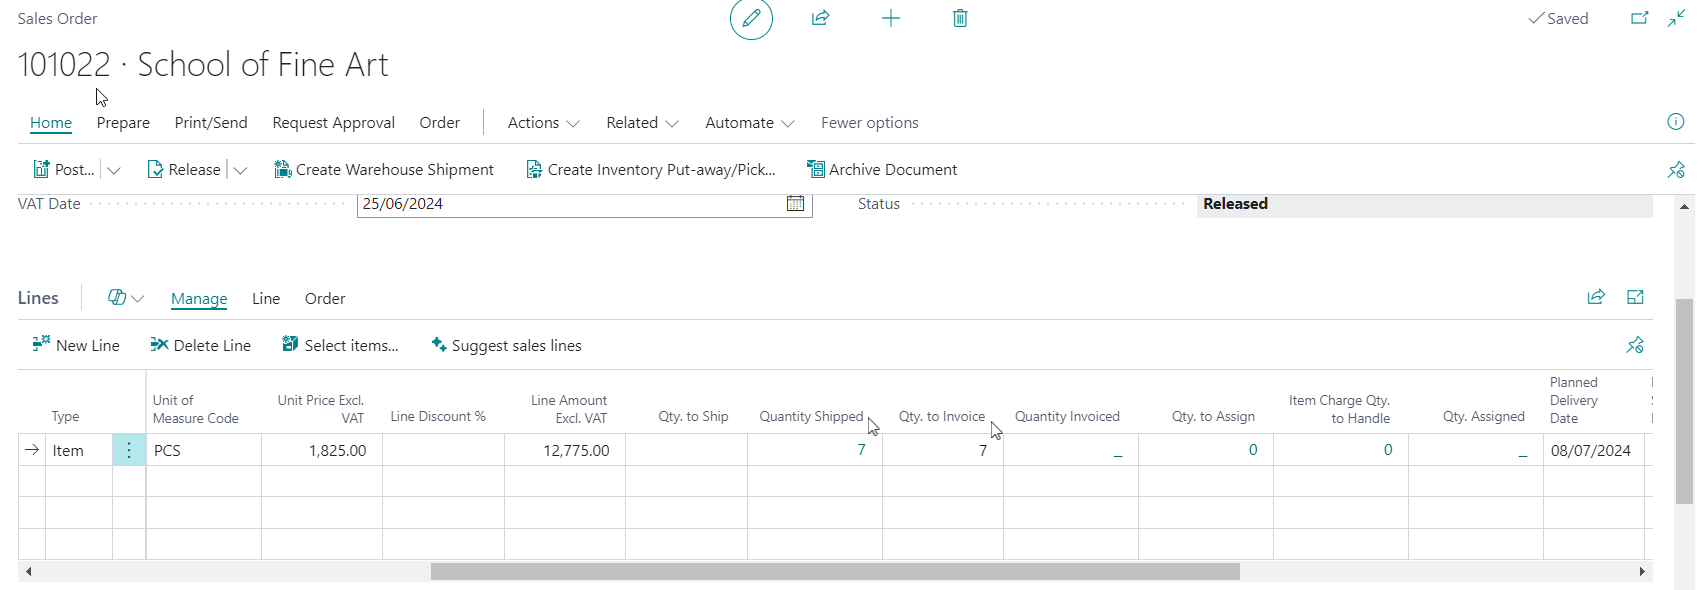
- The items are shipped. The Lines section is updated to show that items have been shipped and are pending invoice.

- You’ve completed warehouse shipment in Wiise ERP desktop.
Note: You can invoice the sales order by posting it into any invoice.
What’s next?
Find out how to receive and put away goods using OnTime.
Need more help?
No problem, that's what we're here for. Reach out to support@wiise.com anytime you can't find what you're looking for.