Overview:
- Learn how to do an inventory pick using OnTime
Why use Ontime to do inventory pick?
Using Ontime, pickers can receive pick information directly to their mobile devices. Ontime increases the accuracy and efficiency of the order-picking process.
How to use Ontime to do inventory pick?
Here are the steps required to be completed by the warehouse manager for inventory pick tasks to appear on the OnTime app.
- The warehouse manager creates an order on Wiise ERP desktop.
- Complete steps 1 to 9 of creating an sales order with an inventory pick option enabled.

Below are the steps the warehouse worker completes on the OnTime app.
Note: You can complete your inventory pick starting from either the Ship or Pick process. When you select Ship, you’ll be required to update the shipping details and then complete the related inventory pick. You’ll be redirected back to Ship to complete the process. - Login to the OnTime app.
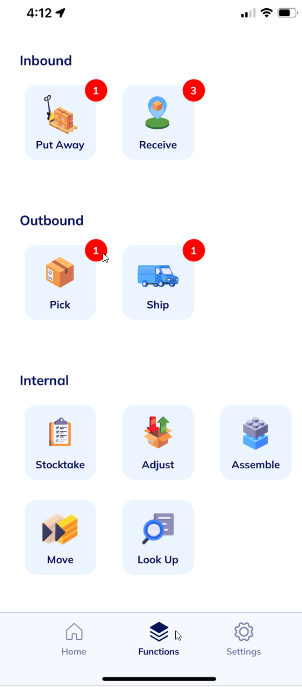
- Select Pick from your To do list on the OnTime app.
Note: You can select your Pick task from the Home tab or Functions tab.
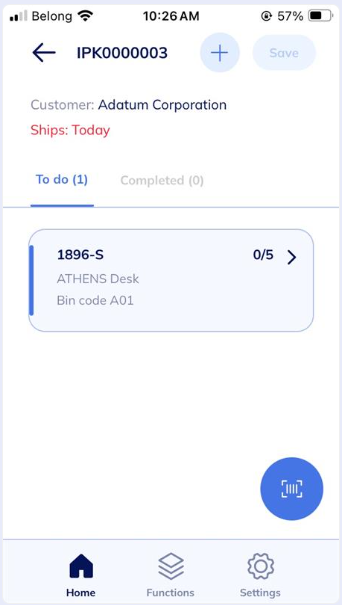
- Then, select the related pick task to work on.

- The Pick task displays. Select the blue task in the To do list.

Note: Select the + sign on the top right-hand corner of the page to assign yourself this pick task, otherwise this pick will be automatically assigned to you as you select it.
Note: Warehouse workers can view both their assigned tasks and any unassigned tasks. Tasks can be unassigned and reassigned to users through the Wiise ERP desktop. - Select Scan item.

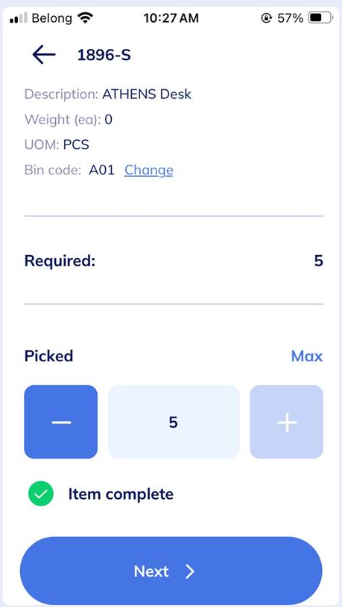
- Select all the items.

- A confirmation message displays Item complete. Select Next to continue.

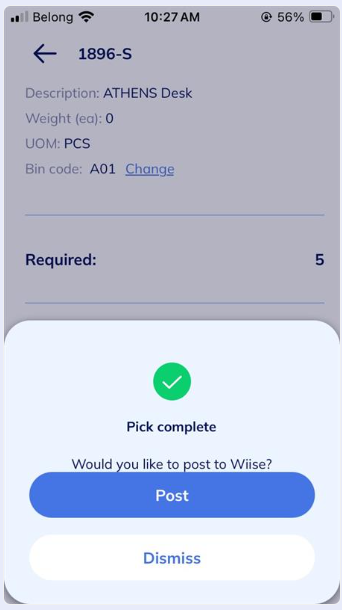
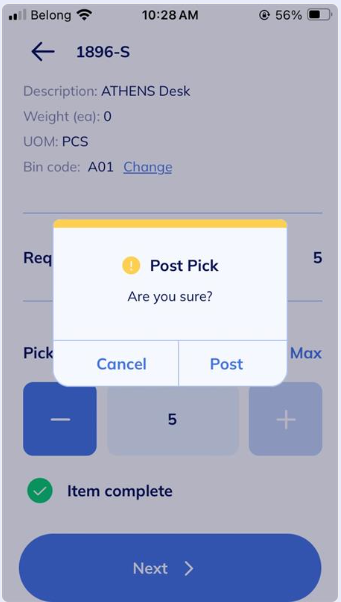
- Select Post to post the completed pick to Wiise ERP Desktop.

- A confirmation message displays if you’re sure that you want to post the pick? Select Post to continue.

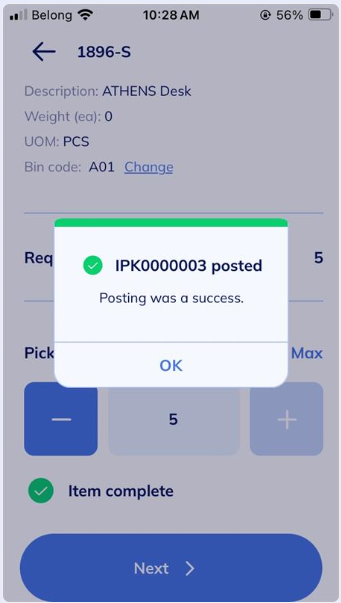
- Posting was a success. The posted inventory pick updated Wiise ERP desktop.
- You’ve completed your inventory pick and can now ship the sales order.
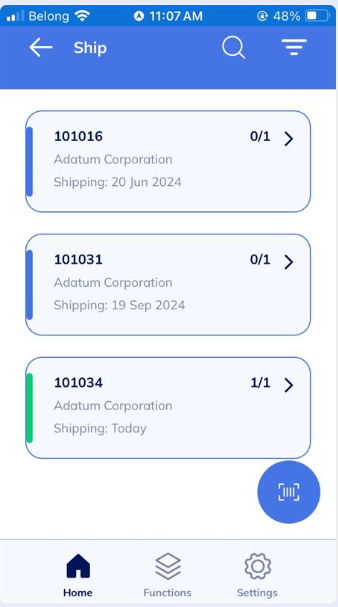
- Select the Ship process in the OnTime app.
Note: You can select the Ship process in the Home page or Functions page.
Note: The pick task highlighted in green confirms the completed task. The tasks disappear from your To do and Completed list.
- Select the completed green pick task. The sales order is ready to be shipped.
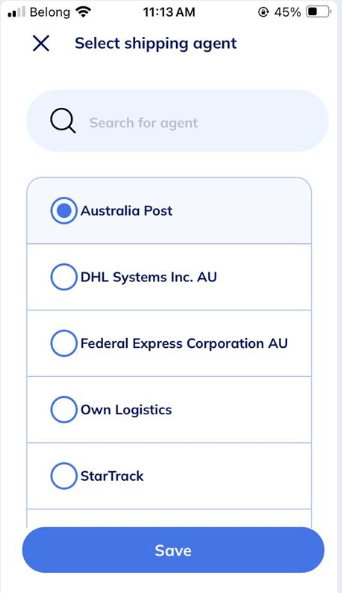
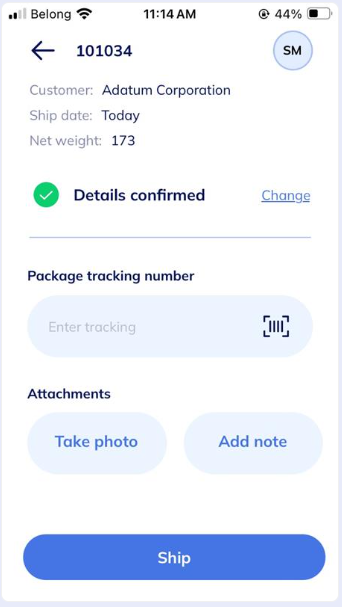
- Review the sales order and update the ship to address, shipping agent and shipping agent service details.

- Select a shipping agent. Then, select Save.

- Select a shipping agent service. Then, select Save.
- Confirm the details.

Note: You have the option to add a package tracking number and attachments. - Then, select Ship.
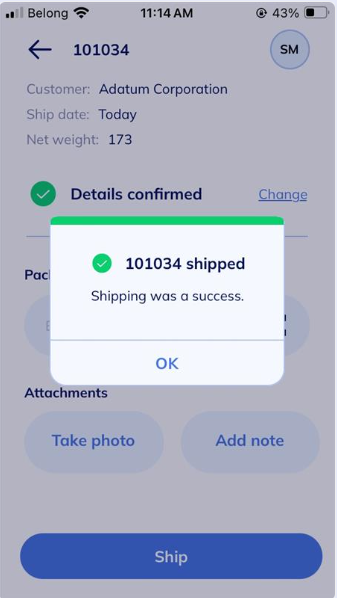
- A confirmation message displays that shipping was a success. Details are saved to Wiise ERP desktop.

- Select OK to continue.
Note: the completed Ship task disappears from the To do and Completed list. - The items are shipped. The Lines section is updated to show that items have been shipped and are pending invoice.

- You’ve completed an inventory pick and shipped the order.


Note: You can invoice the sales order by posting it into any invoice.
What’s next?
Find out how to complete your Inventory Receive and Put Away using OnTime.
Need more help?
No problem, that's what we're here for. Reach out to support@wiise.com anytime you can't find what you're looking for.