Overview:
- Learn how to set up Stripe in Wiise
Note: You must be a full licensed user to set up Stripe in Wiise.
Why set up Stripe?
Stripe in Wiise enables seamless customer payments for outstanding invoices.
Before You Begin:
Please ensure you have the following items ready:
- A business email address
- Your business registration and business details
- A valid photo ID (driver’s license or passport)
Note: Visit Stripe's Get Started page to see which verification documents are accepted in your country.
How to set up Stripe?
- Select Set up Stripe on your Wiise landing page.

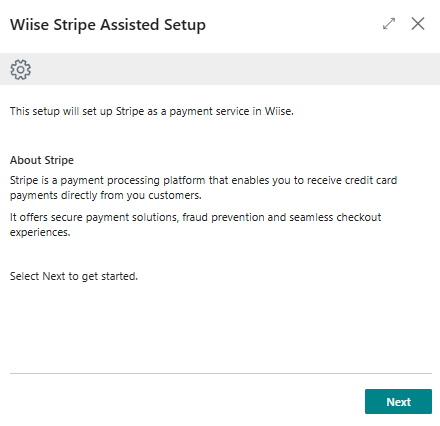
- The Wiise Stripe Assisted Setup displays.

Note: If the Set up Stripe button is not visible, set up Stripe by selecting the Set up Stripe Payments in the Assisted Setup page or by searching for the Wiise Stripe Assisted Setup link on the top right-hand corner of the page. Select the related link and the assisted setup displays. - Select Next to get started.
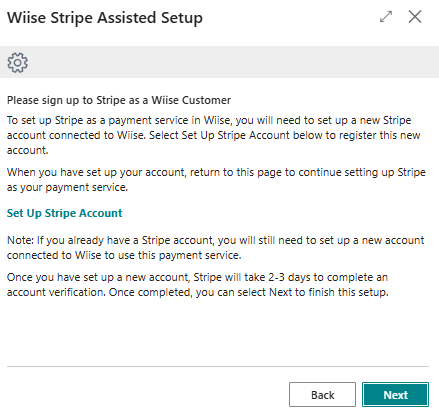
- Select the Set up Stripe Account link.
Note: Select the Set up Stripe Account link to open the Stripe login page. You can log in to an existing Stripe account or set up a new one. Once logged in, select an existing business or set up a new payment service for Wiise. This process can also be used to set up a Stripe test account. - You'll be directed to the Stripe Connect page.
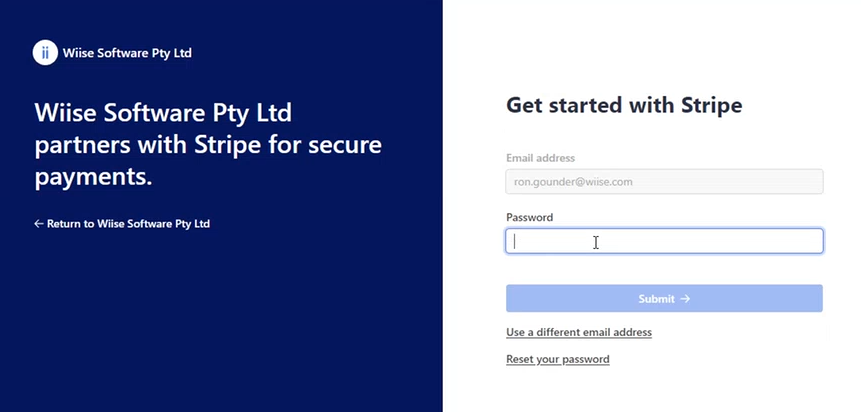
- Log in to Stripe with your existing account details or set up a new Stripe account.
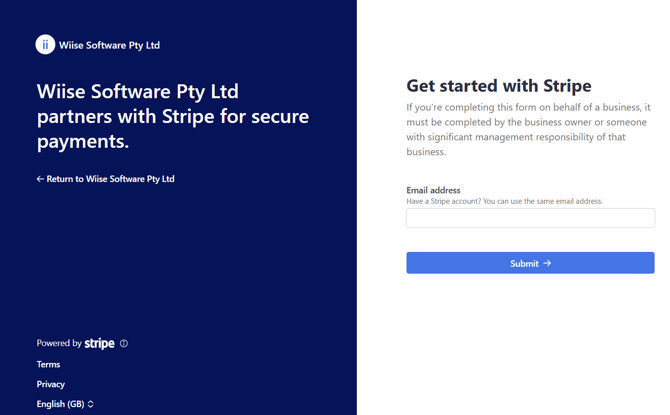
- Enter your email. Then, select Submit.

- Enter your password or set up one if it’s a new account.
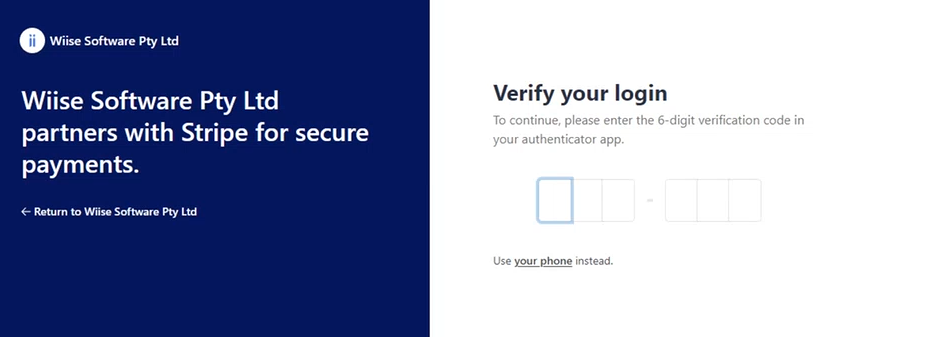
- Verify your identity via email or mobile phone (6-digit code).

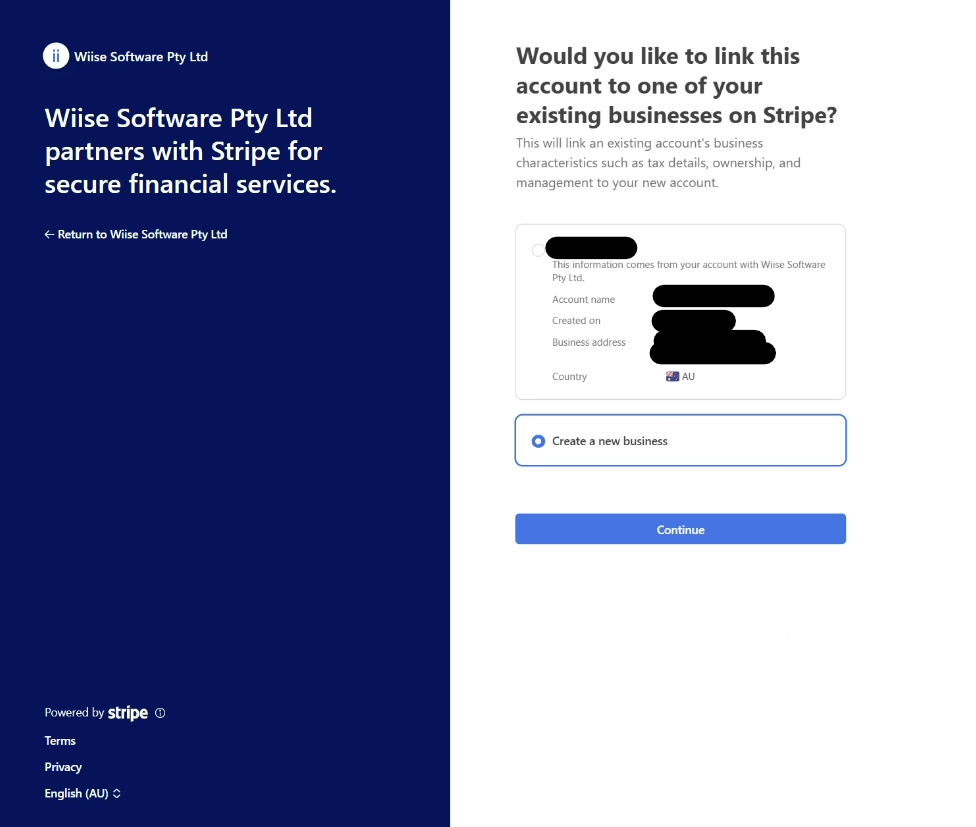
- After logging in to your Stripe account, you’ll be asked to select an existing business or Create a new business to link with your Wiise payment service.
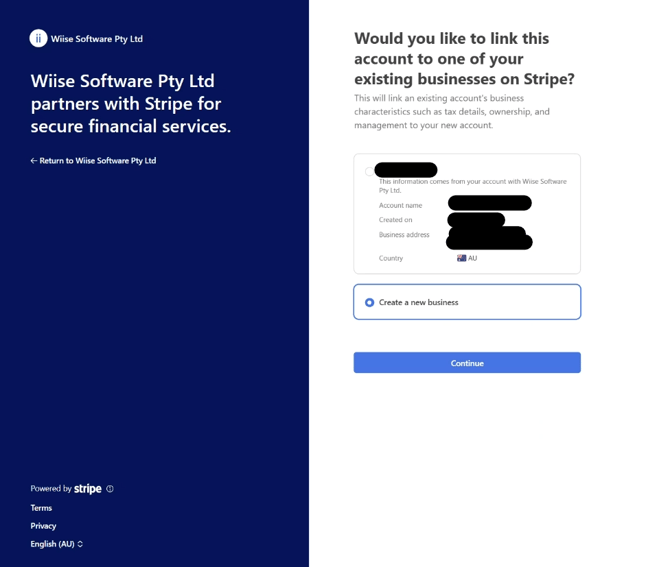
Note: When you select an existing business, select Continue, and you'll be directed to your Stripe Dashboard. You can now proceed to step #35 in this article. - Select Create a new business. Then, select Continue.
- Enter your business details.
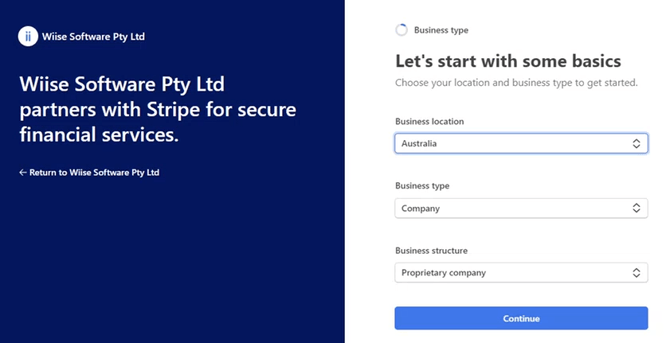
- Fill in the following details in the subsequent pages of the process:
- Business location, type, and structure
- Legal name and business address
- Industry and a short product description
- When all required fields are filled, the Continue button is activated.
- Select Continue to proceed.
- The next page displays Verify you represent this business.
- Enter your name, email, job title, DOB, home address, phone number
- Select if you are an owner (25% or more) or a director
- Select Continue.
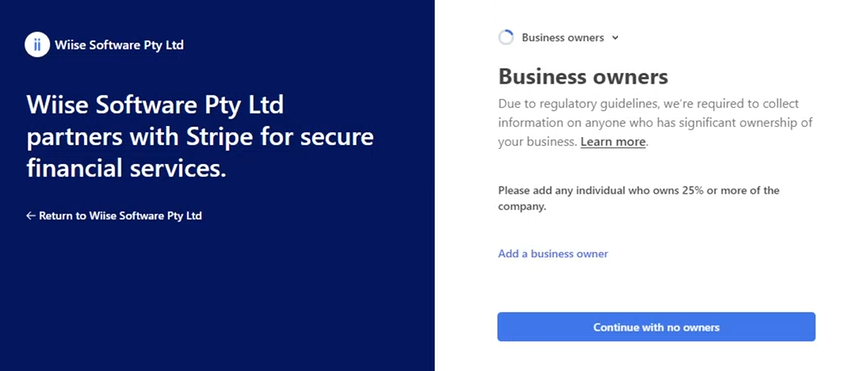
Note: This page uses information to verify your identity. - The next page displays Business owners.

- If you are the only owner, select Continue with no owners.
- The next page displays Business executives.

- Add business executives. Then, select Continue.
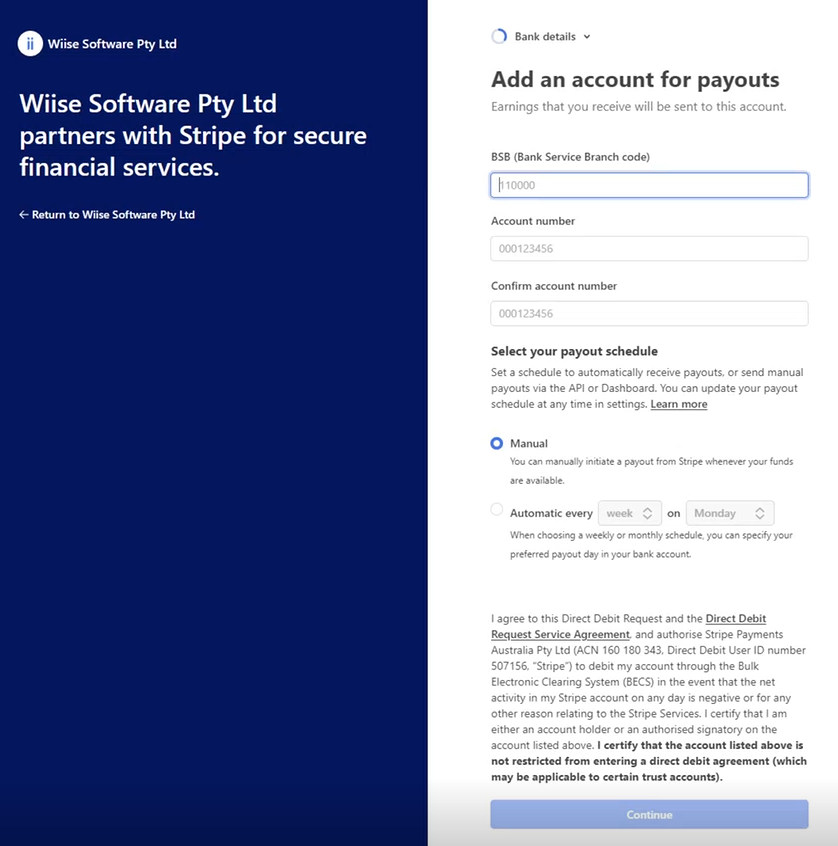
- The next page displays Add an account for payouts.

- Update the following details:
- Enter BSB and Account Number.
- Select a payout schedule (align this with your job queue timing if needed).
Note: You can change your bank account for Stripe payouts later if required.
- Select Continue to agree to the Direct Debit Request and Direct Debit Request Service Agreement.
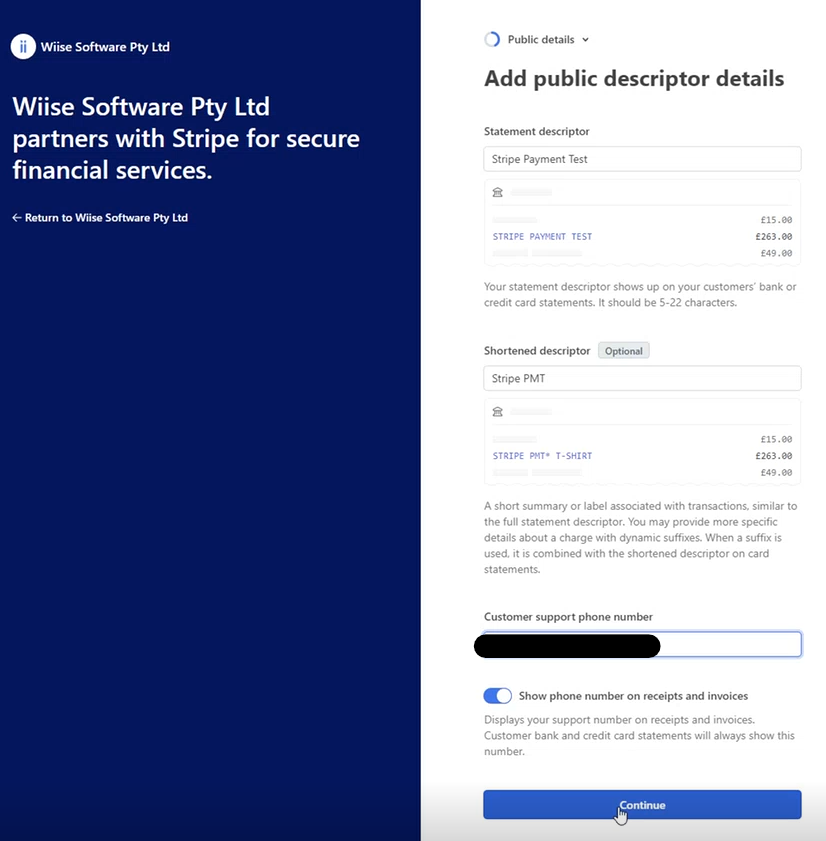
- The next page displays Add public descriptor details.

- Set how your business name appears on customer statements.
- Select Continue to proceed.
- The next page displays Show customers your climate commitment.
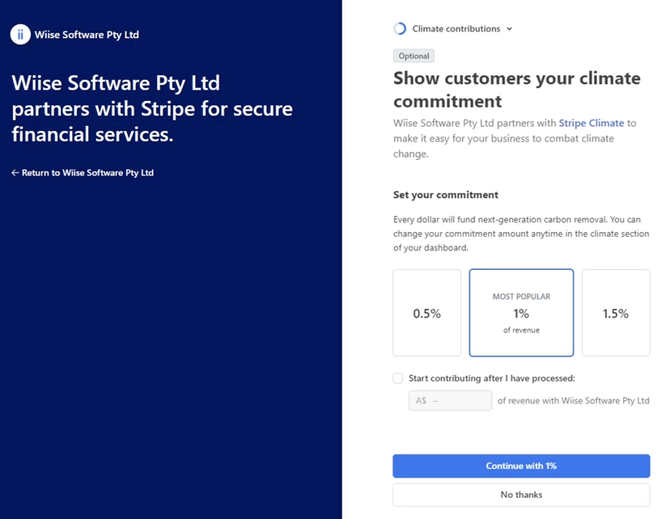
- Select a climate commitment or select No thanks.
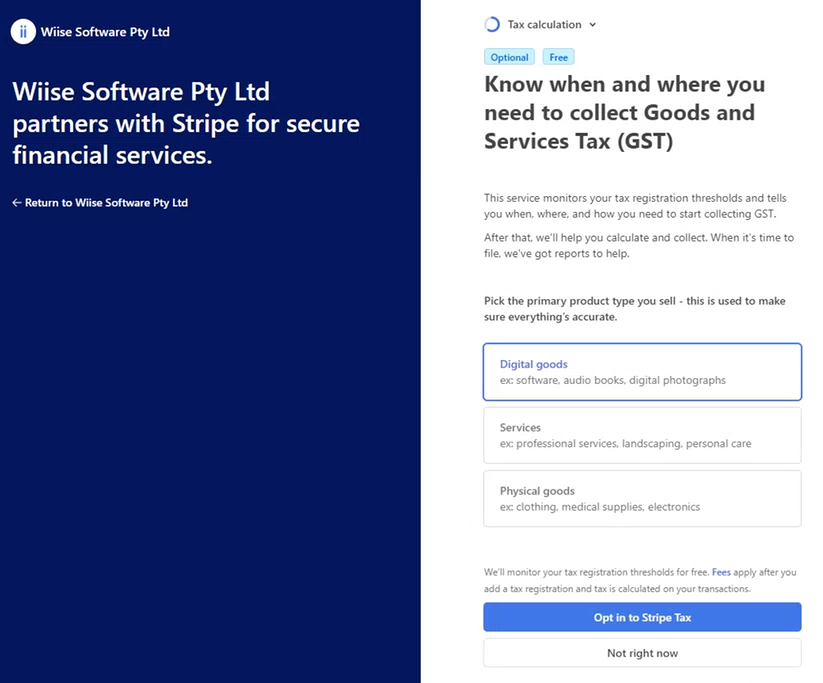
- The next page displays Tax Calculation for your business.

- Select Opt in to Stripe Tax or select Not right now.
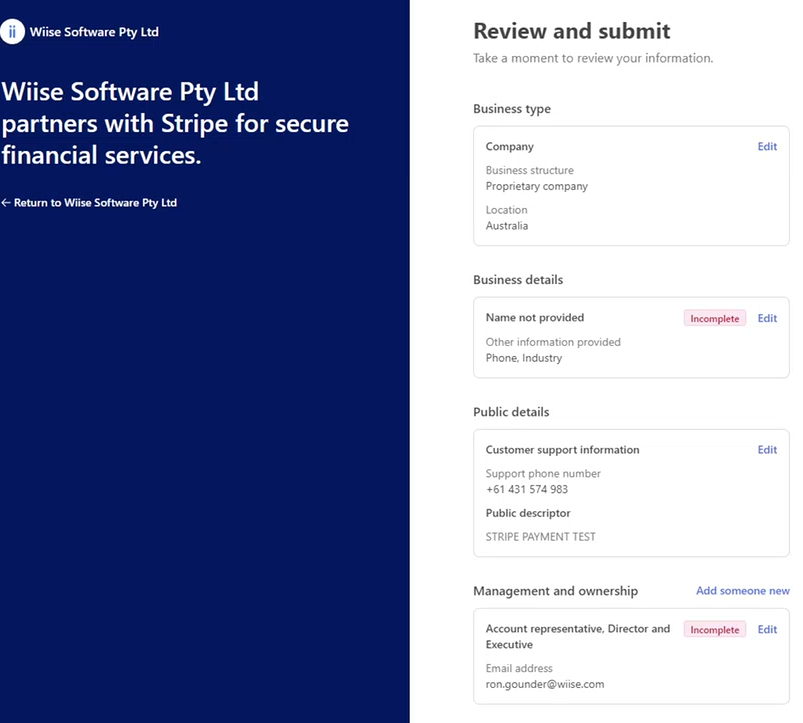
- The next page requests you to Review and submit the information you’ve provided.
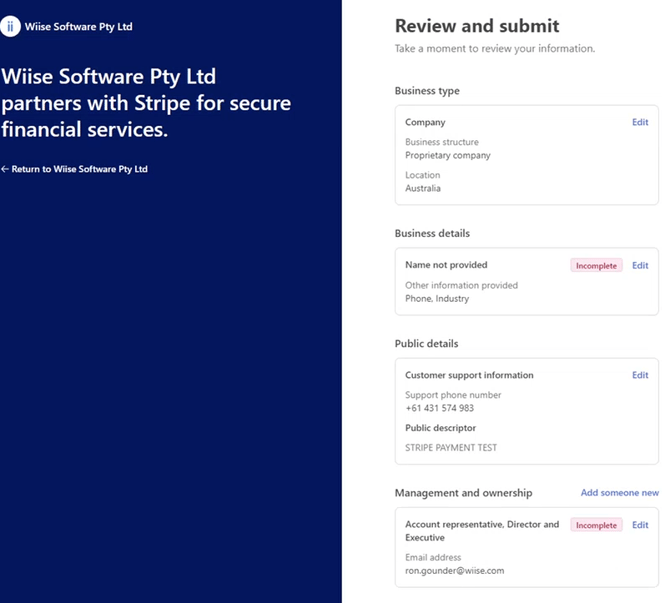
- Complete any missing fields marked Incomplete.
- Select Agree and Submit.
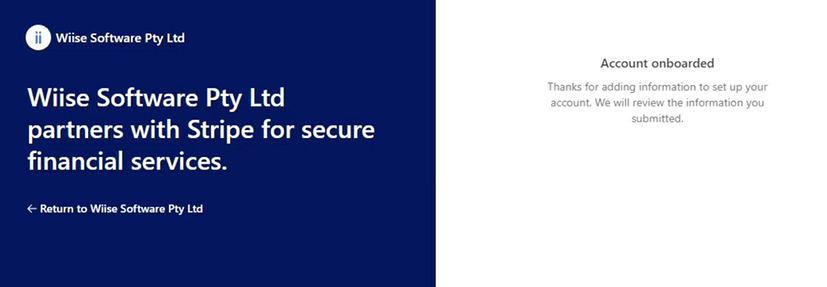
- The final page displays a confirmation Account onboarded.

- You’ll be redirected to the Stripe Dashboard.
Note: You may need to submit more documents. Stripe will email you if so.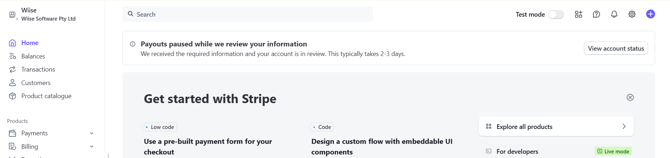
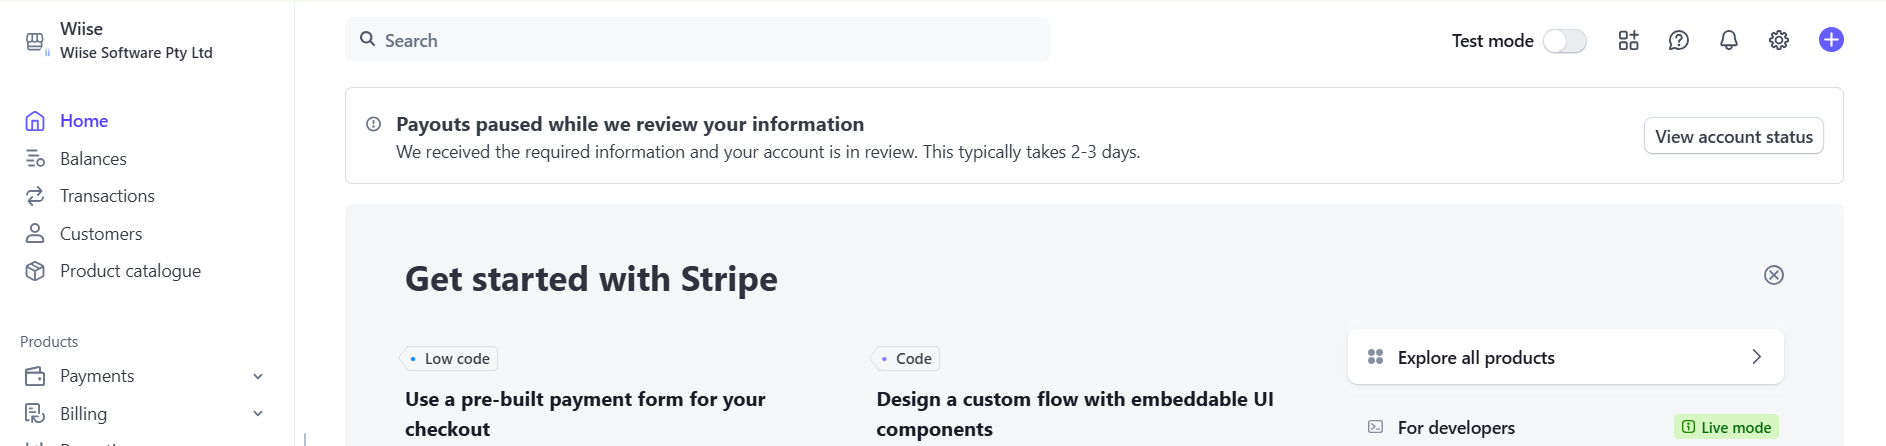
Note: You can monitor your account verification status on the Stripe dashboard. To view pending tasks for your Stripe account verification, go to Settings on the top right-hand corner of the page. Select Business and check the Account Status menu. - When your Stripe account has been verified, the Stripe dashboard shows an updated status confirming that Your account is now active.

Warning: If you go through the Wiise Stripe Assisted Setup before your Stripe account is verified, you’ll receive a notification to check again in 2-3 days for Stripe verification to be completed.
Note: Please check your emails regularly to ensure you don’t miss any communications from Stripe.
Note: Once Stripe verifies your account, return to Wiise Stripe Assisted Setup to complete the setup. - You can now complete the Stripe Connect setup.
- Return to Wiise Stripe Assisted Setup.
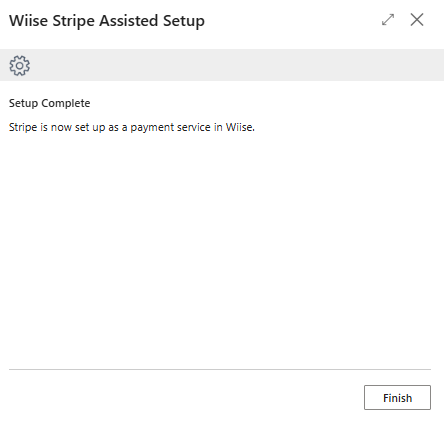
- Select Next.

- Then, select Finish to complete the process.
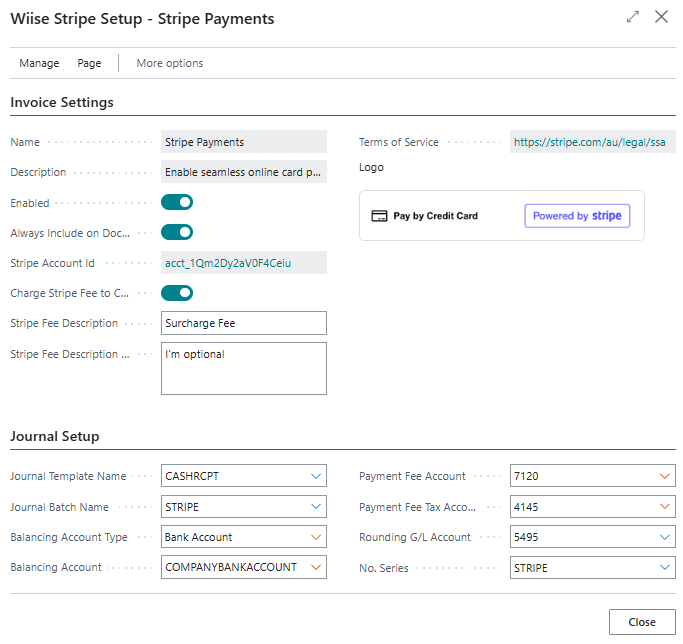
- Search for and select Wiise Stripe Setup on the top right-hand corner of the page and select the related link. The page displays.

Note: The Invoice Settings fields are auto-populated from Stripe Connect. Your unique Wiise payment service link is the Stripe Account Id. Select the link to open your Stripe dashboard.
Note: You can opt in to Charge Stripe Fee to Customers. This enables Stripe surcharging. Turn this on and update the Stripe Fee Description field to display the surcharge details to your customers.
Note: For more information, see Stripe surcharging in Wiise. - On the setup page, update the Journal Setup fields:
- Journal Template Name: Select the journal where payments will be recorded.
- Journal Batch Name: Select a batch for Stripe payments.
- Balancing Account Type: Select Bank Account since payments go into your bank.
- Balancing Account: Select the correct bank account to match your setup.
- Payment Fee Amount: Enter the G/L Account used for Stripe fees.
- Payment Fee Tax Account: Enter the G/L Account for the GST portion of the Stripe fees.
- No. Series: Select the number series used for posting Stripe payments.
Note: These fields are required for Stripe to work with your journals.
- You’ve set up Stripe in Wiise. You can now create and send invoices with Stripe payment links and start receiving payments directly into your nominated bank account.


Note: You’ll need to repeat this process to set up a Stripe account for each Wiise company to use the payment service.
Note: A Stripe Payments link appears on posted sales invoices, allowing your customers to pay by credit card via Stripe.
The Stripe payment link does not appear on Proforma invoices.
Note: Your nominated Cash Receipts Journal batch will be updated throughout the day with all payments received from your customers. You can review and post your cash receipts journals at any time.
Note: You’ll need to set up GST-100 in the GST Posting Setup list. Set the GST Calculation Type field to Full GST. Ensure that the G/L account entered in the GST Account field matches the G/L account in the Payment Fee Tax Account field on your Stripe Payment Setup table.
What’s next?
Find out how to post a Stripe cash receipts journal when you receive your customer’s paid invoices.
Need more help?
No problem, that's what we're here for. Reach out to support@wiise.com anytime you can't find what you're looking for.