Overview:
- Configure Wiise Landed Cost Setup
- Enable Item Card for landed cost processing
- Set up Item Charges
- Set up budget vendor and actual vendor for landed cost
Why set up Wiise Landed Cost?
Using Wiise Landed Cost lets you accurately add up all expenses when importing goods, like shipping and taxes. It also helps you follow international trade rules, preventing unexpected fees and delays.
How to set up Wiise Landed Cost?
Step 1: Configure Wiise Landed Cost Setup
- Select Wiise Landed Cost from the navigation menu on your Wiise Landing Page. Then, select Wiise Landed Cost Setup.

Note: You can search for and select Wiise Landed Cost Setup from the top right-hand corner of the page.- The Wiise Landed Cost Setup page displays.

- Fill in the following fields:
- Landed Cost Nos: Set the number series for unposted Wiise landed cost documents.
- Posted Landed Cost Nos: Set the number series for posted Wiise landed cost documents.
Note: You can set up a new number series for your landed cost receipts and posted landed cost receipts. - Wiise Landed Cost: Enable to activate the functionality
- Require Item Duty Setup: Enable when you need duty set up for Wiise landed cost receipts.
Note: When you toggle on Require Item Duty Setup, a specific setup will be required on the Item Card. To calculate landed costs accurately in Wiise, make sure your item cards include key details such as duty code, duty due %, unit volume, and net weight. You can update this information in the Warehouse section on the Items page. If a purchase order is received without this data, simply edit the item card. - Budget Vendor CR/Adj Note Nos.: Set the number series for vendor credit memos and adjustment notes used when closing a landed cost budget
- Budget Reversal Reason Code: Set the reason code for automatic reversal credit memos created when posting a landed cost invoice.
- Fill in the following fields:
- You’ve set up Wiise landed cost.

Step 2: Enable Item Card for landed cost processing
- Select an existing Item Card from the Items list or set up a new item.
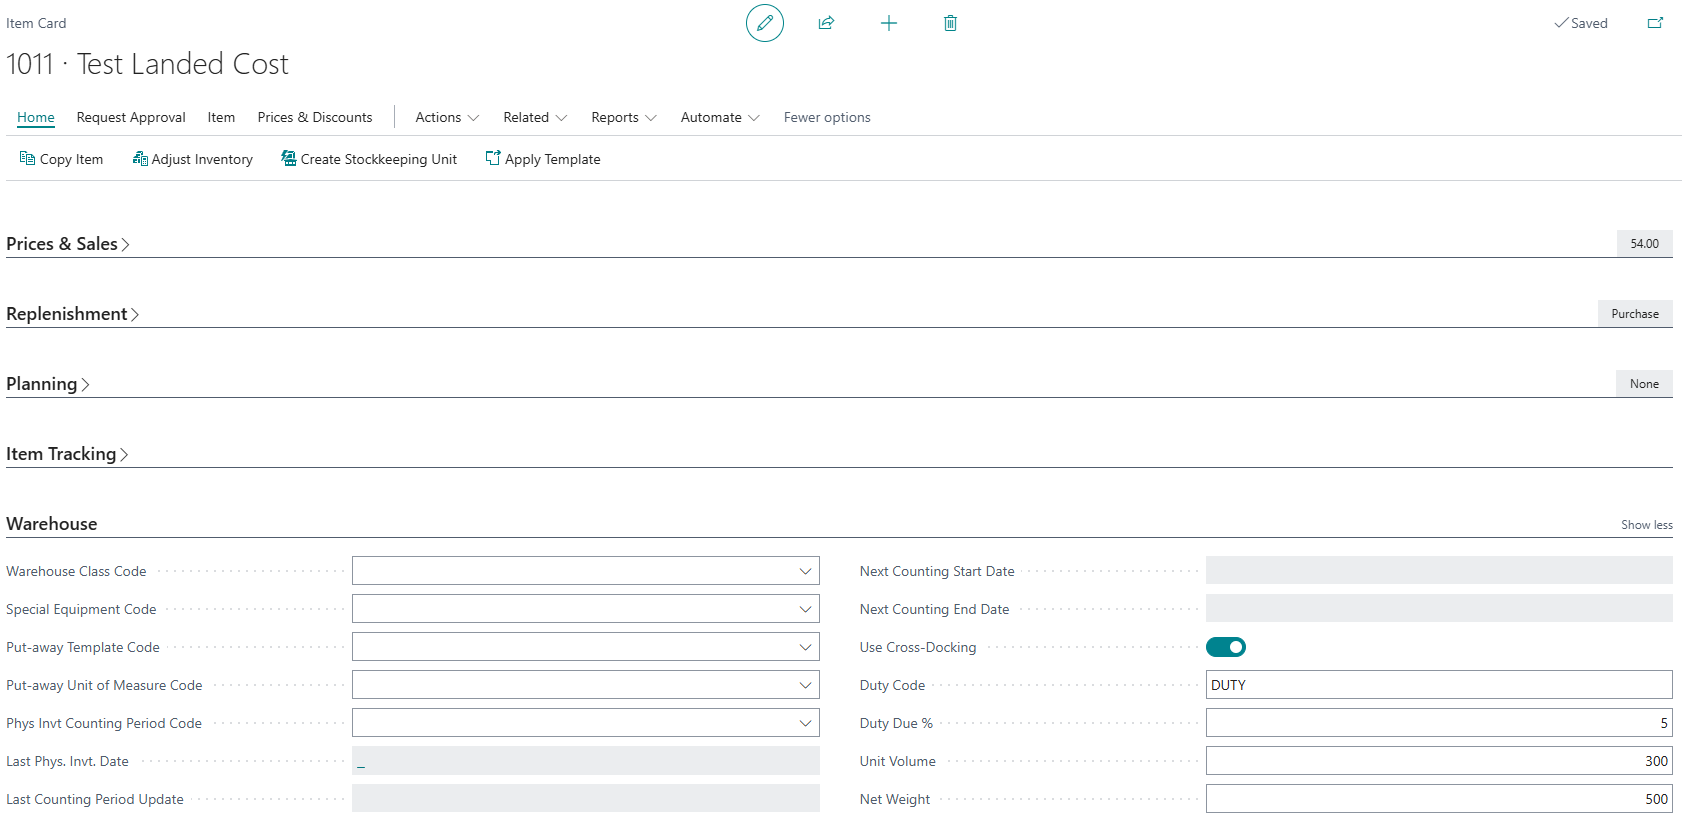
- Go to the Warehouse section and update the following fields that are used in the landed cost calculations to allocate costs correctly across items.

- Duty Code: Select the correct code that applies to the item's import duty.
- Duty Due %: Enter the percentage of duty that applies to this item.
- Unit Volume: Specify the item's volume in cubic metres (m³).
- Net Weight: Specify the item's weight in kilograms (kg).
- You’ve set up the item card for landed cost processing.
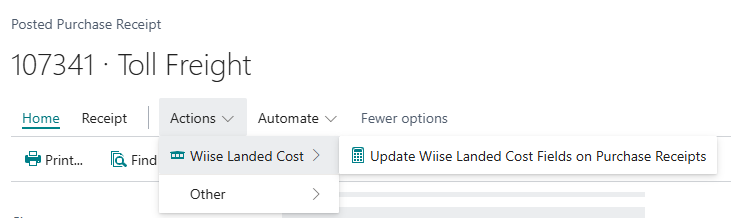
Note: If a purchase order item is missing this information, open the item card and update the relevant fields. Then, from the Posted Purchase Receipt or Purchase Invoice window, go to Actions. Then select Wiise Landed Cost. Then, select Update Wiise Landed Cost Fields on Purchase Receipts. This updates the received purchase orders with the item’s weight, volume, or duty.
Note: To set up a Wiise Landed Cost Location, open the location card and in the Warehouse section and enable Require Receive. This ensures Wiise creates a Landed Cost Receipt when items are received at the warehouse, allowing accurate tracking of landed costs.
Step 3: Set up item charges
Note: Set up item charges using the Apportion Method to track landed costs for imported goods and view how costs are distributed across received items. You can set up as many item charges as needed to suit your business.
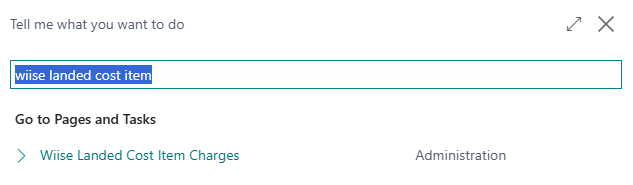
- Search for Wiise Landed Cost Item Charges on the top right-hand corner of the page.

- Select the related link and the page displays.

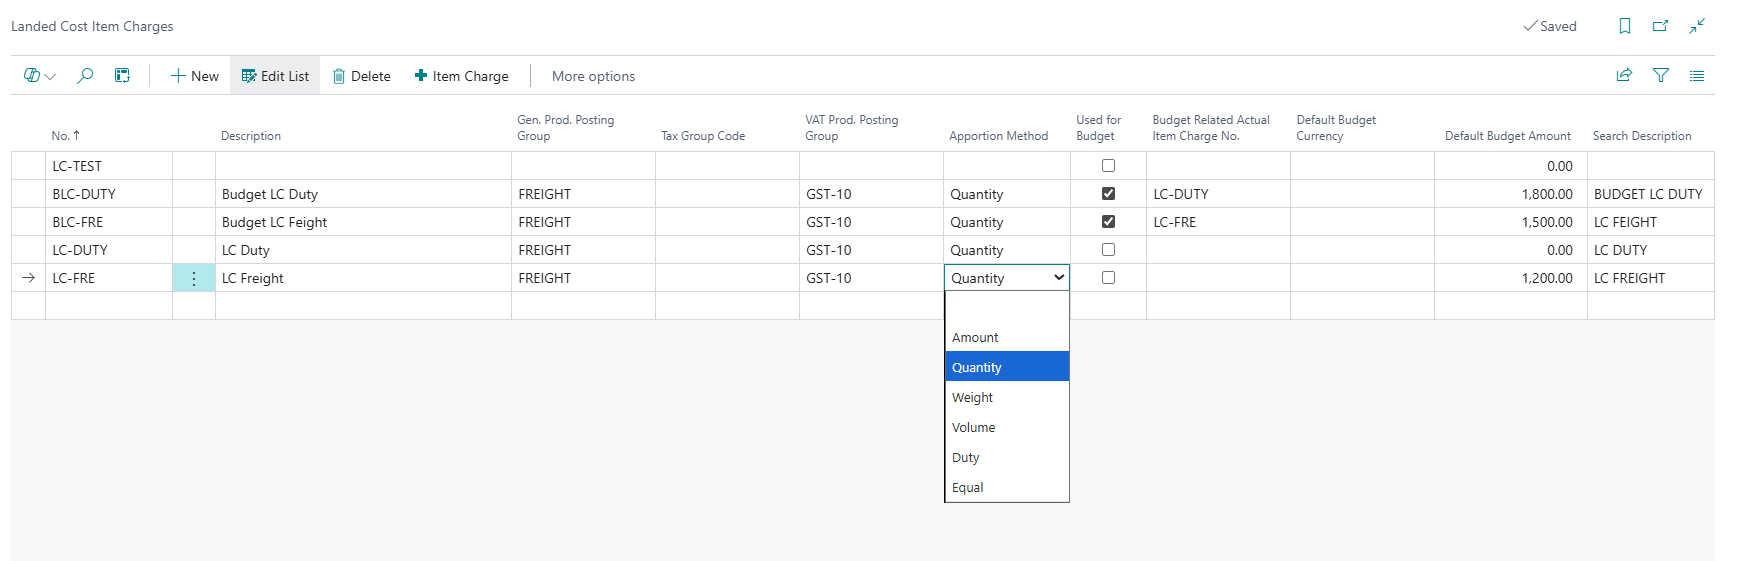
- Select +New. Then, complete the fields:
- No.: Enter the number series for the specific item charge.
- Description: Enter a detailed description or keep the default item charge description.
- Gen. Prod. Posting Group: Select the product type to link transactions to the correct general ledger account based on the general posting setup.
- GST Prod. Posting Group: Select the GST details for the item or resource to link transactions to the correct general ledger account based on the GST posting setup.
- Apportion Method: Choose how to allocate item charges to receipt lines. Options include: Amount, Quantity, Weight, Volume, Duty, or Equal.

- Complete any remaining budget-related fields.
- You’ve set up item charges for Wiise landed cost.

Step 4: Set up budget vendor and actual vendor for Wiise Landed Cost
A Budget Vendor is used to record estimated landed costs, such as freight or duty, when goods are received. An Actual Vendor is used to record the final invoice from the real supplier, replacing the estimate with the true cost for accurate reporting and payment.
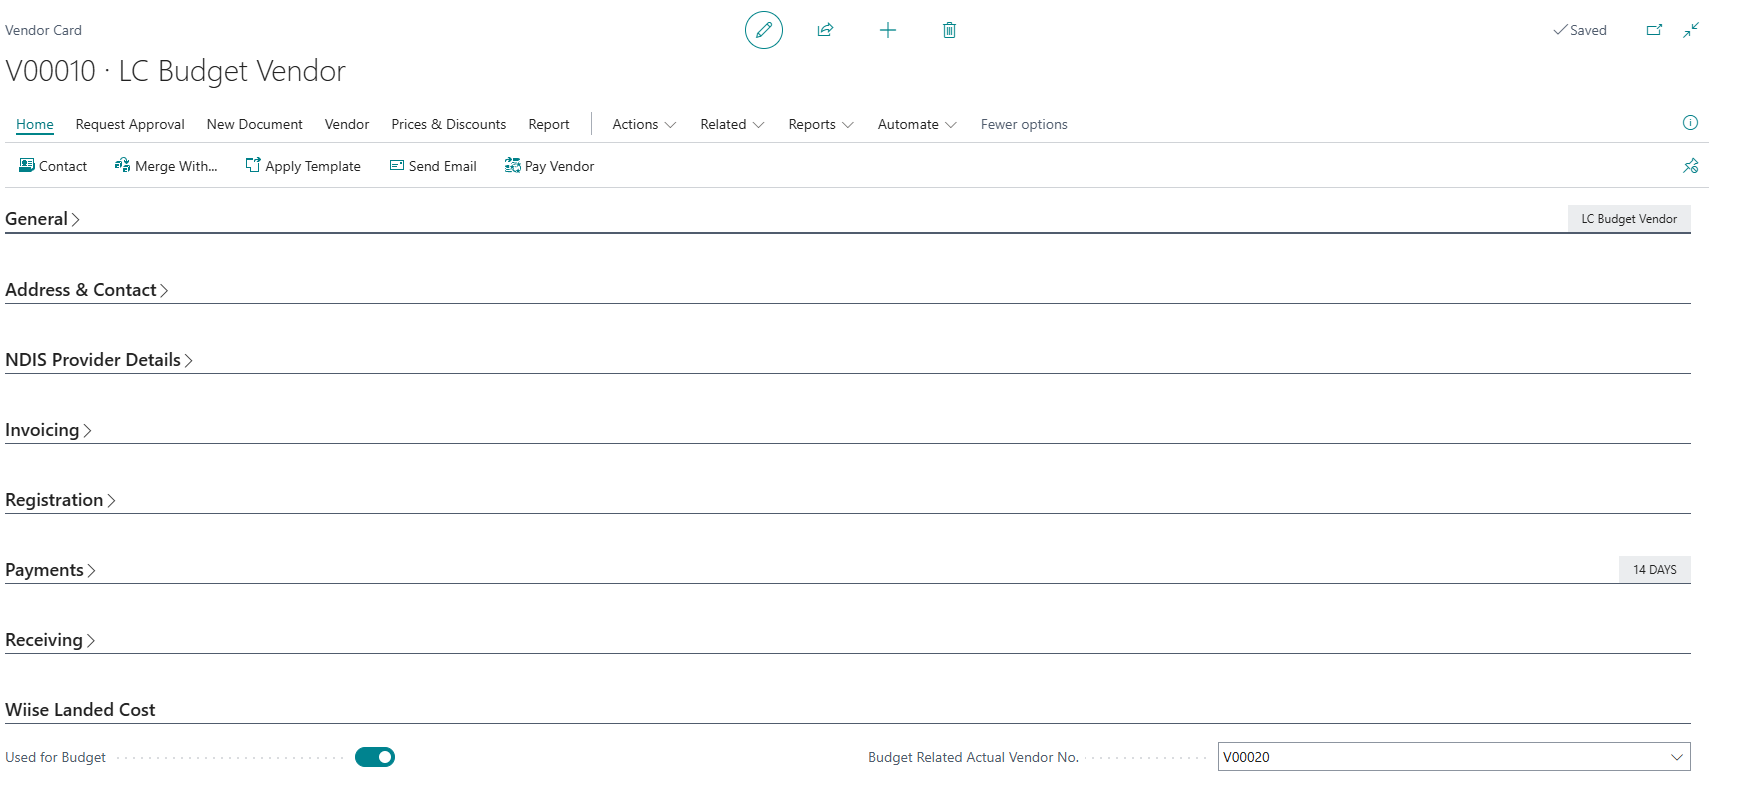
- Set up the Budget Vendor: Set up a new vendor and name it to clearly identify it as the budgeted landed cost supplier. This vendor is used for estimated costs before the actual invoice is received.

- Update Wiise Landed Cost section:
- Used for Budget: Turn on the toggle
- Budget Related Actual Vendor No: Link the Actual Vendor you’ve created to the Budget Vendor.
- Update Wiise Landed Cost section:
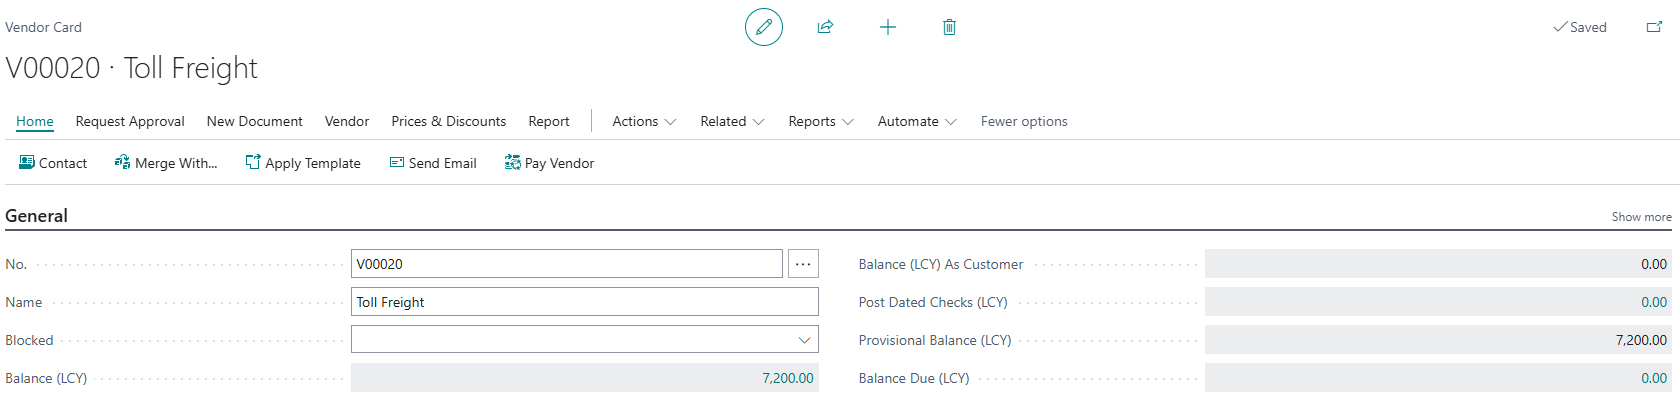
- Set up the Actual Vendor: Set up a new vendor card and name it to reflect the actual landed cost supplier. This vendor is used when posting the actual landed cost invoice.

Tip: Use the Budget Vendor when creating a Wiise landed cost budget invoice.
Tip: Use the Actual Vendor when receiving the actual invoice to record the true cost and reverse the budgeted amounts. - You have set up budget vendor and actual vendor for Wiise Landed Cost.
What’s next?
Find out how to set up and post Wiise landed cost budget and actual invoices.
If you have any questions, please reach out to support@wiise.com