Overview:
- Manage posting dates
- Manage timesheet access
- Manage EFT payment generation
- Manage banking or payroll officer permissions
Why Set Up User Permissions in User Setup?
Setting user permissions in User Setup gives Wiise users access only to the functions they need, strengthening your business’s security and compliance. It also lets you clearly define responsibilities for posting, EFT generation, time sheet management, banking, and payroll, making workflows more efficient.
Before you Begin
- The user has access to Wiise.
- Confirm the user’s responsibilities and level of access they need.
- Ensure you have the required permissions to edit the User Setup page.
How to Set Up User Permissions in User Setup?
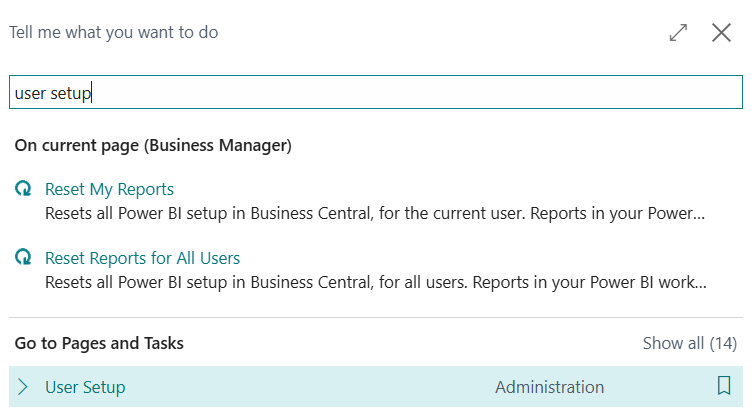
- Search for User Setup on the top right-hand corner of the page.
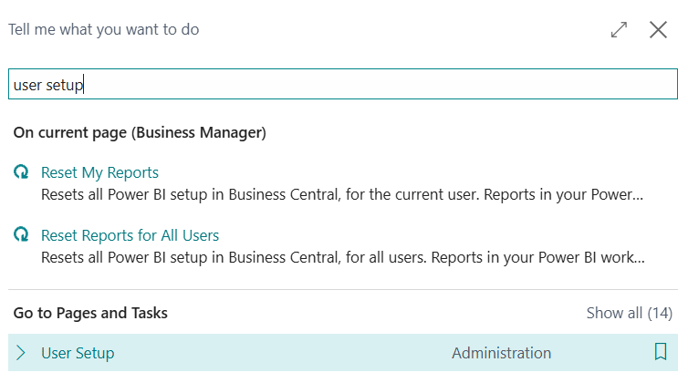
- Select the relevant link and the page displays.
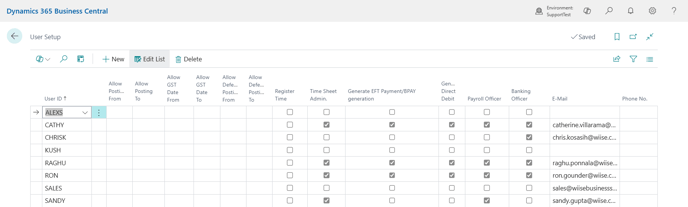
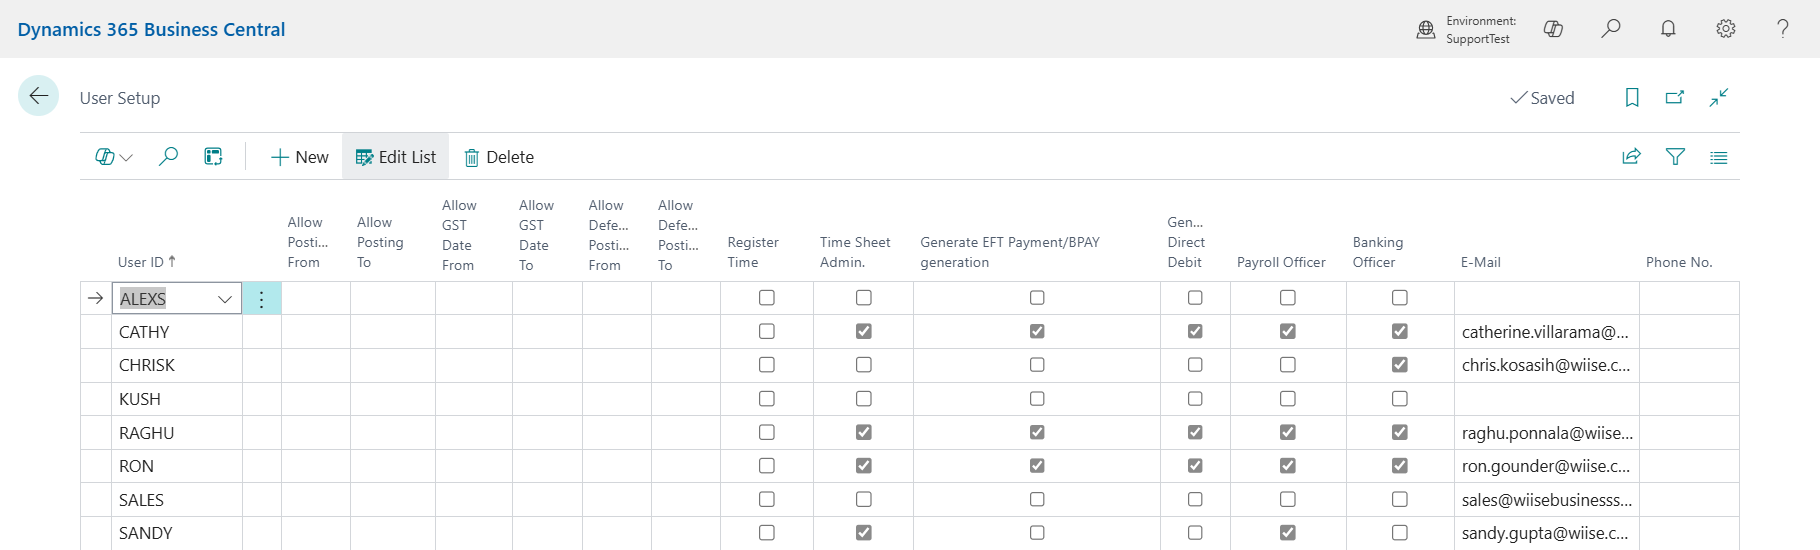
- Select +New to add a new user or select Edit List to modify an existing user's permission.
- Fill in or update the following fields:
- User ID: Identifies the user.
- Allow Posting From / Allow Posting To: Sets the posting date range the user can work within. Prevent backdating or future-dating transactions.
- Allow GST Date From / Allow GST Date To: Controls the GST reporting date range for this user to align transactions with reporting periods.
- Allow Deferral Posting From / Allow Deferral Posting To: Set the periods when the user can post deferrals.
- Register Time: Track the time a user is logged in, from login to logout. Time lost due to idle timeouts or system crashes is not recorded. Useful for tracking time spent on jobs or projects.
- Time Sheet Admin: Grants administrative access to manage and approve timesheets.
- Generate EFT Payment / BPAY generation: Enables the user to generate EFT or BPAY payment files.
- Generate Direct Debit: Allows the user to generate direct debit files.
- Payroll Officer: Grants access to Wiise payroll functions.
- Banking Officer: Grants access to Wiise banking functions
- E-Mail: Links the user’s email address to their profile. Useful for identifying and managing time sheet entries.
- Phone No: Optional contact information
- You’ve set up user permissions in User Setup.
What’s next?
Find out how to set up users in Wiise to give them access and assign the right permission sets.
Need more help?
No problem, that's what we're here for. Reach out to support@wiise.com anytime you can't find what you're looking for.