Overview:
- Learn to setup the NDIS Remittance Import Setup
Why set up NDIS Remittance Import Setup?
Setting up NDIS Remittance Import lets you automatically bring in payment details from NDIS and create cash receipt journals.
Before you begin

- You’ll need to ensure the NDIS Proda Connection is set up and the dashboard shows an Active status.
- You’ll need to set up job queue entries so Wiise can automatically run tasks like importing NDIS remittance advice in the background. This helps keep your data up to date without needing to do it manually.
How to set up NDIS Remittance Import Setup?
- On your Wiise landing page, select Wiise for NDIS. Then, select NDIS Remittance Import Setup.

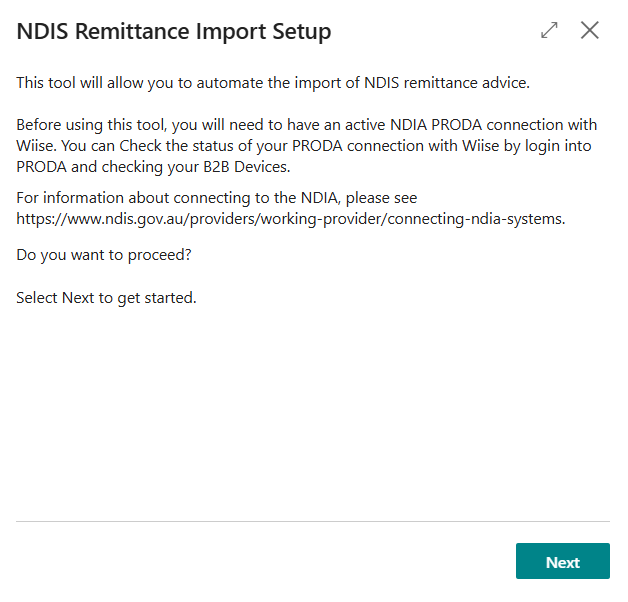
- The NDIS Remittance Import Setup page displays.

Note: This tool allows you to set up and automate the import of your NDIS remittance advice and post the cash receipts journal. - Select Next.
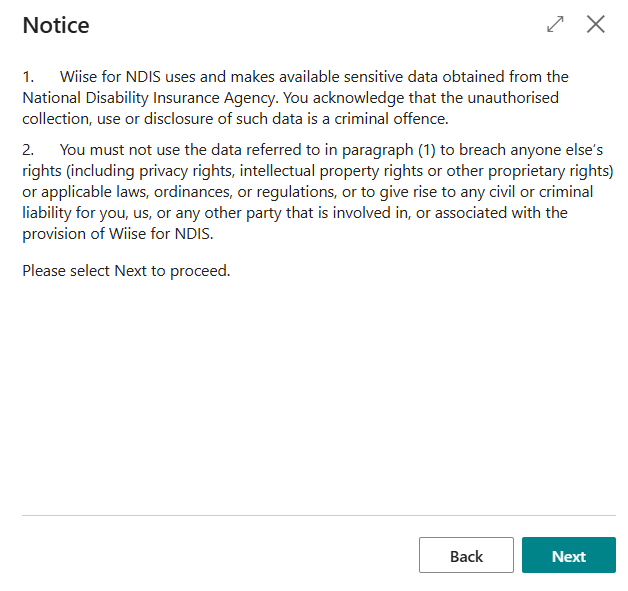
- The Notice page displays.

- Read the information. Then, select Next to proceed.
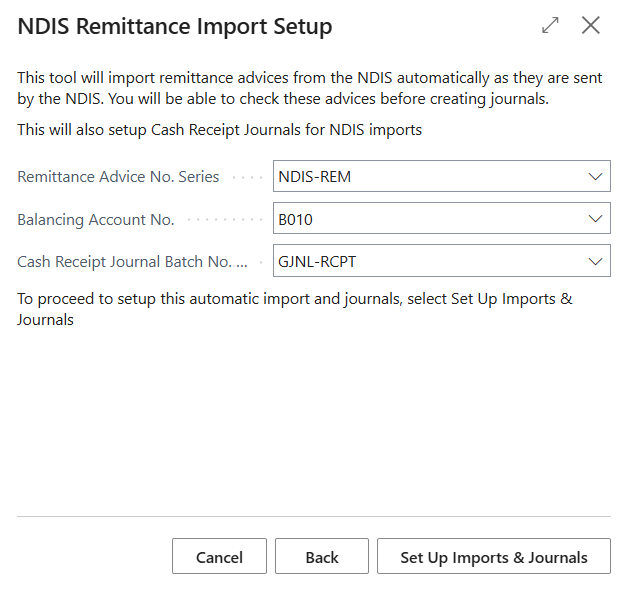
- The NDIS Remittance Import Setup page displays.

Note: This tool, when set up, automatically imports remittance advices from the NDIS as they are received. You’ll be able to review each advice before creating the journals. You can set up the Cash Receipts Journal for NDIS payments here. - Update the default setup by defining the following fields:
- Remittance Advice No. Series;
- Balancing Account No.;
- Cash Receipts Journal Batch No. Series;
- Select Set Up Imports & Journals.
- The setup is now complete. Select Close to close the process.
- You have set up the NDIS Remittance Import Setup.

What’s next?
Find out how to process a NDIS Remittance Advice.
Need more help?
No problem, that's what we're here for. Reach out to support@wiise.com anytime you can't find what you're looking for.