Overview:
- Learn to set up a sales order with a location with a warehouse pick option enabled.
Why set up a sales order with a location with a warehouse pick option?
The warehouse pick option groups similar sales orders with nearby inventory to a single picker to make the order-picking process more accurate and efficient.
How to set up a sales order on location with a warehouse pick option enabled?
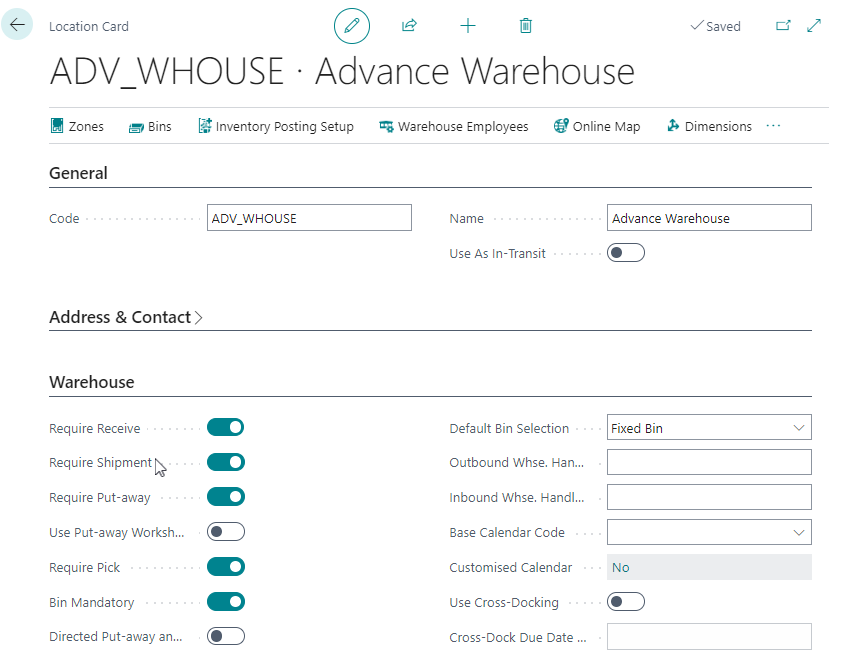
Note: Locations are places like your inventory or warehouses dedicated to storing goods to sell to customers. Wiise uses locations to help keep track of inventory in both simple and complex warehouse processes.
- Complete steps 1 to 8 in the set up a sales order article. Then, return to here to continue with the warehouse pick option enabled.
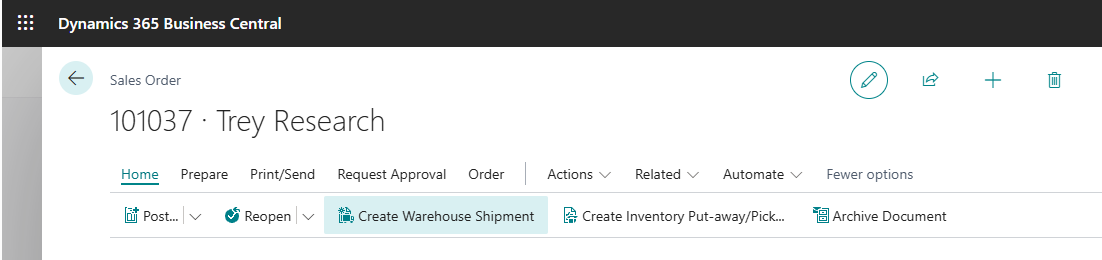
Note: With an advance warehouse setup, your location is set up to post the pick from the warehouse pick document and post the shipment from a warehouse shipment document. - Select Home. Then, select Create Warehouse Shipment.

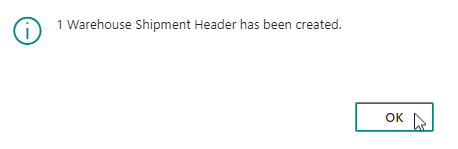
- A message box displays to inform you that a warehouse shipment header has been created. Select OK.

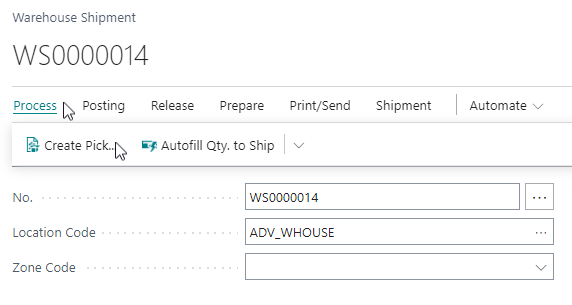
- Select Create Pick.

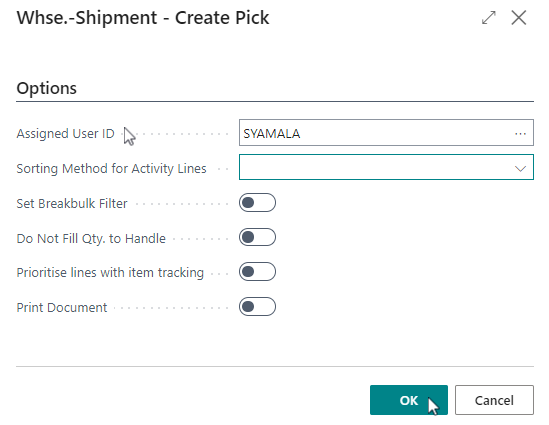
- The Whse.-Shipment – Create Pick request page opens. Update your selections.
Note: You can update the warehouse employee assigned to create the pick for the warehouse shipment, but this is optional. You can also make your selection later.
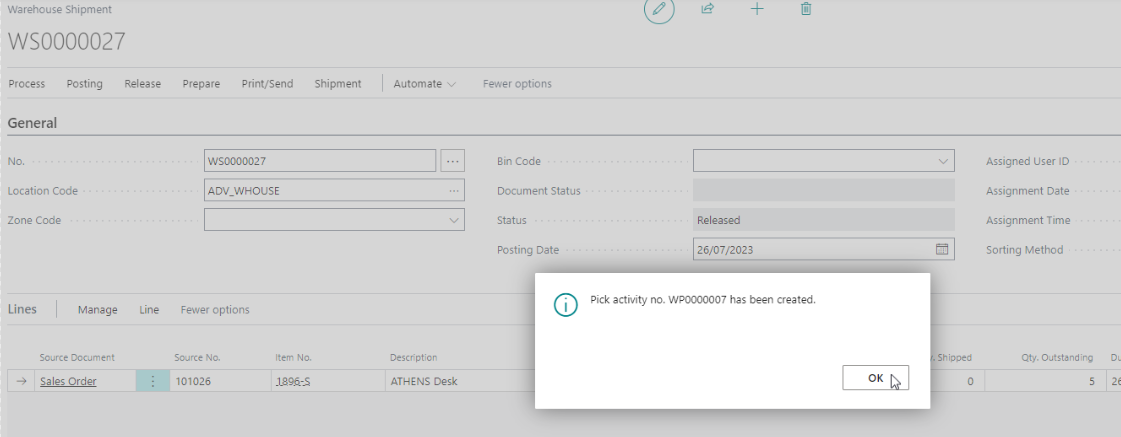
- Select OK to continue or select Cancel to stay on the page. A message box displays to confirm that a pick activity for the warehouse shipment has been created.

- Select OK to proceed. You’ve created picks.
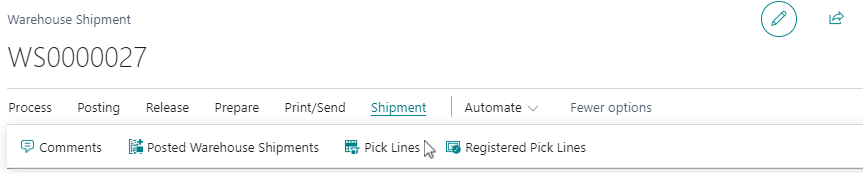
- Select Shipment. Then select Pick Lines.

Note: Two pick lines for every line item ordered are displayed showing the take and place warehouse activity. - Select Card to view the pick line details.

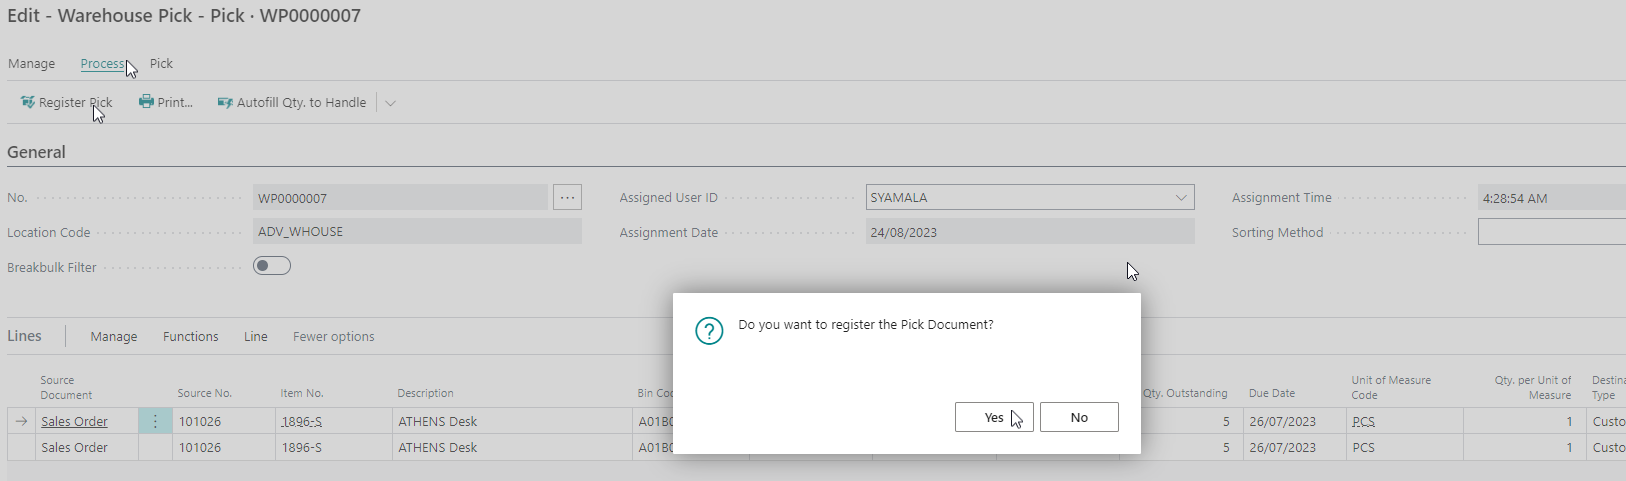
- The Edit-Warehouse Pick – Pick page displays.
- Select Register Pick.
- A message box displays asking ‘Do you want to register the Pick Document?’
- Select Yes to proceed. Your pick is registered.

- Select Yes to proceed. Your pick is registered.
- Select the back page button found on the top left of the page to go back to the Warehouse Shipment.

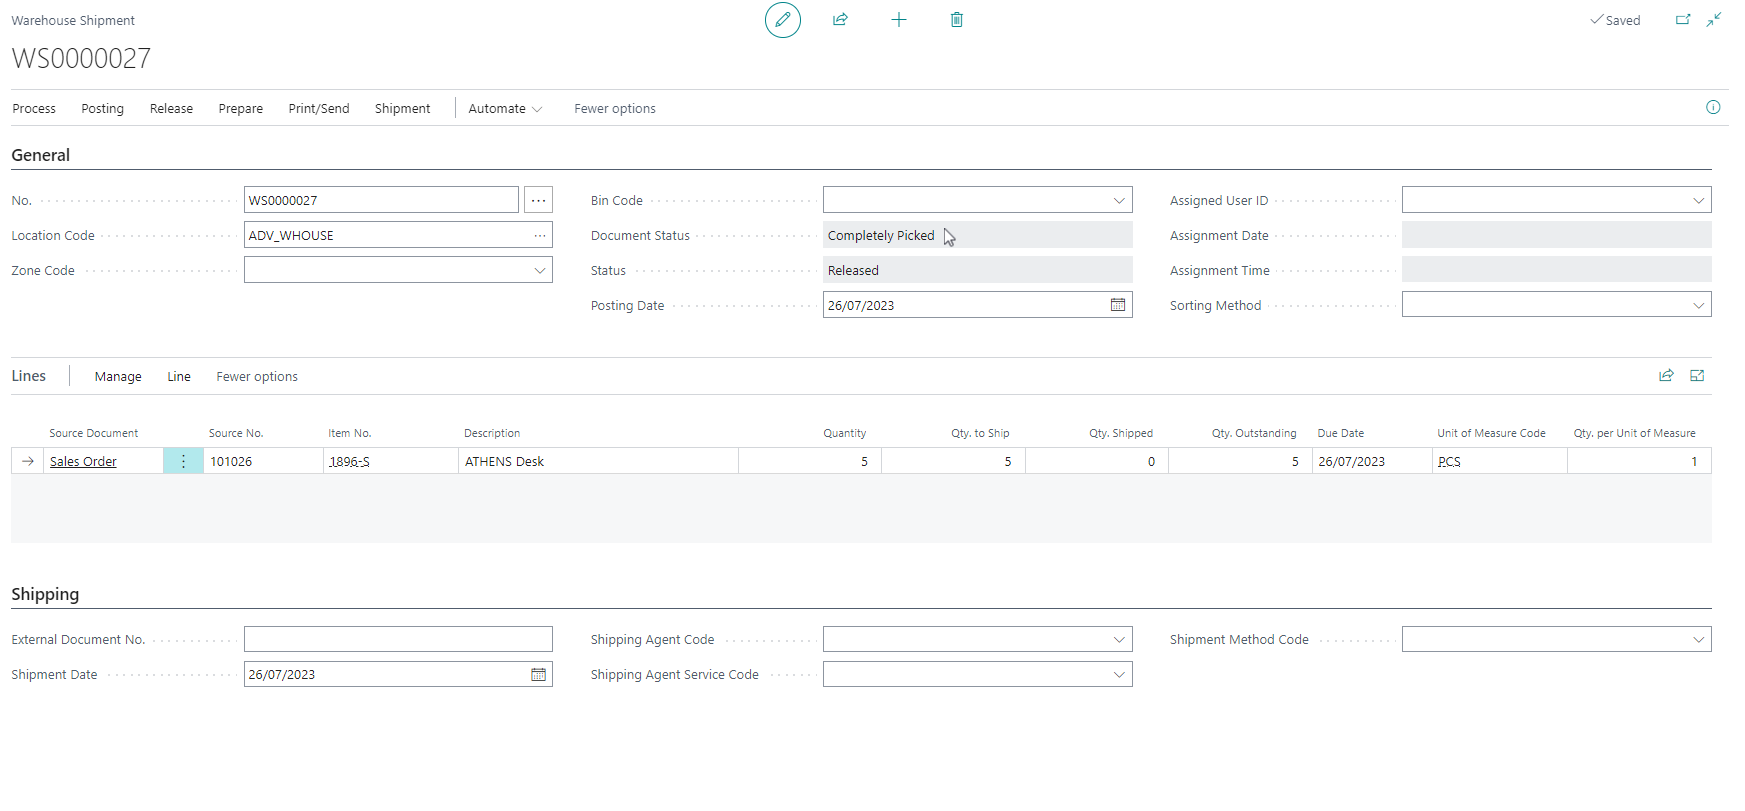
- On the Warehouse Shipment page, Qty to Ship field is updated as the full quantity picked to be shipped. The Document Status field is updated as Completed Picked.

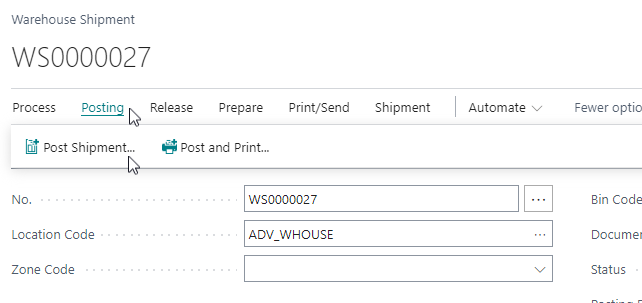
- Select Post Shipment.

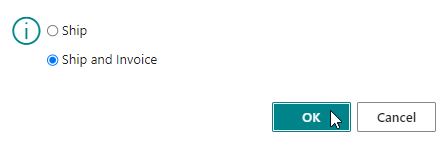
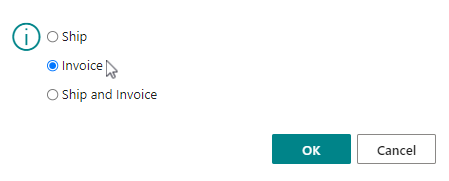
- You can Ship the sales order or Ship and Invoice directly from Warehouse Shipment.

- Select OK when you’ve selected your option or select Cancel to stay on the page.
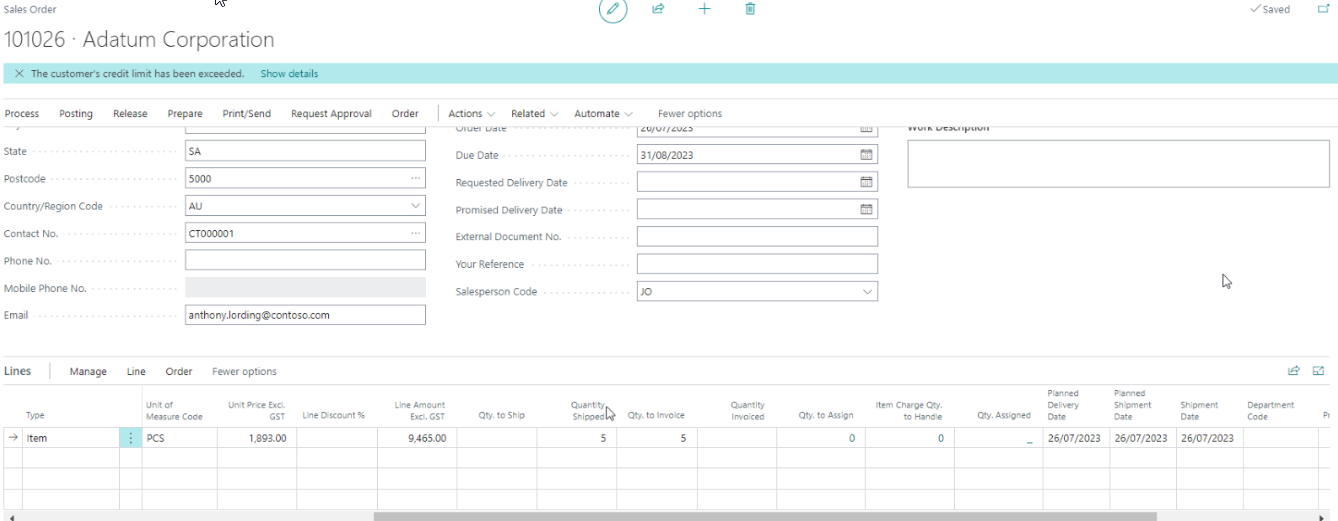
Note: When you select the option to Ship and Invoice, your sales order is invoiced. When you select the option to Ship only, you’ll notice that the Quantity Shipped field and Qty. To Invoice field are updated in the Lines section of your sales order.
Note: After you’ve shipped the sales order, you can proceed to post an invoice from the sales order. - Note: When you've shipped the sales order, you can now invoice. Your invoiced sales order will be available in the posted sales invoices list.

- You’ve completed the sales order with a warehouse pick for the advanced warehouse shipment.


What’s next?
Find out how to set up a sales returns order.
If you have any questions, please reach out to support@wiise.com