Overview:
- Learn to set up a simple sales order in Wiise.
Note: This article covers raising sales orders without a location. You can look to set up a sales order with a location with inventory pick option enabled or a warehouse pick option enabled.
Why set up a simple sales order?
A sales order is a document created when the customer orders goods or services from you. You can manually set up sales orders without a location, or sales orders can be generated from sales quotes and blanket sales orders.
How to set up a simple sales order?
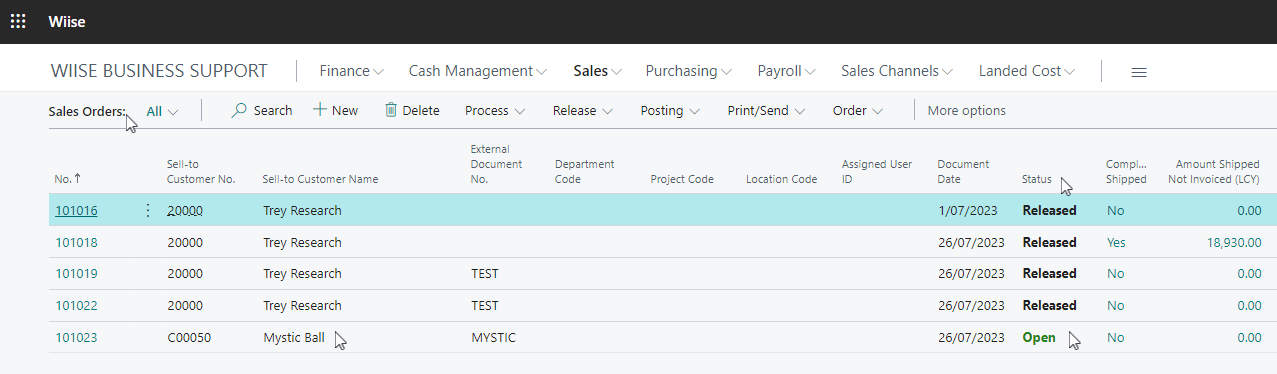
- On your Wiise landing page, select Sales. Then select Sales Orders.

Note: If you don't have access to Sales on your Wiise landing page, you can search for Sales Orders in the top right-hand corner of the page. - The sales order list is displayed with status.

- Select + New from the Sales Orders list.
Note: You can set up a new sales order for a new customer or an existing customer.
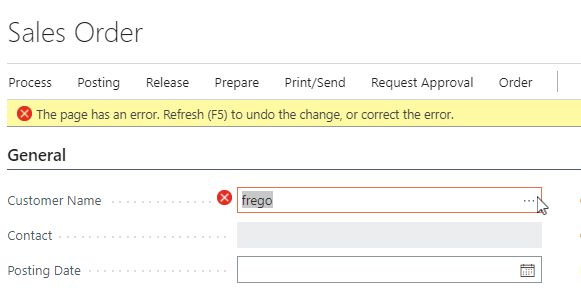
- Fill in the Customer Name or select an existing customer from the horizontal three dots on the Customer Name field.

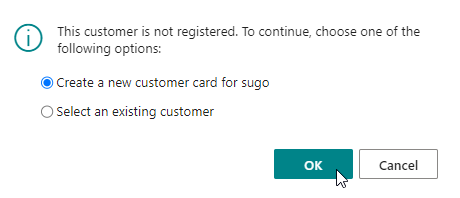
- When you set up a sales order for a new customer that doesn’t exist on your list, you’re prompted to set up a new customer card or select an existing customer.

- Select an option and select OK to continue or select Cancel.
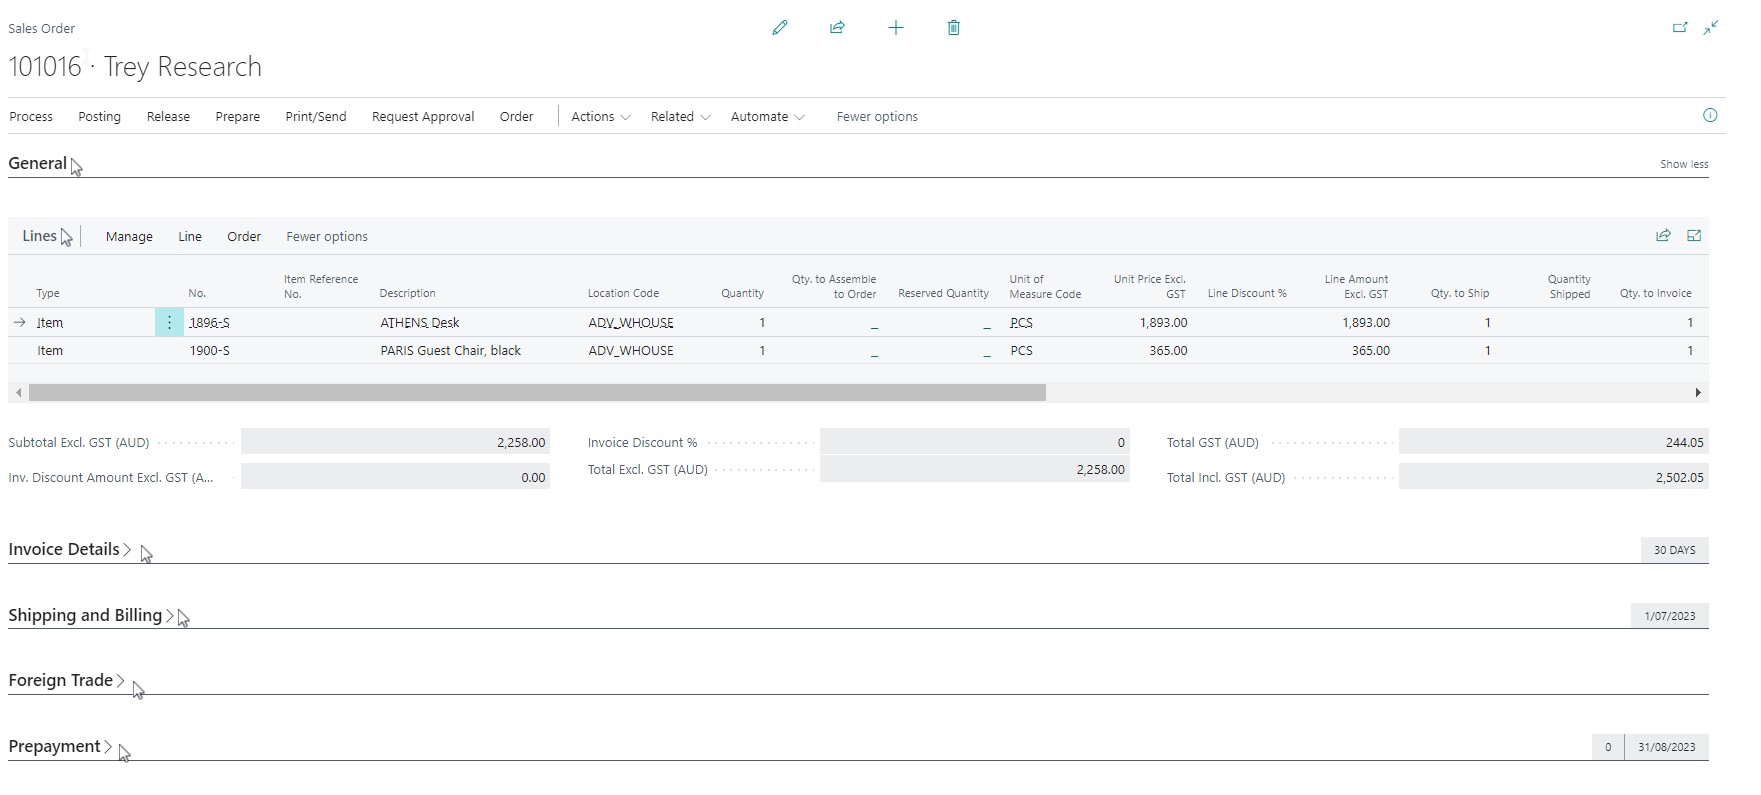
- The sales order contains six Fasttabs (sections). They are General, Lines, Invoice details, Shipment and Billing, Foreign Trade and Prepayment sections.

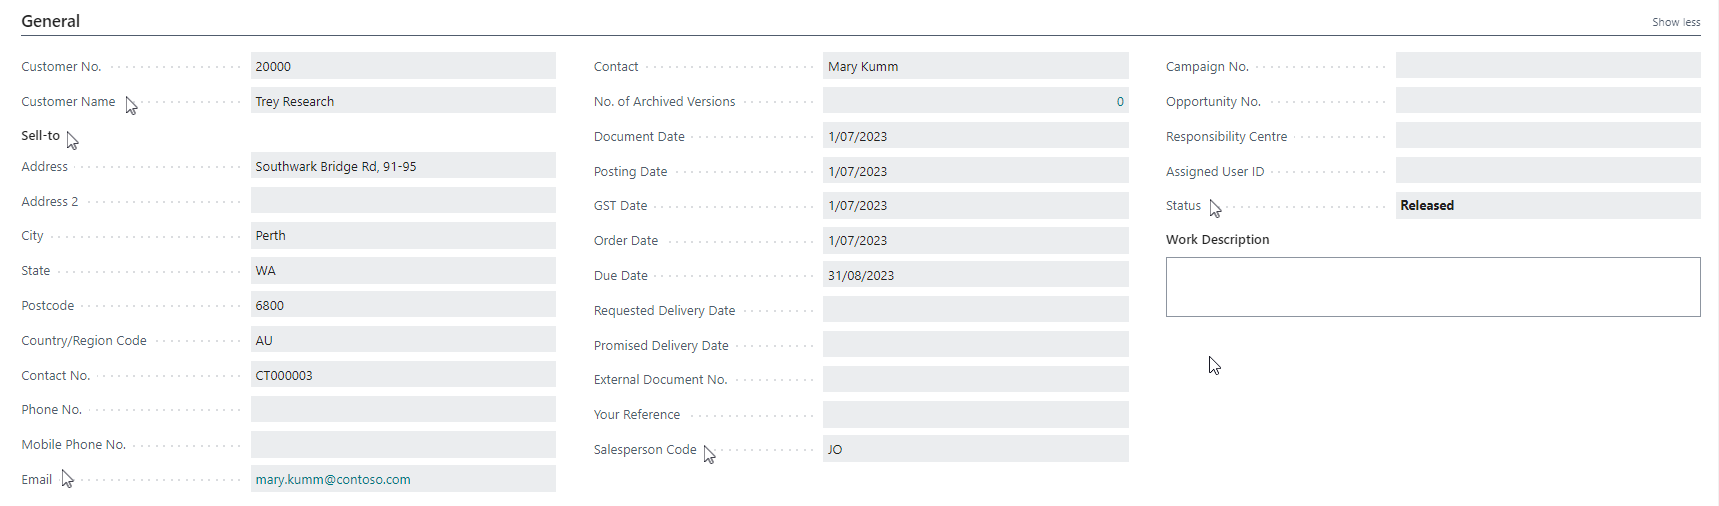
- General section.

- The Customer Name is a mandatory field, as you’ll need to identify who you’re creating a sales order for.
- Fill in the address and contact details in the Sell-to sub-section. You’ll be able to email or post the sales order when it is ready to be sent to the customer.
- The Document Date is when the sales document was created. The document date is used to calculate the customer’s payment due date and finance charges.
- The Posting Date is when the sales order is posted and recorded in the G/L.
- Order Date, Requested Delivery Date, and Promised Delivery Date are shipping-related dates.
- The Due Date is when the sales invoice must be paid.
- The Salesperson Code is the name of the salesperson assigned to the customer.
- The Status field informs you whether the sales document is open, waiting to be approved, has been invoiced for prepayment, or has been released to the next stage of processing. You can manually change the Status to:
- Released for the next stage of processing to be shipped or invoiced or to process a pick from an inventory or warehouse.
- Reopen to change the sales order details after it has been approved. Approved documents have the Released status and must be opened before they can be changed.
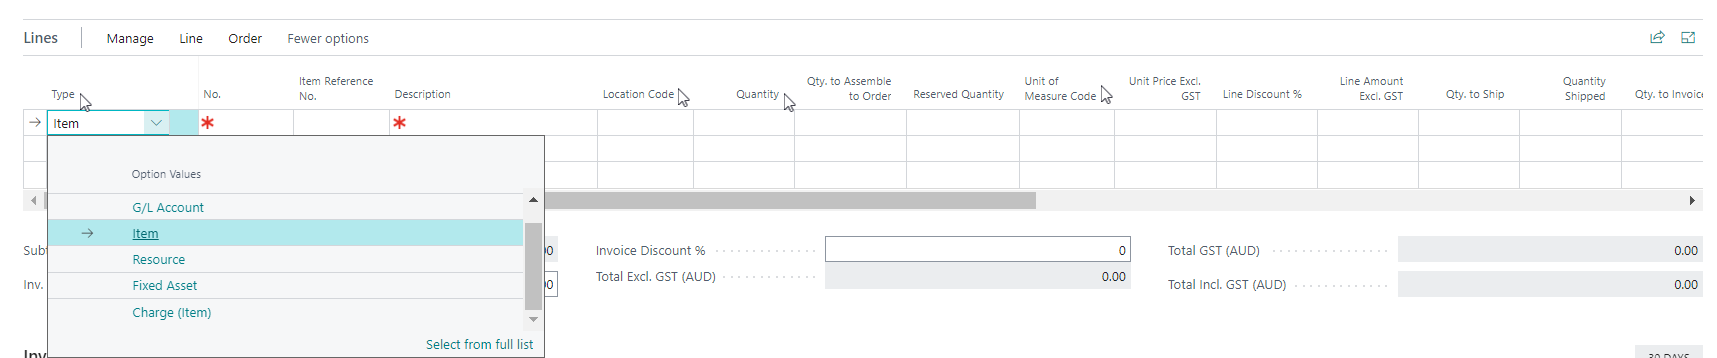
- Lines section:

- The line rows are where you can update what to sell.
- Update what you’re selling in the Type field. When you select an Item, you can continue adding additional information like No., Location Code, Quantity, Unit of Measure Code, and Unit Price.
- The Location Code is the location you select to ship the order. Inventory warnings and item availability are affected by this selection.
- The Quantity is the quantity of goods or services that have been ordered.
Note: If your vendor wants to ship the item directly to the customer, you can use a drop shipment. Select the Drop Shipment checkbox on the sales line, and then create a linked purchase order to complete the process. This is useful for made-to-order or special-order items that don't go through your warehouse.
- For the other sales order sections, such as Invoice Details, Shipping and Billing, Foreign Trade, and Prepayment, some of these fields will be filled in automatically, but some need to be filled in manually. You can update the details based on your requirements.
- General section.
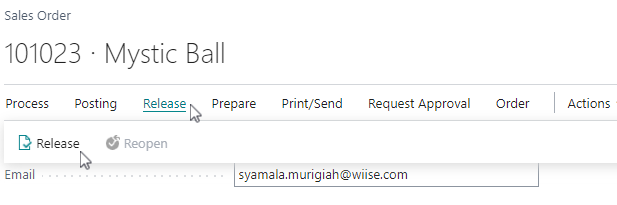
- Once updated, Select Release, then select Release. Your sales order Status is updated from Open to Released.

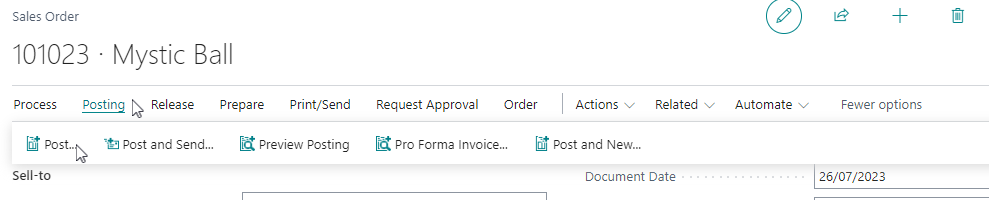
Note: When you want to change the sales order details that are in the Released status, you’ll need to Reopen the document before you can make changes. - Post the sales order. Select Home. Then, select Post.

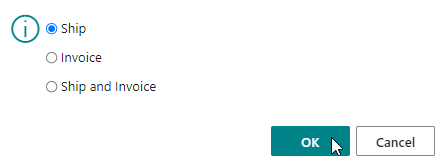
- Select Post. Then, select either Ship, Invoice, and Ship and Invoice.

- Select Ship to record shipment of goods to the customer.
- Select Invoice to change the sales order into a sales invoice.
- Select Ship and Invoice that will ship the goods and post the sales order into an invoice.
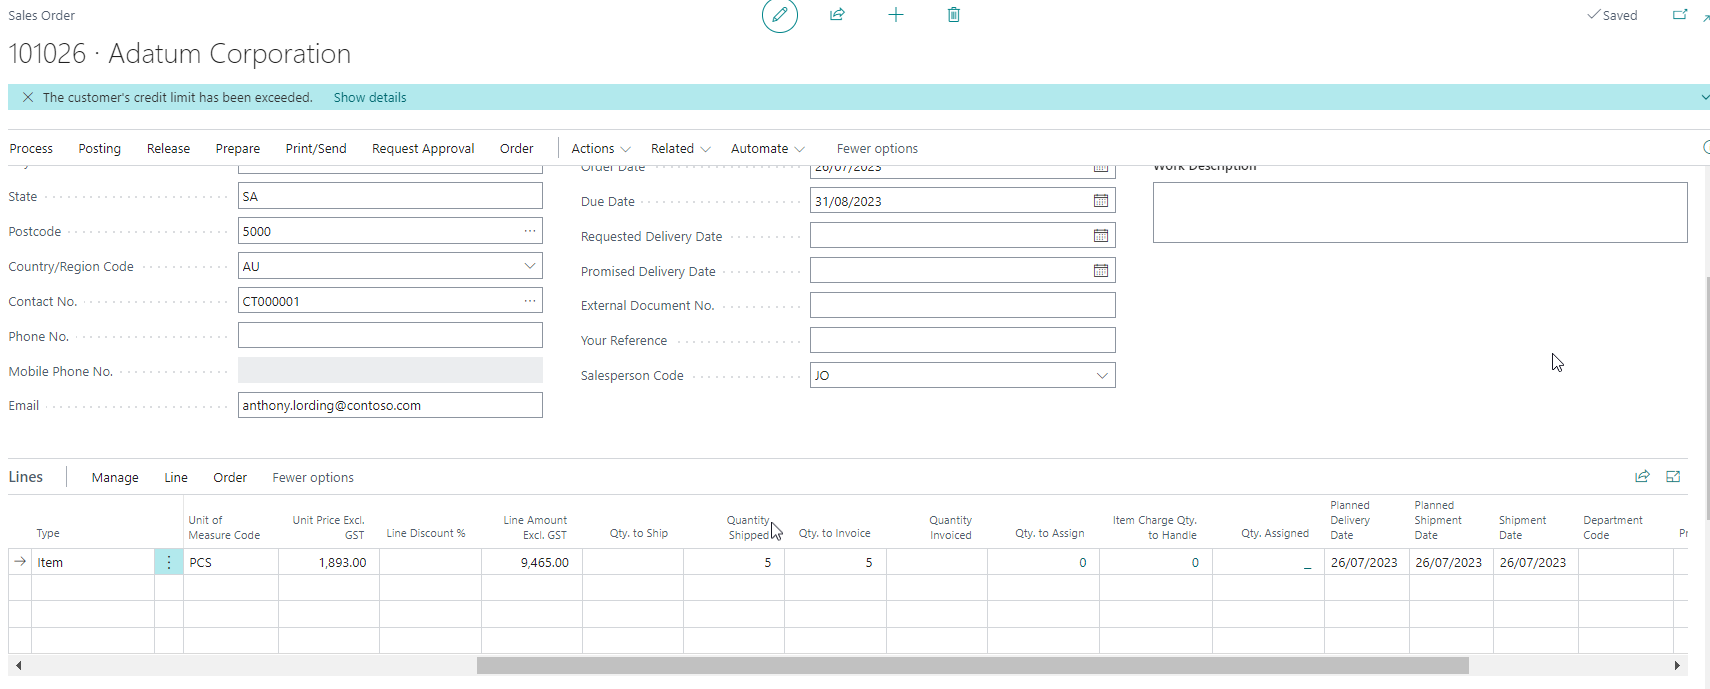
- For this scenario, select Ship. Then, select OK to continue or select Cancel to cancel the process.
- When you select OK, Quantity Shipped column is updated for the item.

- Select Print/Send to email, print or attach as PDF the sales order confirmation for the customer.
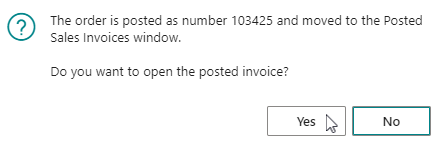
Note: You can now update the sales order as a sales invoice. - Select Home. Then, select Post. Select Invoice. A message box displays to inform you that a posted sales invoice has been created.

- Select Yes to open the posted invoice or select No to stay on the sales order page.
- You’ve set up a sales order.


What’s next?
Now that you’ve set up your sales order without a location, you can set up a sales order on a location with the inventory pick option enabled or the warehouse pick option enabled.
If you have any questions reach out to support@wiise.com