Overview:
- Set up a new customer in Wiise.
- Set up credit limits and payment terms.
Why set up a new customer card?
Customers are setup in Wiise so you can track the sales and receipts for each customer. Customer cards in Wiise contain information regarding your customer such as contact, address, shipping addresses and payment terms.
How to set up a new customer card in Wiise?
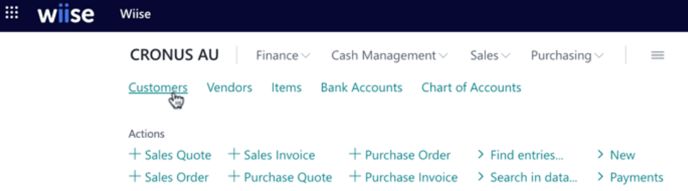
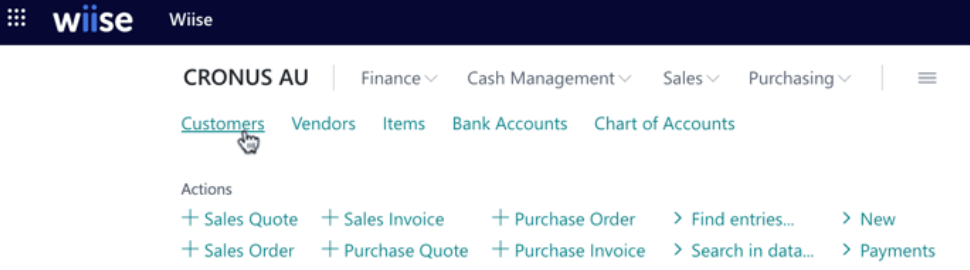
- From the Wiise landing page (role centre), select Customers. This displays your list of customers.
- Select + New to open a new customer card.
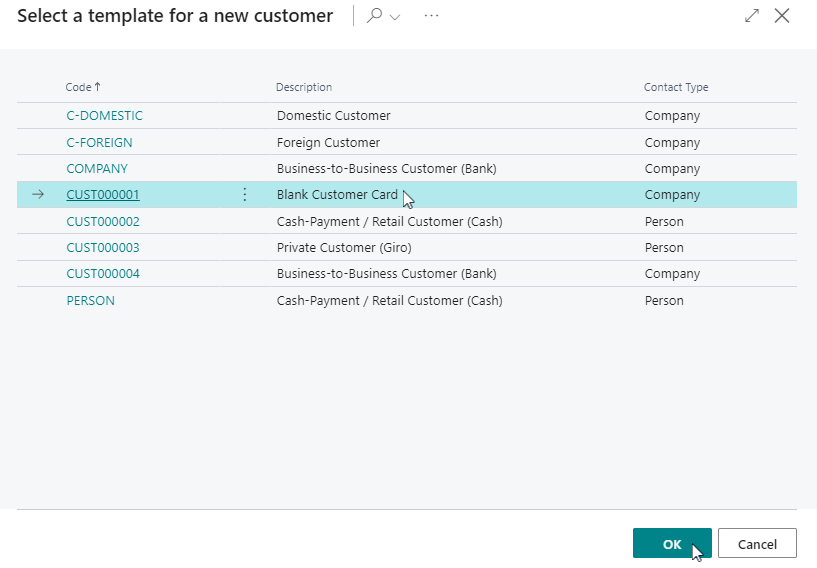
- Select a template for a new customer to create the Customer Card.

Note: You can add new customers manually by filling out the Customer Card page or use pre-configured templates that contain predefined information. The default template for a new customer is the Blank Customer Card. You can create unlimited templates for the type of customers you have. - A customer card is created with some of the fields completed for you.

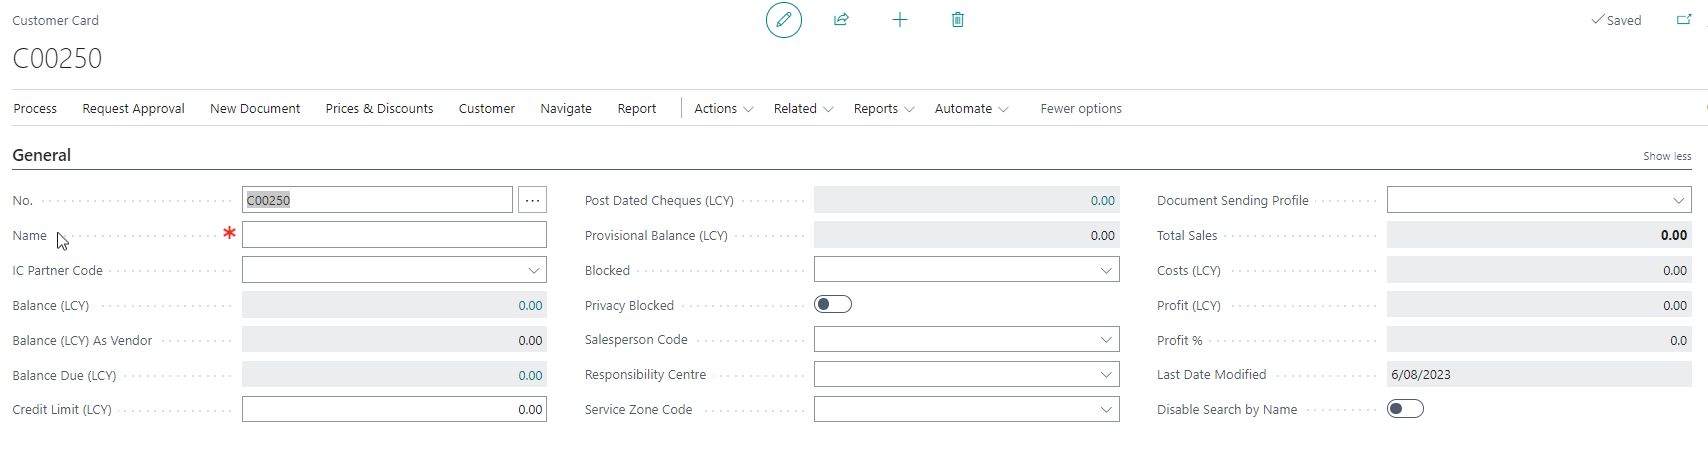
- Fill in or edit the fields on the customer card. There are nine sections called FastTabs in the Customer Card. Fields marked with red asterisks (*) are mandatory fields and must be completed.
Tip: Select Show more from these sections to reveal extra fields.
Note: Customers can be set up with dimensions to reporting purposes in the business.
Note: For more information, hover your mouse cursor over a field to read a short description.- General section
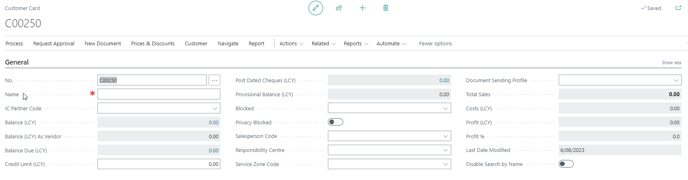
- The No. Field is a record identifier. It’s automatically populated when a customer card is created with the next sequential number. Manual number series for customers can be activated where required.
- The Name field is the customer’s name.
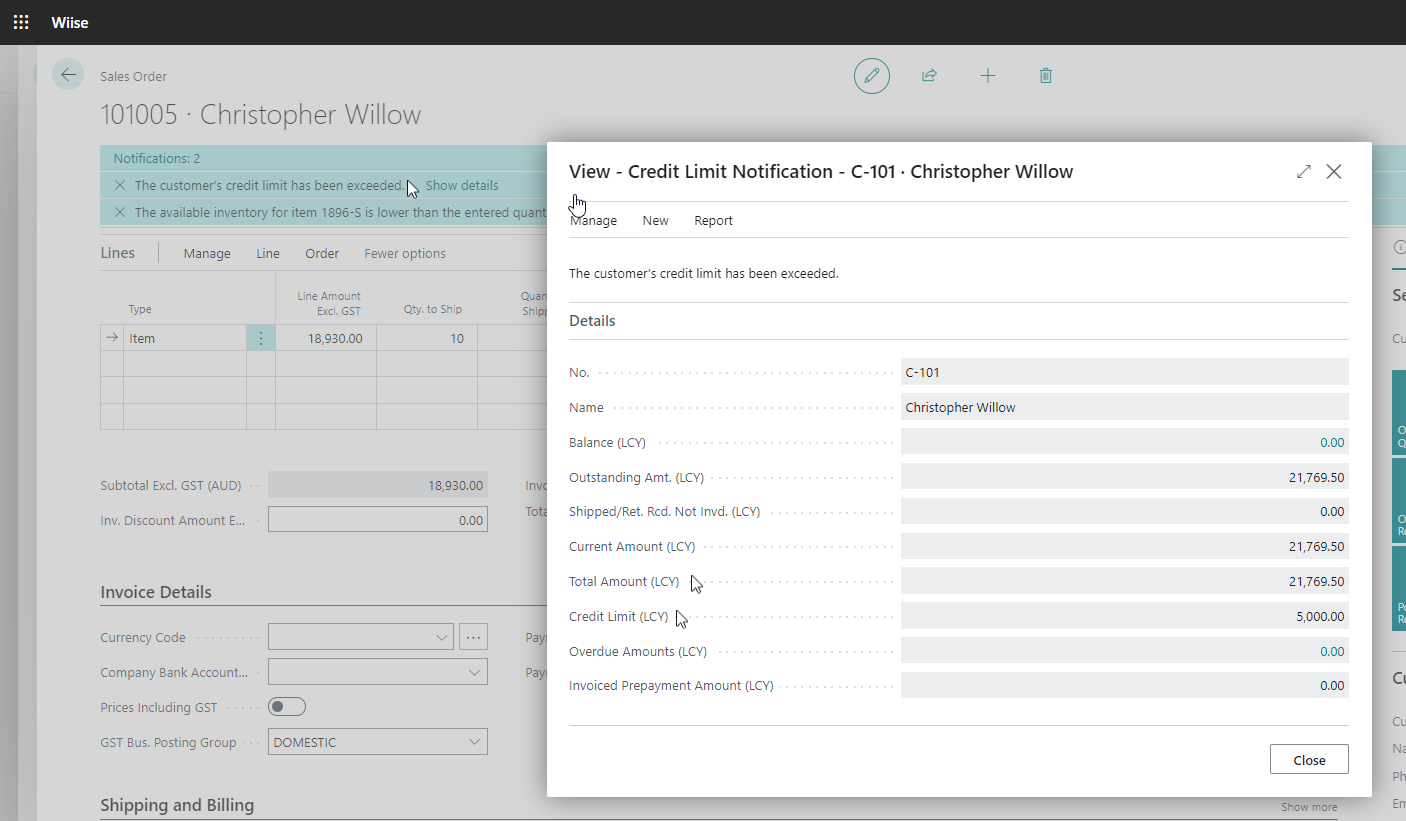
- In the Credit Limit field, you can apply a credit limit that is offered to your customer. This is the amount up to which your customers can obtain goods and services on a credit basis.
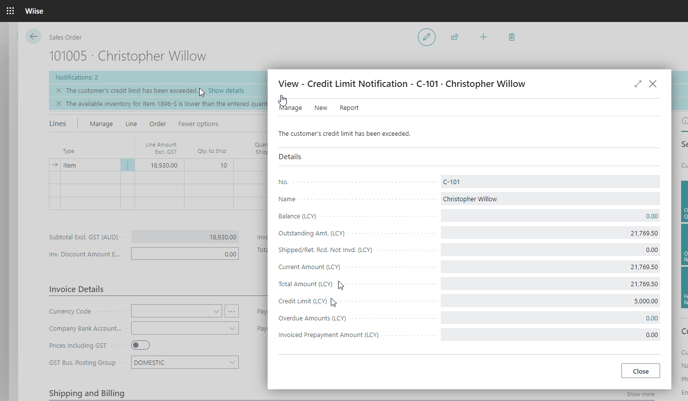
- If the credit limit is exceeded, when you’ve created the sales quote, sales order or sales invoice, a notification appears on the top of the page that you’re currently working on. From the notification, select Show details, to view the credit limit notification.
- At all times, you can go back to the Customer Card and in the General FastTab section, you can view the Credit Limit field to see if the customer is under their credit limit or over the credit limit.
- Update the Salesperson Code field so that you can identify the salesperson who handles the customer’s account.
Note: You can still post sales quotes, sales orders and sales invoices if the credit limits for customers have been exceeded. If the Credit Limit field is left blank, there will be no credit limit for this customer.
Note: The Privacy Blocked field in the General section when enabled, restricts access to the customer's data during daily operations. It helps prevent staff from making changes to the data.
- Registration section
- Fill in the business registration details of the customer.

Note: Find out how to set up and use the ABN Lookup Feature on this section.
- Fill in the business registration details of the customer.
- Address & Contact section
- Fill in the customer address and contact details.

- Fill in the customer address and contact details.
- Invoicing section

- Gen. Bus. Posting Group The General business posting group is a means of grouping your customers into categories for reporting purposes. Examples include grouping customers as domestic and foreign customers.
- Customer posting group are used to create a grouping of customers that allow you to determine how you’d post sales transactions, such as receivables account, service charges, and sales discounts in the respective GL accounts in your chart of accounts.
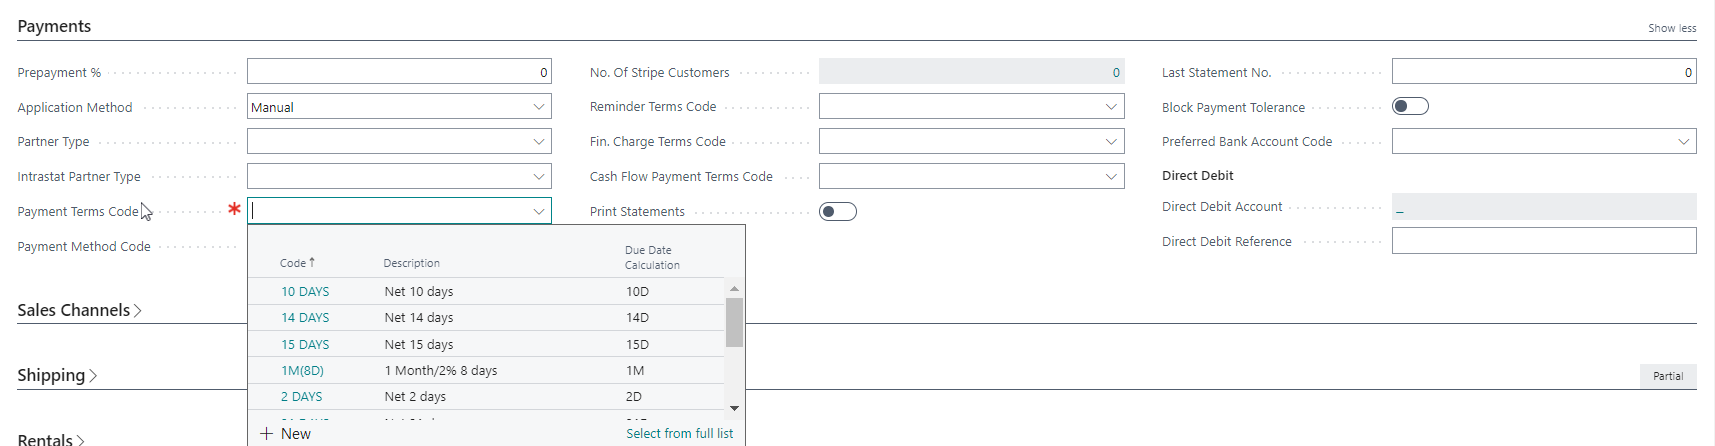
- Payment section.
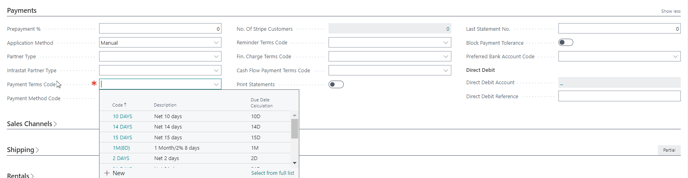
- The Payment Terms Code is mandatory as it specifies the payment term limit for the customer to make their payment to you.
- Shipping section

- Your customer would normally require shipping goods to a destination or come and pick it up from your warehouse. Multiple shipping addresses can be added here.
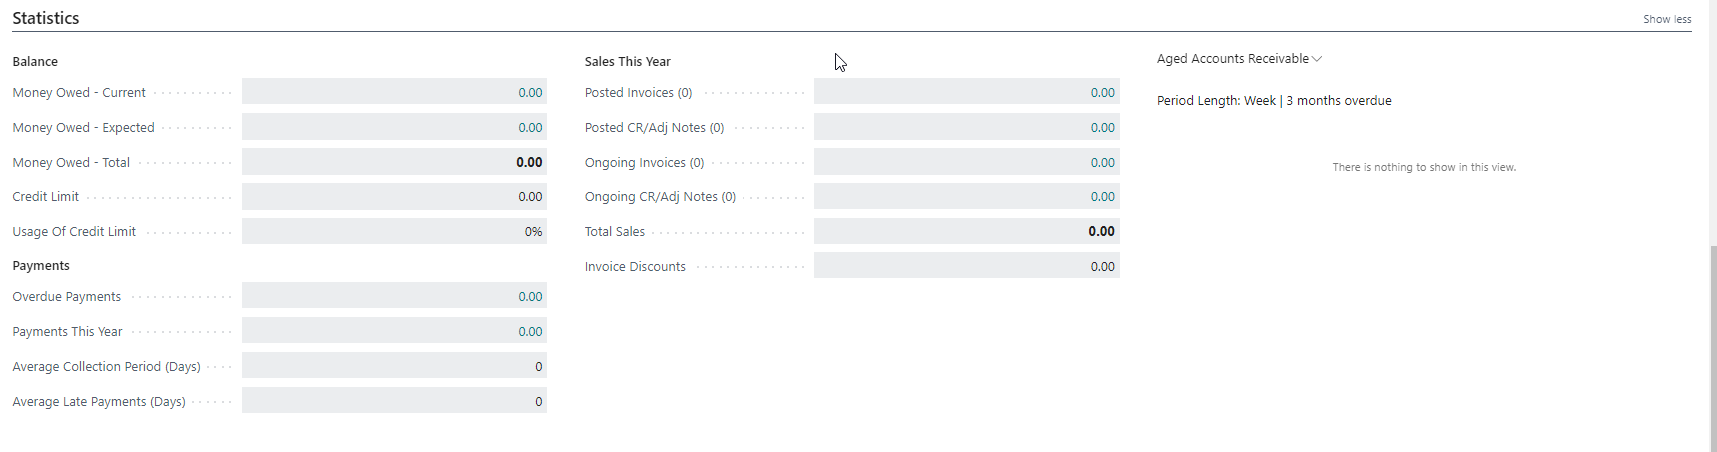
- Statistics section
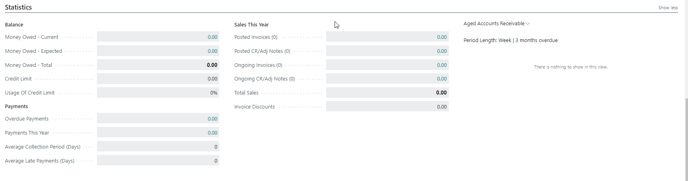
- You’re not required to update any details in this section. This section will show you statistics regarding the customer balance, payments and sales this year. You can monitor the aged accounts receivable from this section to see if there are any overdue payments.
- General section
- You've set up a new customer. You can use the customer information on the customer card to create sales documents.


Tip: If you’re creating a purchase or sales document and you find that your customer or customer doesn’t exist in Wiise, you can add them from within the sales entry screen by selecting yes on the prompt.
What's next?
- If you’ve received payment from your customers by direct debit, you can set up a customer bank account on direct debit. You can also set up pricing and discounts for customers.
If you have any questions reach out to support@wiise.com