Overview:
- Learn to create a Warehouse Receipt using OnTime for a released purchase order.
Note: Require Receive must be enabled on your Location Card in Wiise ERP desktop to use the Warehouse Receive process and complete the full receive and-put-away workflow in OnTime.
Why Create a Warehouse Receipt using Warehouse OnTime?
OnTime enables you to conveniently record incoming goods on your mobile device, providing a flexible alternative to using the Wiise ERP desktop for creating the warehouse receipt. This increases the effeciency of your transaction processing in the warehouse.
Before You Begin
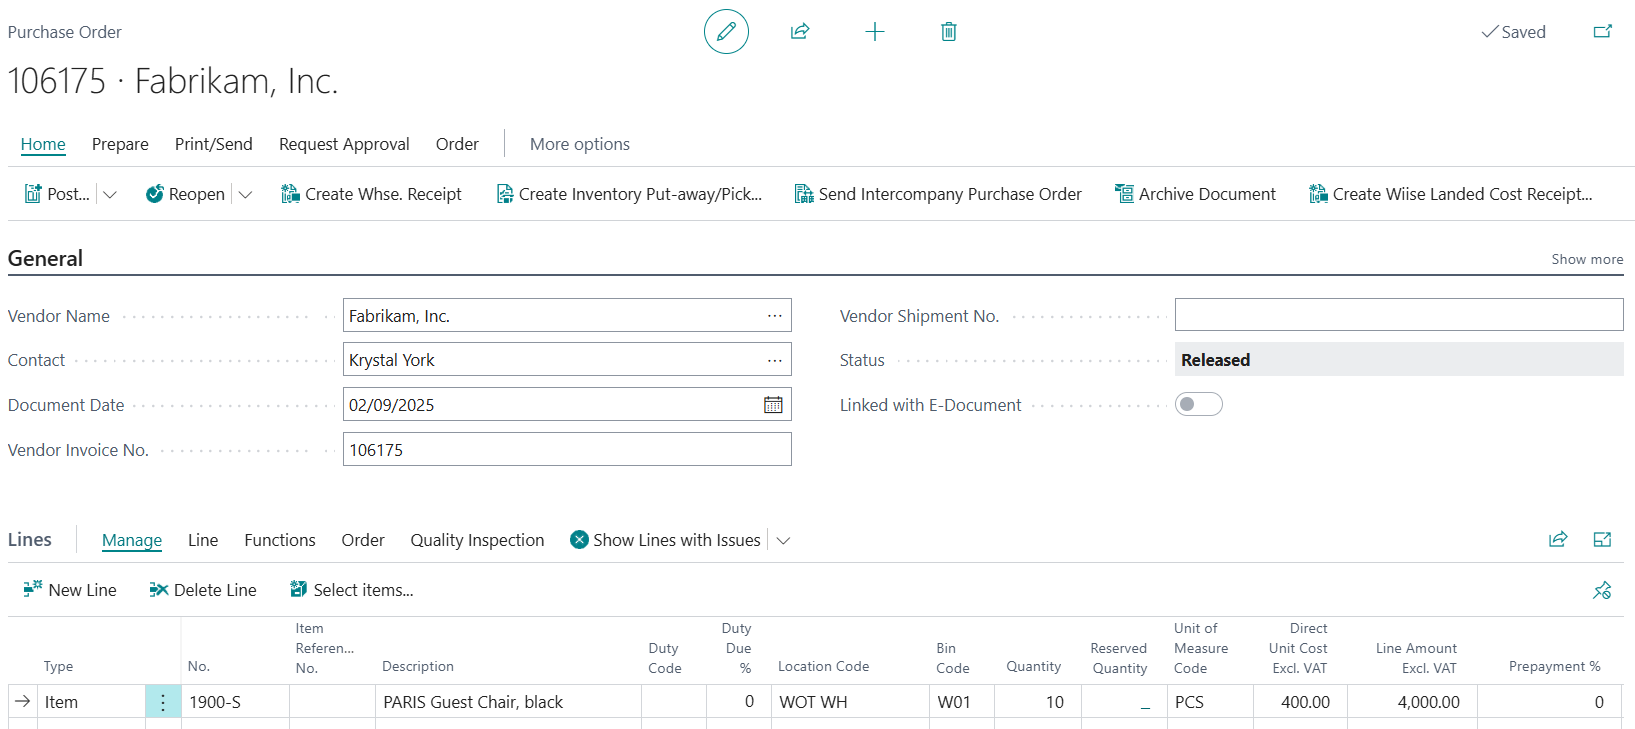
- A Purchase Order must exist in Wiise ERP and be in Released status.
- You have OnTime installed and you’re logged in with your warehouse worker role.
- You have permission to create warehouse documents using OnTime.
Caution: Make sure your user permissions are set up as a warehouse worker in Wiise ERP Desktop before logging into the OnTime app for the first time. Reach out to your Warehouse Manager for access.
How to Create Warehouse Receipt using OnTime?
- Login to your OnTime app.
- Select the Functions tab to see your tasks.

- Select the Receive tile in the Inbound section.
Note: The number indicated against the Receive tile shows the total tasks to complete.
- Select Open Warehouse on the Warehouse Receive tile.
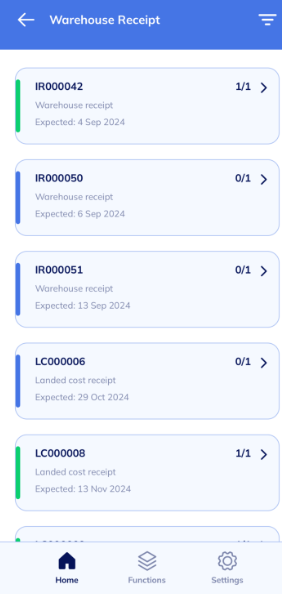
- The Warehouse Receipt list displays.

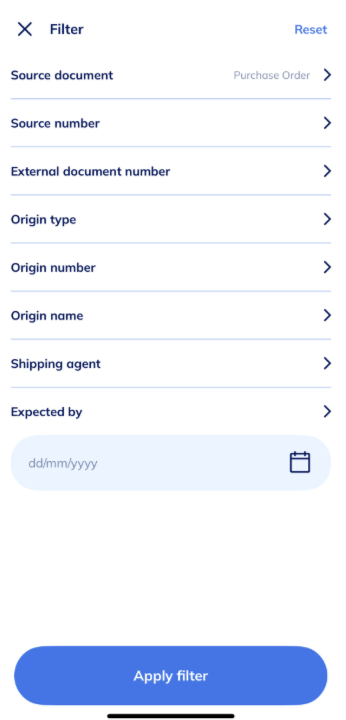
- On the Warehouse Receipt page, select the Funnel icon on the top right-hand corner of the page.
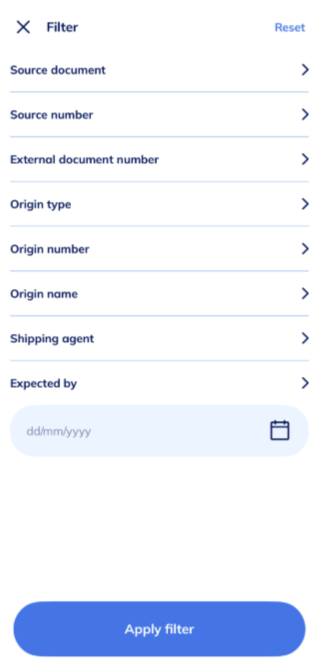
- The Filter page displays.

- Select the Source document option.

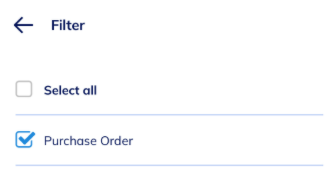
- Then, select Purchase Order as your source document.
- Use the back arrow to go back to your Filter page.
- Then, select Apply filter.

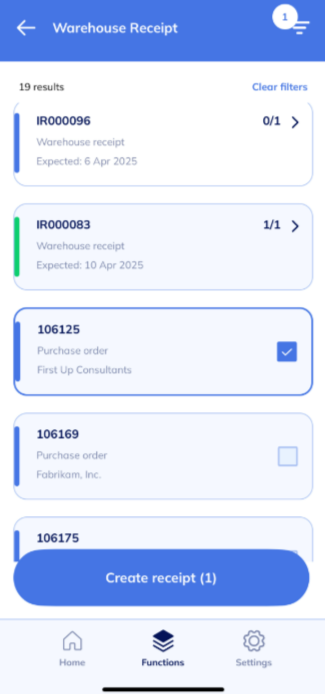
- On the Warehouse Receipt page, you can see all released purchase orders ready to be actioned, including any existing warehouse receipts. Select the related purchase order you want to work on.

- Then, select Create receipt.
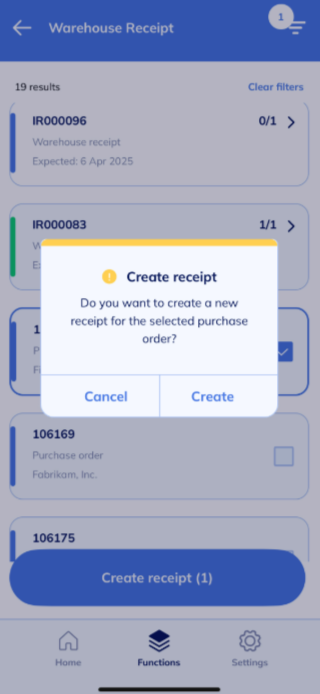
Note: The Create receipt action enables you as the warehouse worker to create warehouse receipts directly from OnTime. - A confirmation message displays to requesting you to confirm if you want to create a new receipt for the selected purchase order. Select Create to continue or select Cancel to stay on the page.

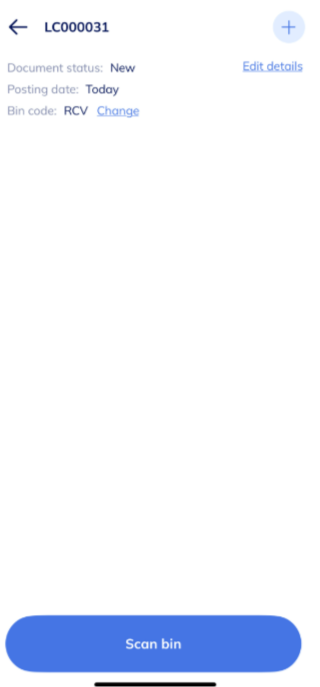
Note: A warehouse receipt is created on the Warehouse OnTime app. You’ll be directed to the Scan bin page.
- You’ve created a warehouse receipt from a purchase order using Ontime. You can now proceed to receipt the goods.


What’s next?
Find out how to complete the receive and put-away using OnTime.
Need more help?
No problem, that's what we're here for. Reach out to support@wiise.com anytime you can't find what you're looking for.