Overview:
- Learn to configure OnTime functions in Wiise ERP
Why configure OnTime functions in Wiise ERP?
The Wiise warehouse functions section can be configured to determine the actions a warehouse worker can perform with warehouse documents. Some businesses prefer warehouse workers to only save information to be posted or registered later by others while others prefer these actions to be completed by warehouse workers. You can choose the level of responsibility that you want your warehouse workers to have.
Before You Begin
Decide the following for your warehouse workers:
- Complete the warehouse setup by configuring Location Cards
- Ensure Warehouse Employees are assigned to the correct locations.
How to configure OnTime functions in Wiise ERP?
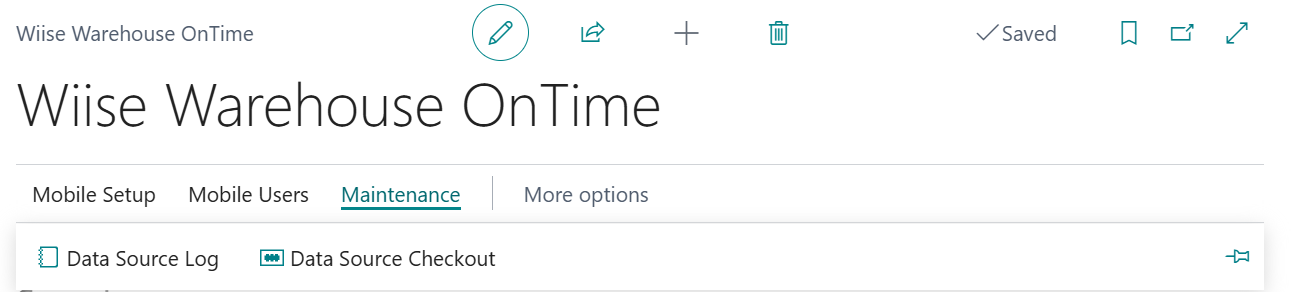
- Login to Wiise ERP desktop. Then, search for Wiise Warehouse OnTime from the top right-hand corner of the page. Select the relevant link and the page displays.

- The three actions you can manage on the Wiise Warehouse OnTime are:
- Mobile Setup: You can configure how each OnTime function behaves for your warehouse workers.
- Mobile Users: View users last login history
- Maintenance: Data source logs of user tasks in OnTime
- General section:
- Enabled: When enabled, the OnTime app can connect and transact with Wiise
- Enable Item Tracking: When enabled, it prompts users to record and verify lot or serial numbers whenever your setup requires it.
- User Transactions section:
- Item Journal Batch: Set to auto-default. This is where you can stage and post your inventory entries from OnTime.
- Physical Inventory Journal: Set to auto-default. This journal is used for managing stocktakes and counts updated from OnTime.
Manage Mobile Setup
- Select Mobile Setup. From the drop-down menu, select Configure Functions.
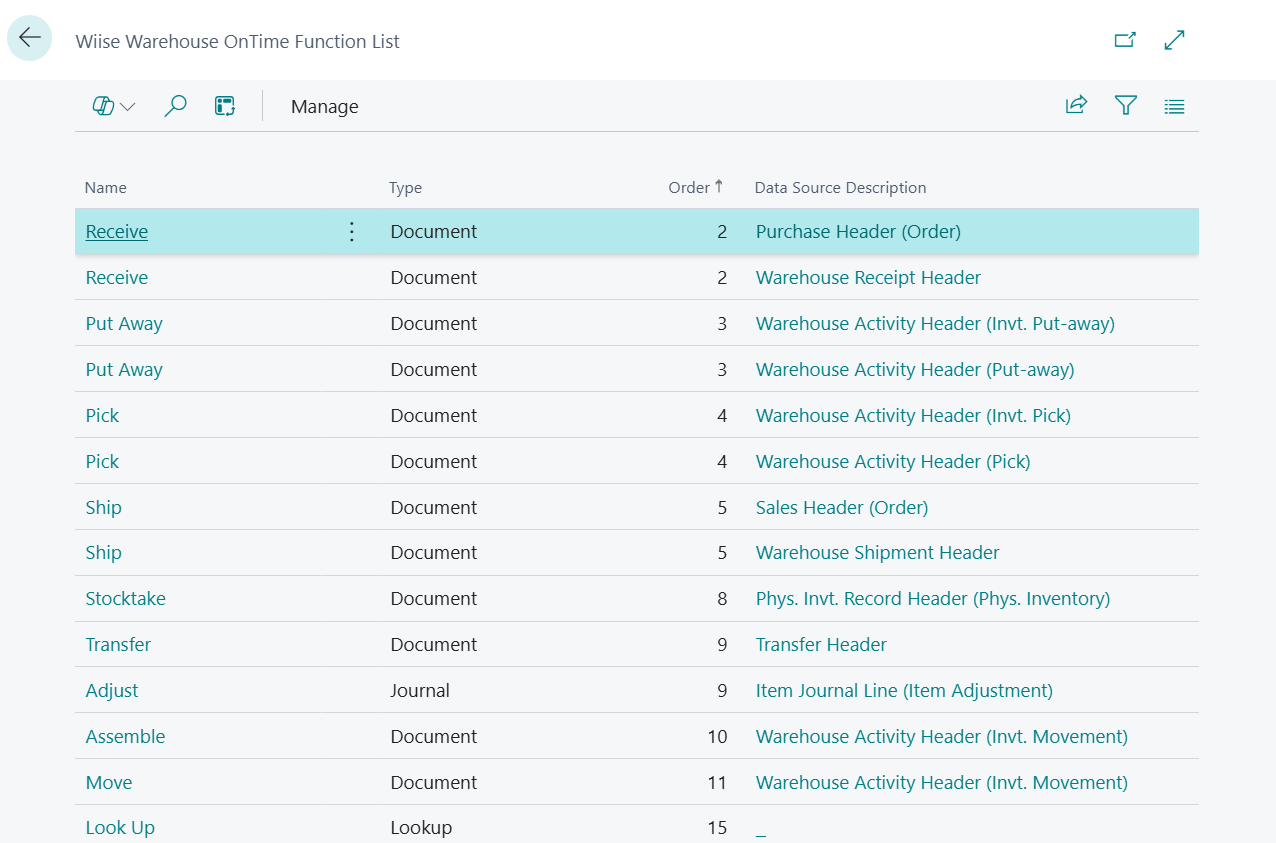
- The Wiise Warehouse OnTime Functions List page appears. You can see all available OnTime functions.

Note: This is the master list of warehouse functions that you can configure to use in OnTime. - This is what the configuration view means:
- Name: The function name. Some functions appear twice as they can be configured to work with different data sources.
- Type: The type of record: Document, Journal or Lookup function
- Order: The display order or sequence in which the function appears in OnTime
- Data Source Description: The table or record type which the function pulls its data
- Select to view a function:

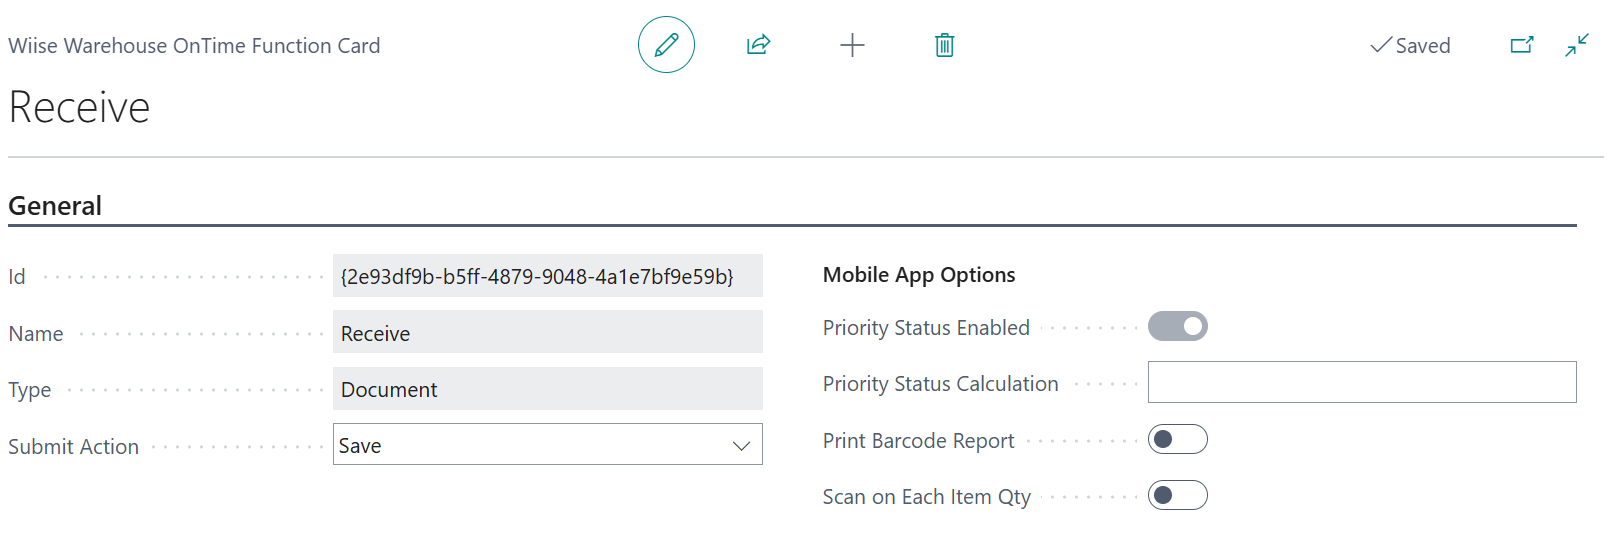
- General section:
- Id: A unique identifier for this function
- Name: The label shows in OnTime
- Type: The type of record
- Submit Action: the action when a warehouse worker submits the task in the app: The actions are: Save, Post, Ship, Register, Receive, Finish and Create.
- Save: Marks the task as complete but leaves posting for a desktop Wiise user to finalise later.
- Post: Completes the task and moves it to the next stage in Wiise ERP desktop.
- Ship: Posts the activity directly into Wiise ERP desktop.
- Register: Posts an activity in Wiise ERP desktop
- Receive: Post the task to acknowledge physical receipt of goods.
- Finish: Completes a task.
- Create: Create a new document like a stock transfer in OnTime.
Note: Warehouse workers can save data for someone else to post or register or they can post warehouse receipts and shipments and register warehouse picks and put-aways.
- Mobile App Options section:
- Priority Status Enabled: Toggle to highlight tasks in the app as high priority
- Priority Status Calculation: Define the logic used to determine which tasks are priority based on the document’s Ship by or Expected by dates.
- Note: By default, priority tasks are highlighted in OnTime 1 day before their due date. You can update this by configuring the function. Here’s the date formula format: Number + Time Unit (1D = 1day, 2W = 2 weeks). D = Day, W = Week, M = Month, Q = Quarter, Y = Year
- Print Bardcode Report: Toggle on to print automatically when the function is completed
- Scan on Each Item Qty: This requires the warehouse worker to scan each individual item rather than scanning once for the total to ensure item and quantity accuracy.
Note: Changes made are automatically saved and reflected in OnTime.
Manage Mobile Users
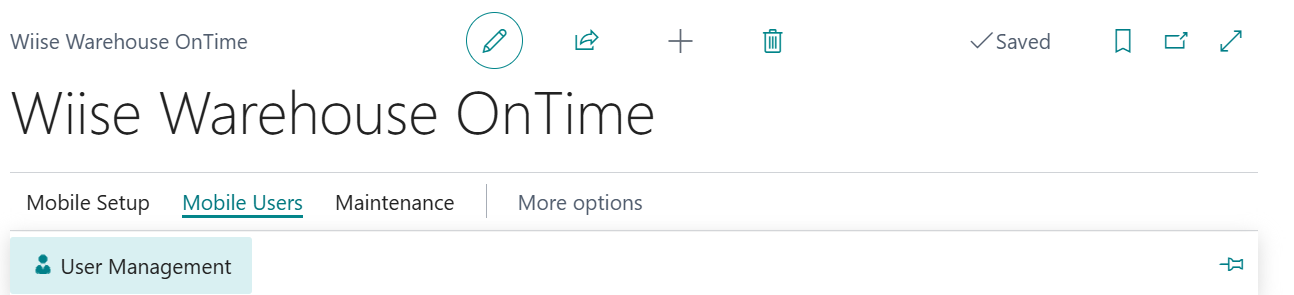
- Select Mobile Users.
- Then select User Management. The Wiise Warehouse OnTime User List displays.

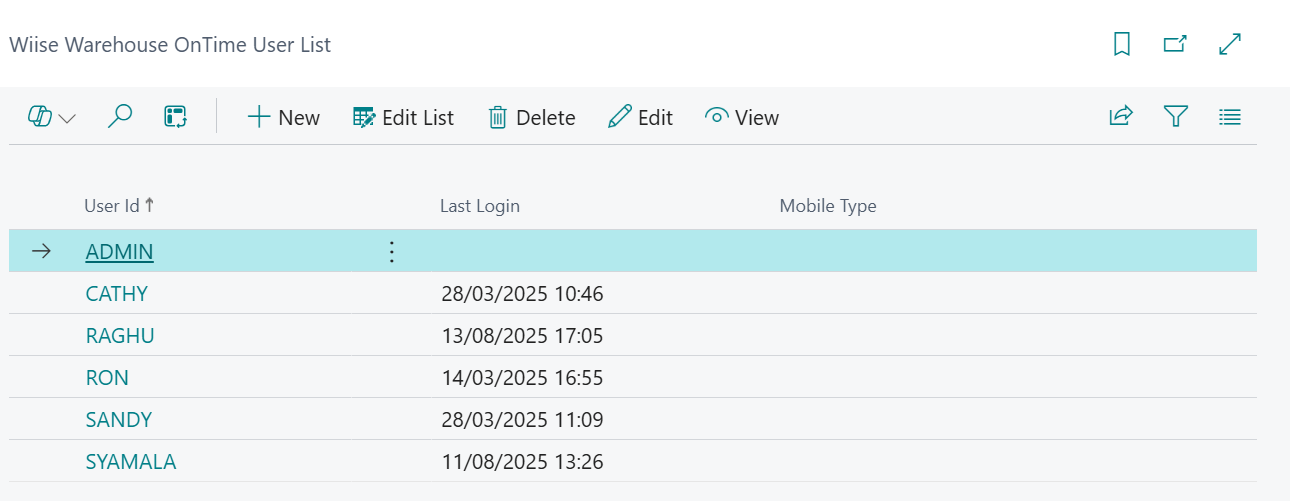
Note: View each warehouse worker’s last login here and update their details to track the Mobile Type they log in from.
Manage Maintenance
- Select Maintenance. You can see two options in the drop-down menu which are Data Source Log and Data Source Checkout.

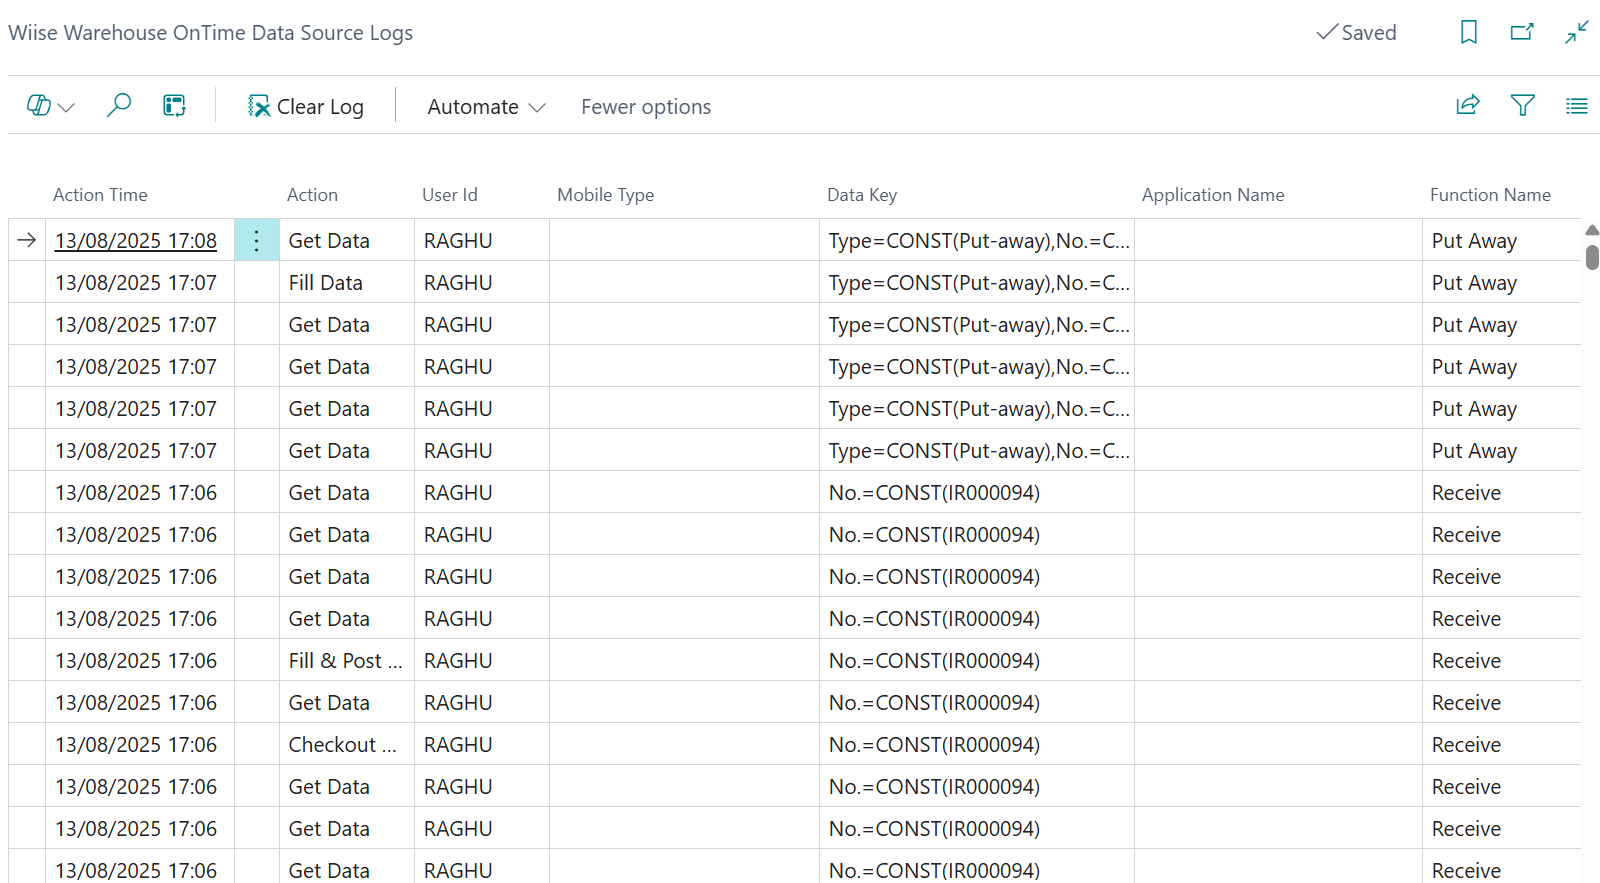
- Select Data Source Log. The page displays.

Note: This log informs you that the user completed a certain function and then moved onto another function.- Action Time: This is the timestamp of the action
- Action: The type of action that happened.
- Get Data: OnTime fetched the task
- Fill Data: OnTime sent updates
- Fill & Post: A transaction was posted
- Checkout: User completed the task or logged out of OnTime
- User ID: The OnTime user or your warehouse worker
- Mobile Type: The device type used to login to OnTime
- Data Key: The record performed.
- Application or Function Name: The OnTime with the function name performed.
Note: You can Clear Log to wipe the history. Use this sparingly.
- Select Data Source Checkout. The page displays.

Note: This shows who has reserved the task. Only one user can edit it at a time.- Checkout Time: when the record or task got reserved
- User ID: who is assigned the task
- Data Key: The document or function type.
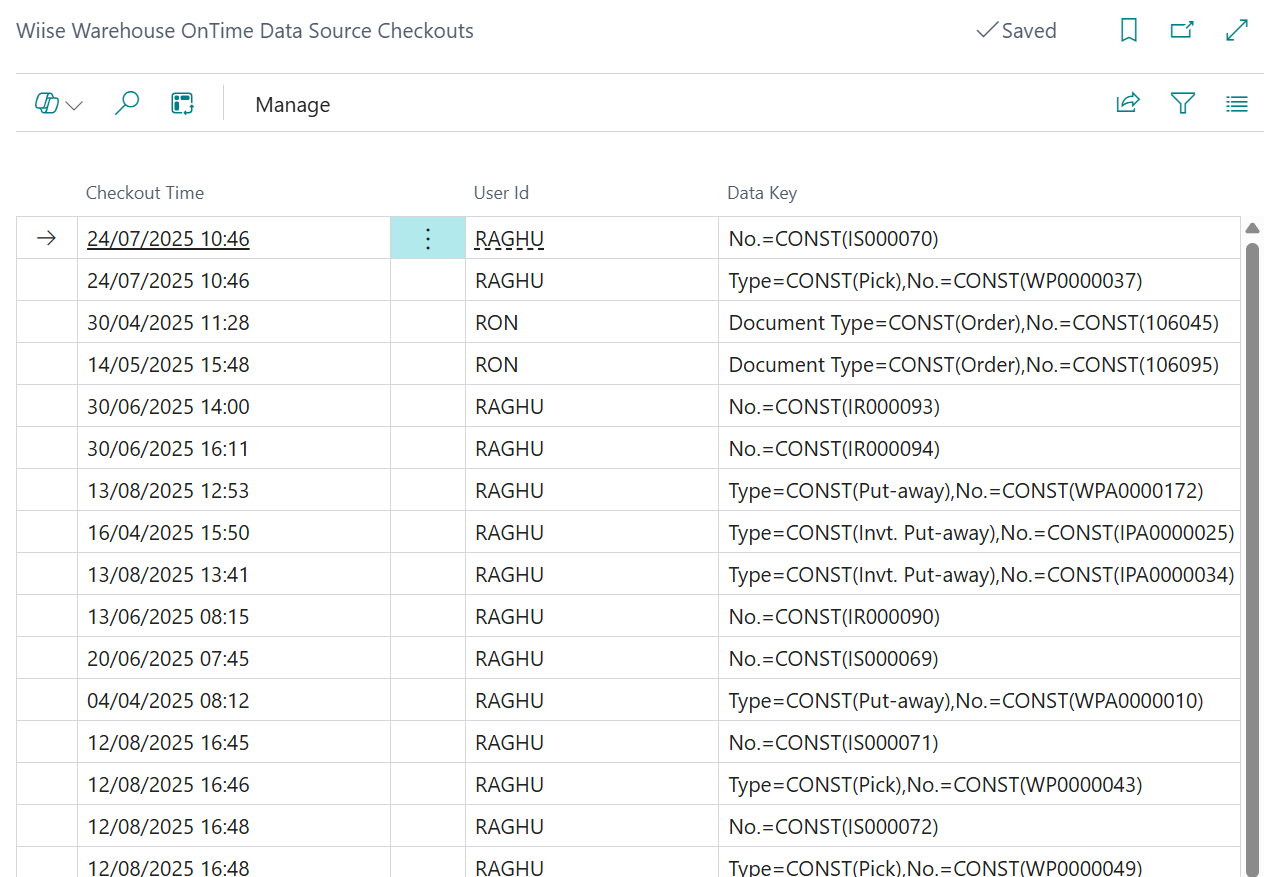
Note: If the device or OnTime is stuck, you can use Manage and delete to release the checkout. Confirm that the user isn't still working on it.
What’s next?
Find out how to complete the require receive and put-away in OnTime.
Need more help?
No problem, that's what we're here for. Reach out to support@wiise.com anytime you can't find what you're looking for.