Overview:
- Learn how to setup prepayments
Why setup prepayments?
You can use the prepayment functionality if you require your customers to submit partial or full payment before you ship an order to them, or if your vendor requires you to submit a partial or full payment before they ship an order to you.
How to setup prepayments?
The following parameters need to be set up before you can use prepayments.
- Assign G/L accounts on general posting setup for prepayments
- Set up a number series for prepayment documents
- Assign prepayment percentages
General posting set up
You’d need to set up G/L accounts to where the prepayment would be recorded until the final invoice is posted.
Note:
- Customer prepayments are in a Liability account until the items are shipped.
- Vendor prepayments are in an Asset account until the items are received.
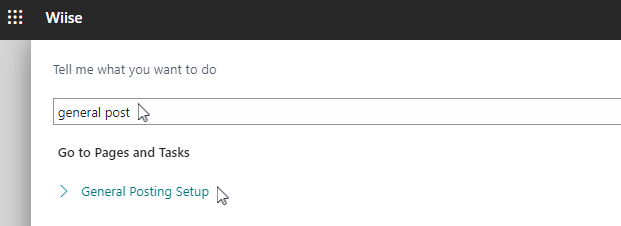
- Search for General Posting Setup on the top right-hand corner of your Wiise page. Select the related link.
- The General Posting Setup table is displayed below.

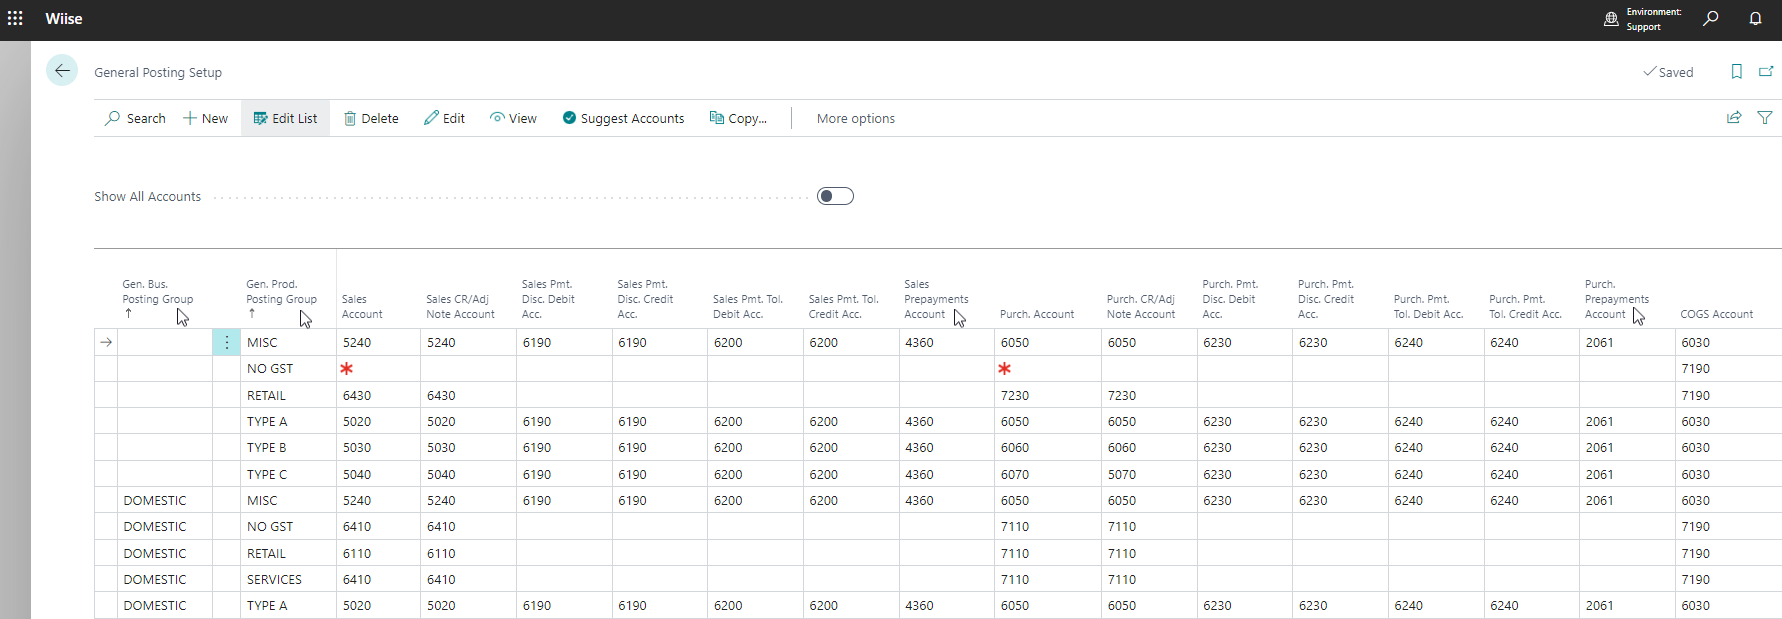
-
- Every line that contains a combination of the general business posting group and general product posting group that requires updates as follows:
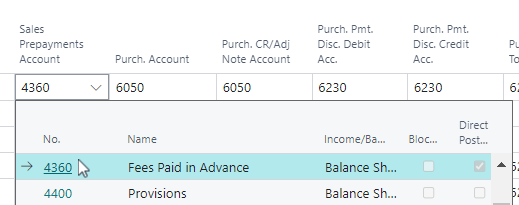
- In the Sales Prepayments Account field, enter the G/L account to use for posting sales prepayment amounts.
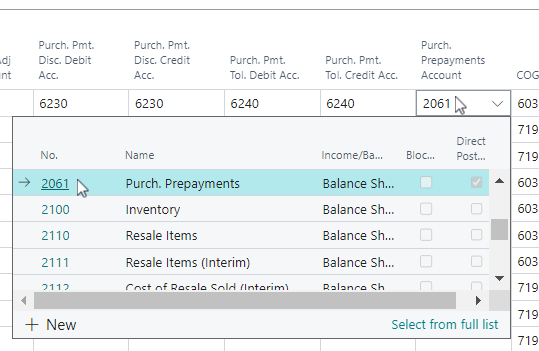
- In the Purch. Prepayments Account field, enter the G/L account to use for posting purchase prepayment amounts.
- In the Sales Prepayments Account field, enter the G/L account to use for posting sales prepayment amounts.
- Every line that contains a combination of the general business posting group and general product posting group that requires updates as follows:
- You’ve completed the general posting setup.


Set up prepayment verification and number series
Prepayment verification ensures that inventory isn’t shipped to a customer or received from a vendor before the prepayment invoice is applied.
For every type of prepayment document that is used, you must set up a number series. The prepayment documents are as follows:
-
- Sales prepayment invoices
- Sales prepayment credit memos
- Purchase prepayment invoices
- Purchase prepayment credit memos
Note: You can use the same number series for prepayment invoices, regular invoices and credit memos. Or you can use different number series.
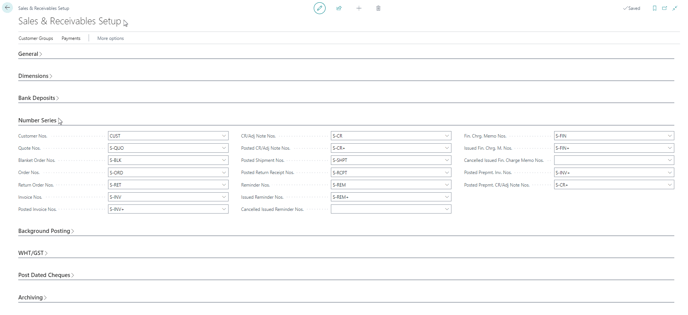
- Search for Sales & Receivables Setup on the top right-hand corner of the Wiise page. Select the related link.
- The Sales & Receivables Setup table below is displayed.
- Expand the General section.
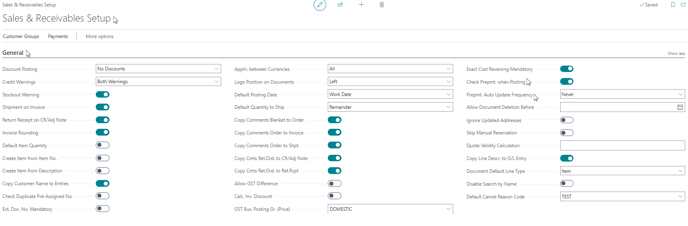
- Enable the Check Prepmt. when Posting toggle button to prevent the posting of invoices before the receipt of the prepayment amount.
- The Prepmt. Auto Update Frequency field specifies how often the job must run and automatically updates the status of sales orders that are pending prepayment.
- Select the drop-down menu to either never update automatically or update daily or weekly.
- Expand the Number Series section.

- In Posted Prepmt. Inv. Nos. enter the number series to assign numbers to sales prepayment invoices when they’re posted.
- In Posted Prepmt. CR/Adj Note Nos. Enter the number series to assign numbers to sales prepayment credit memos when they’re posted.
- Expand the General section.
- Search for Purchase & Payables Setup on the top right-hand corner of the Wiise page. Select the related link.
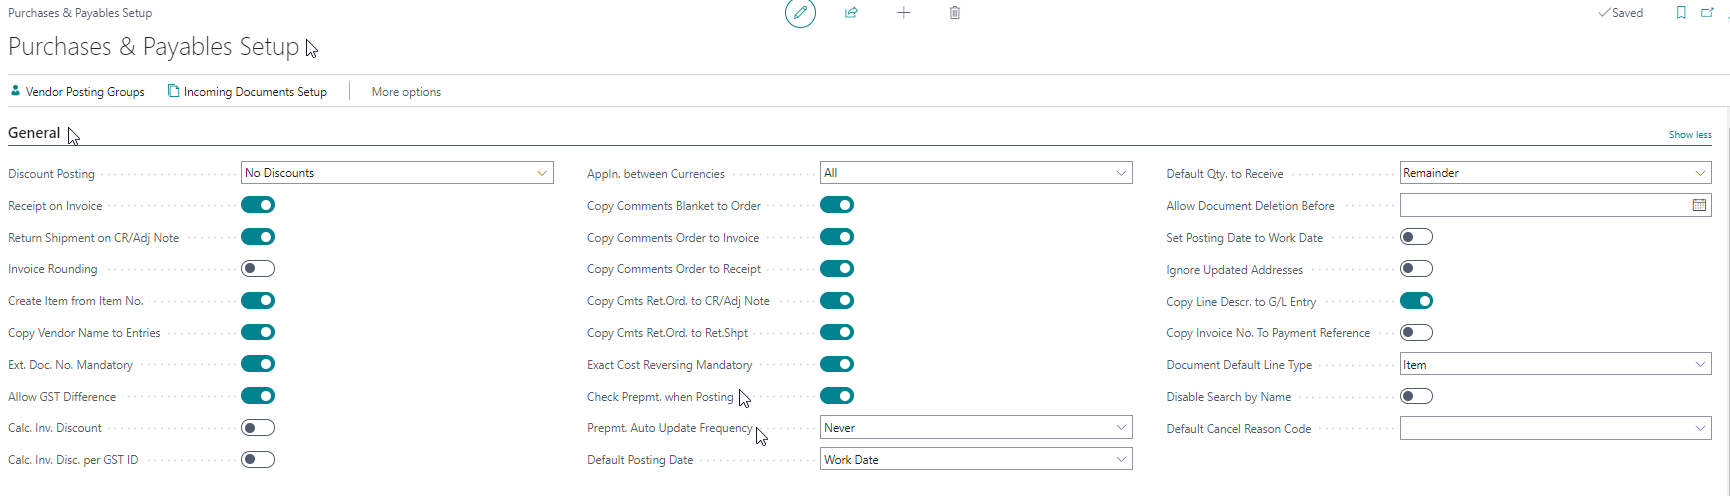
- The Purchase & Payables Setup table below is displayed.

- Expand the General section.
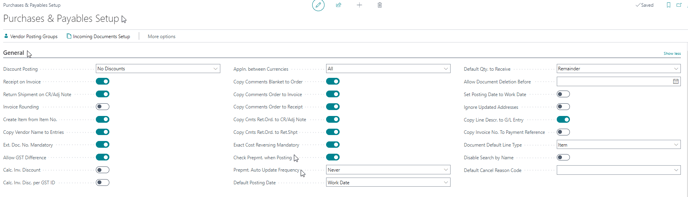
- Enable the Check Prepmt. when Posting toggle button to prevent the posting of invoices before you pay the prepayment amount.
- The Prepmt. Auto Update Frequency field specifies how often the job must run and automatically updates the status of purchase orders that are pending prepayment. Select the drop-down menu to update automatically or update daily or weekly.
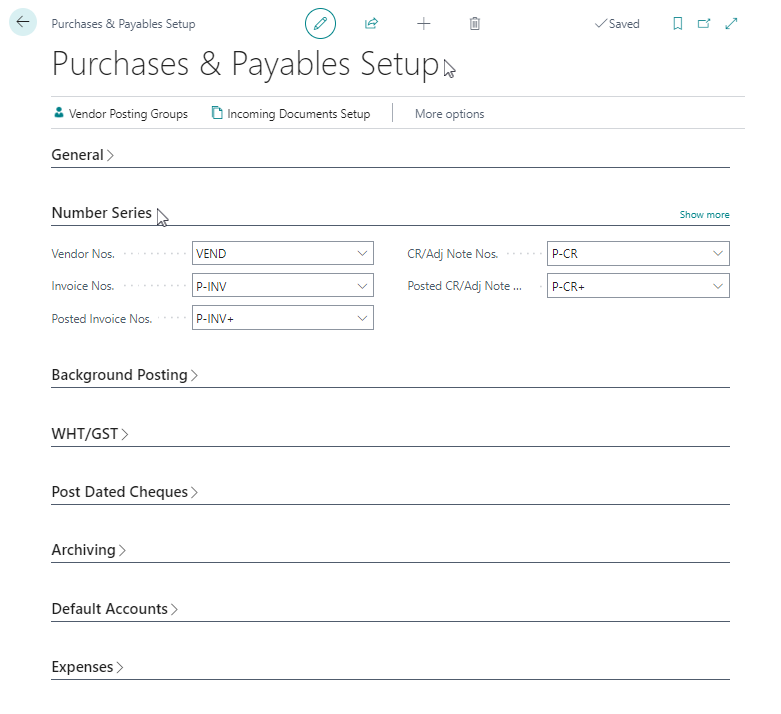
- Expand the Number Series section.

- In Posted Prepmt. Inv. Nos. enter the number series to assign numbers to purchase prepayment invoices when they’re posted.
- In Posted Prepmt. CR/Adj Note Nos. Enter the number series to assign numbers to sales prepayment credit memos when they’re posted.
- Expand the General section.
- You’ve completed the setup for prepayment verification and number series.


Assign prepayment percentages
Note: You can specify a default percentage for prepayments to use for all sales and purchases or for just an item for all customers or vendors, for a customer or vendor price group or for a specific customer or vendor. Set up this default in the Prepayment % field on the customer and vendor cards or on all sales and purchase orders lines.
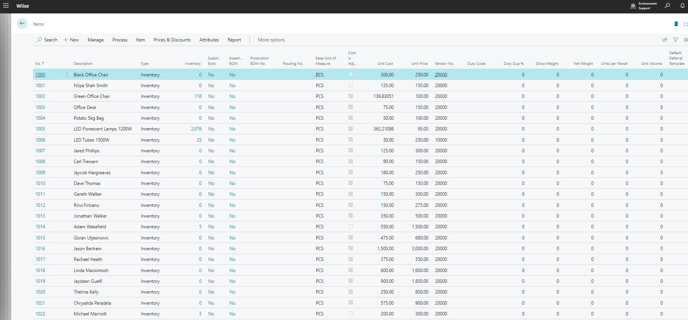
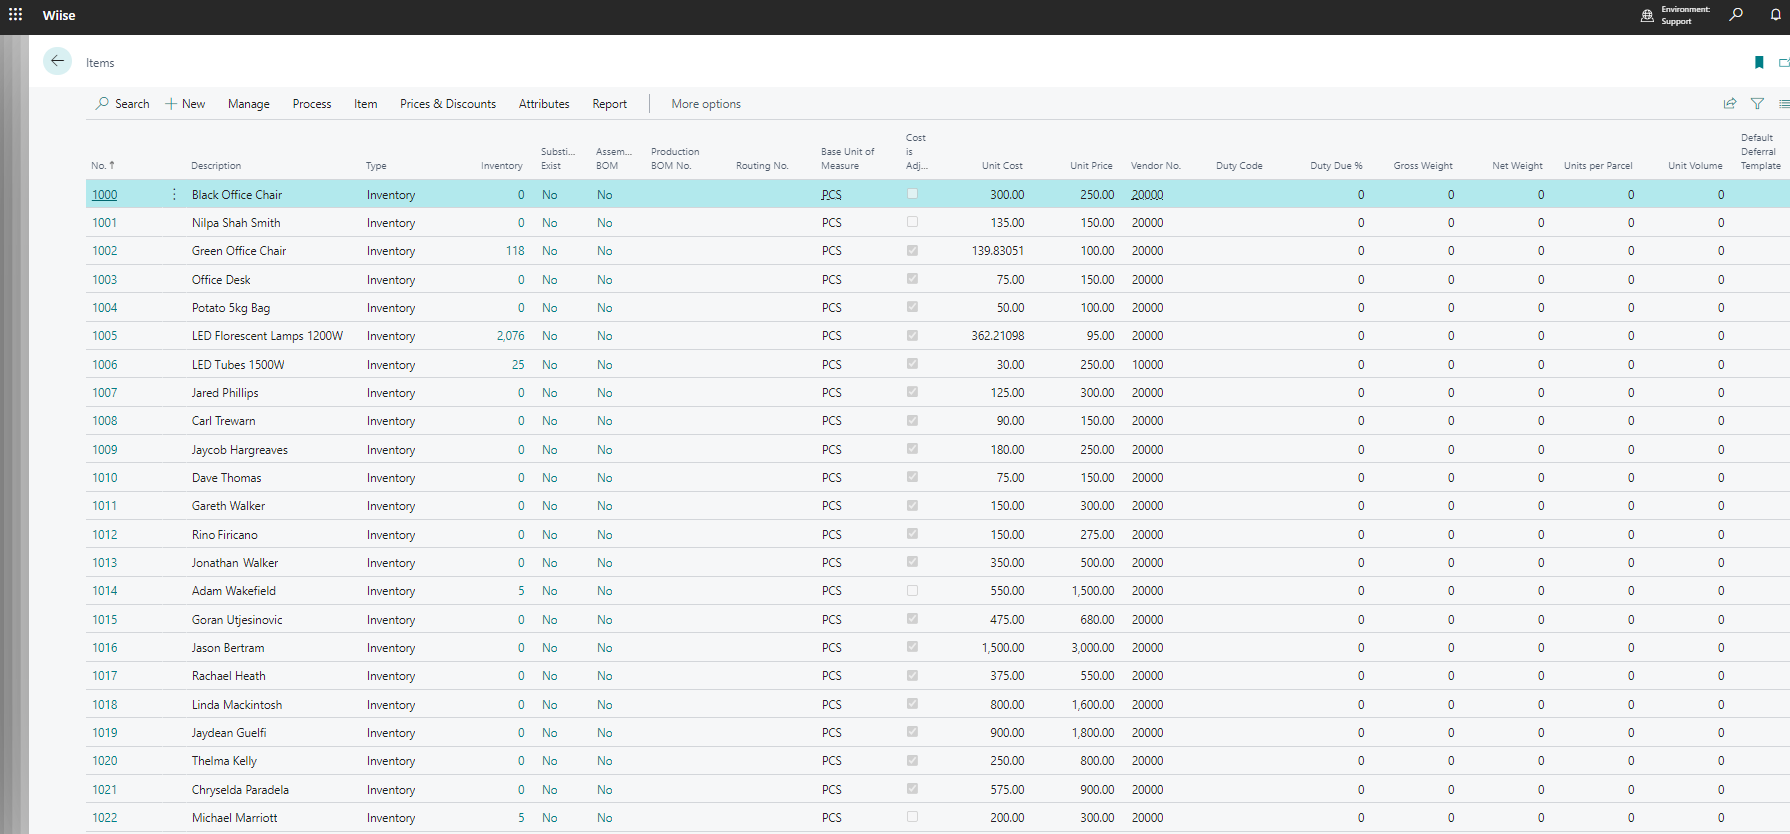
- Search for items on the top right-hand corner of the Wiise page. Select the related link.
- You’ll see the Items list as displayed below.
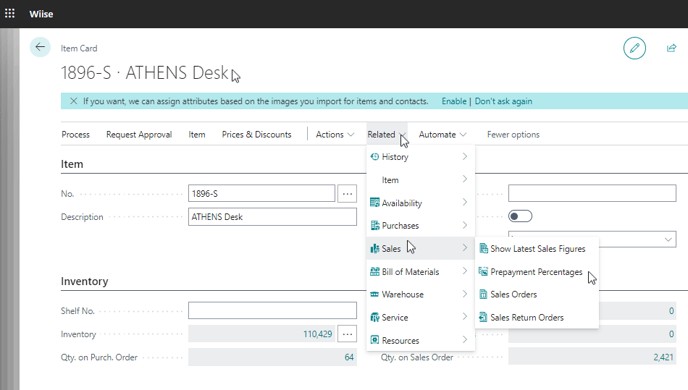
- To update the sales prepayment percentages, select an item. When you’re in the Item Card, select Related. From the drop-down menu, select Sales. Then, select Prepayment Percentages.
- The table below is displayed. Fill in the field with the following information:

- Sales Type: Specifies whether the prepayment percentage is defined for a single customer, a customer price group or for all customers.
- Sales Code: Depending on the sales type, fill in the unique code of the customer or customer price group.
- Item No: Defines which item the prepayment percentage is for.
- Starting Date and Ending Date: Defines a period in which the prepayment percentage is valid.
- Prepayment %: The prepayment percentage you will require.
- To update the purchase prepayment percentages, select an item. When you’re in the Item Card, select Related. From the drop-down menu, select Purchases. Then, select Prepayment Percentages.
- The table below is displayed. Fill in the field with the following information:

- Vendor No: Specifies which vendor the prepayment percentage will be defined.
- Item No: Defines which item the prepayment percentage will be for.
- Starting Date and Ending Date: The period in which the prepayment percentage is valid.
- Prepayment %: The prepayment percentage you will require.
- You’ve completed the Prepayment setup.


What’s next?
Once you’ve set up prepayments on Wiise, you can now proceed to process the prepayment invoices related to sales or purchase order.
Need more help?
No problem, that's what we're here for. Reach out to support@wiise.com anytime you can't find what you're looking for.