Overview:
- Learn how to move items between bins using OnTime app 1.4
Why move items between bins using Ontime?
Use Ontime to eliminate paperwork and send move instructions directly to the Ontime app from your ERP desktop.
How to move items between bins using Ontime?
The warehouse manager creates an Internal Movement order in Wiise ERP desktop for the task to appear in Move on the OnTime app.
- Log into the Wiise ERP desktop.
- Search for Internal Movements on the top right-hand corner of the page. Select the relevant link. The Internal Movements list is displayed.
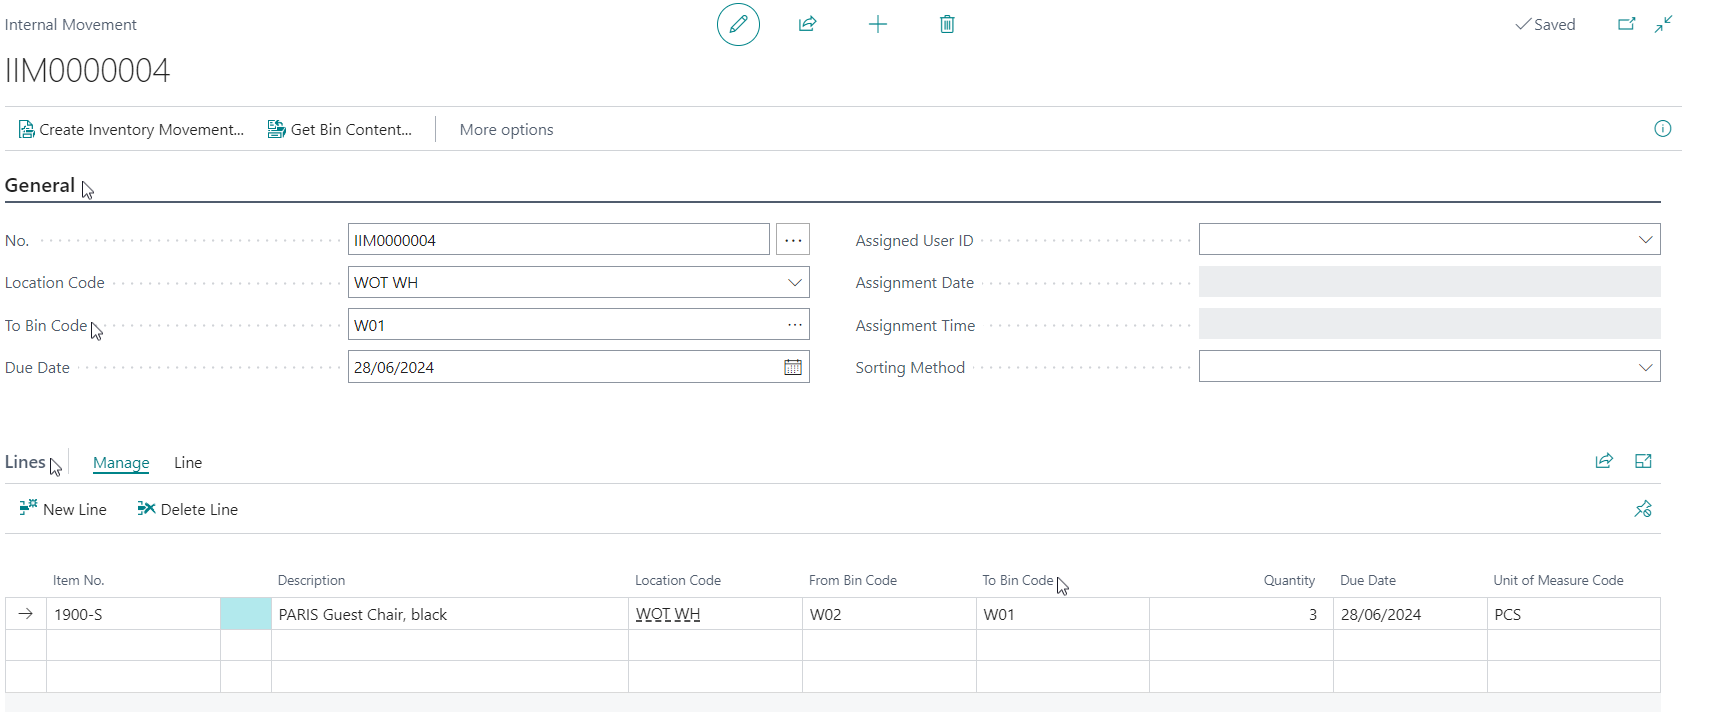
- Select + New to create a new internal movement.

- Fill in the necessary fields for the internal movement in the General section and Lines section.
- Select Create Inventory Management.
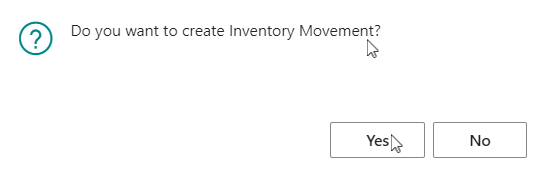
- A message displays to confirm if you want to create Inventory Movement.

- Select Yes to continue or No to cancel.
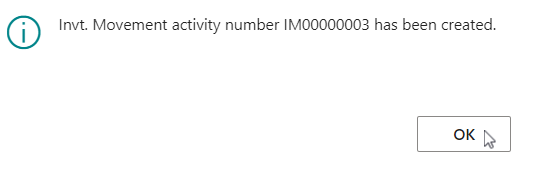
- The Inventory Movement activity number is created. A confirmation message is displayed.

- Select OK to continue.
- A message displays to confirm if you want to create Inventory Movement.
- You’ve completed the Internal Movement process in Wiise ERP desktop.
Warehouse workers can now complete the Move task in the OnTime app.
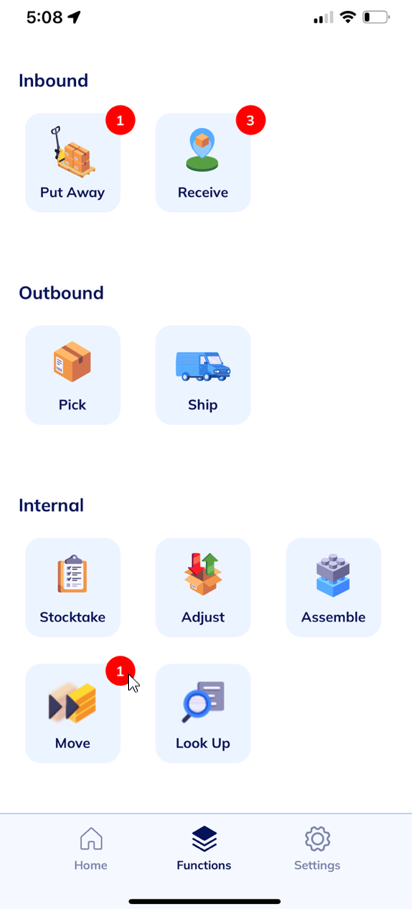
- Log into the Wiise Warehouse OnTime app.
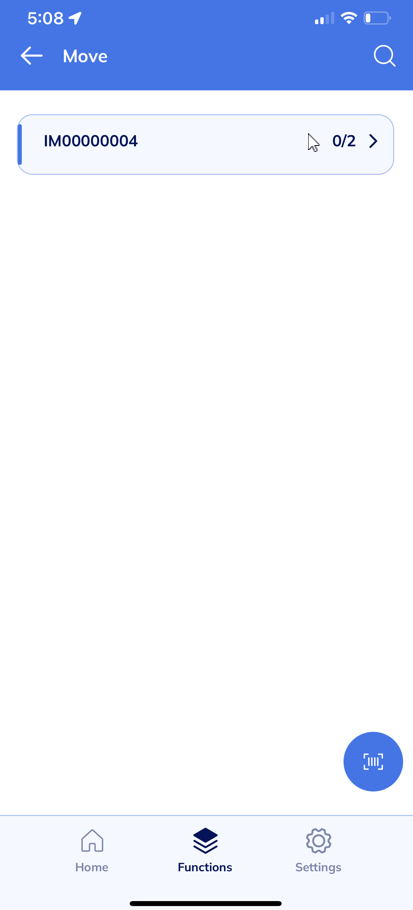
- On the Functions tab, select Move.

- Select the Internal Movement activity number to action.

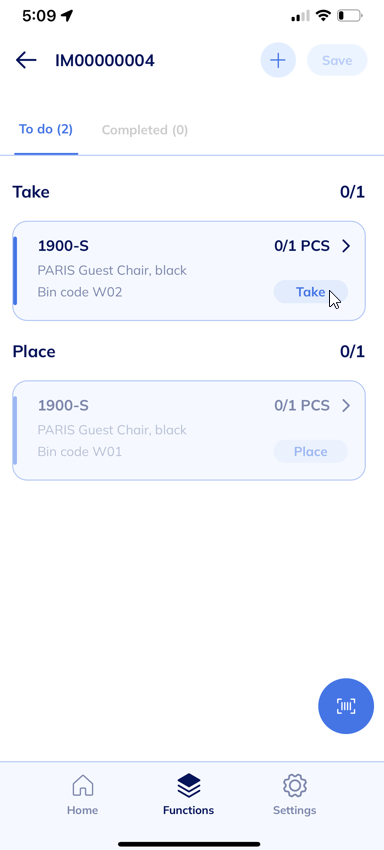
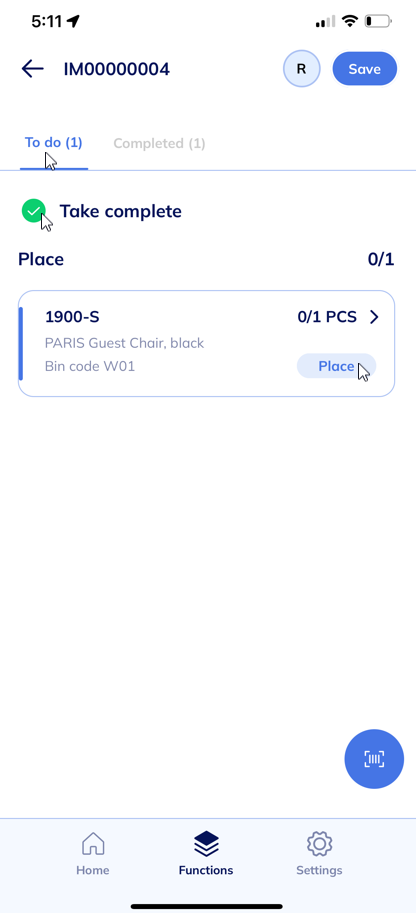
- The Take and Place task displays. Place is disabled until Take is completed.

- Select Take.

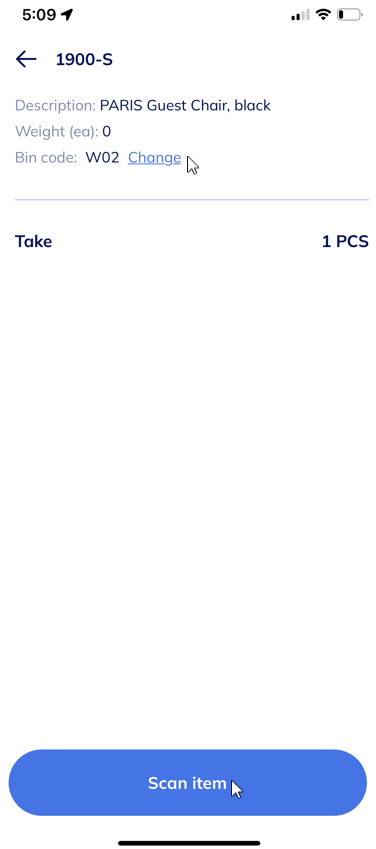
- Confirm the Bin Code. You can change the bin code when required.
- Select Scan item.
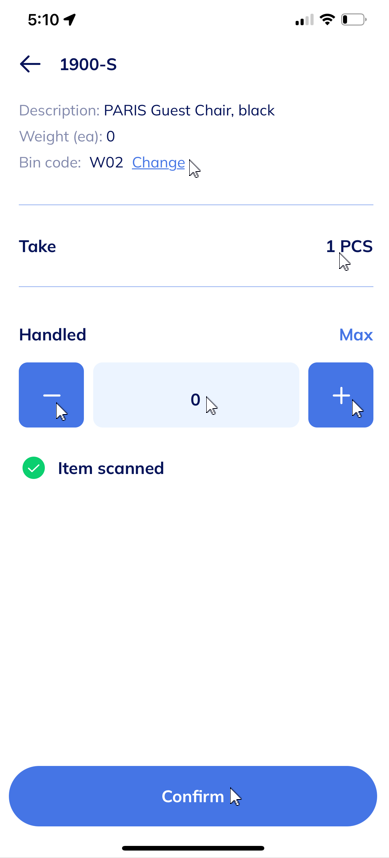
- Select the + or – button to increase or decrease the items to be moved between bins. You can tap into the number and key in the number of items to move.

- When you’ve made your selection, select Confirm.
- Take is now completed. Select Place.

- Select Scan bin to move to the designated bin. You can change the bin code when required.
- Update the numbers handled by selecting the exact full number of Place items or decrease the number of items.
- Select Confirm to continue.
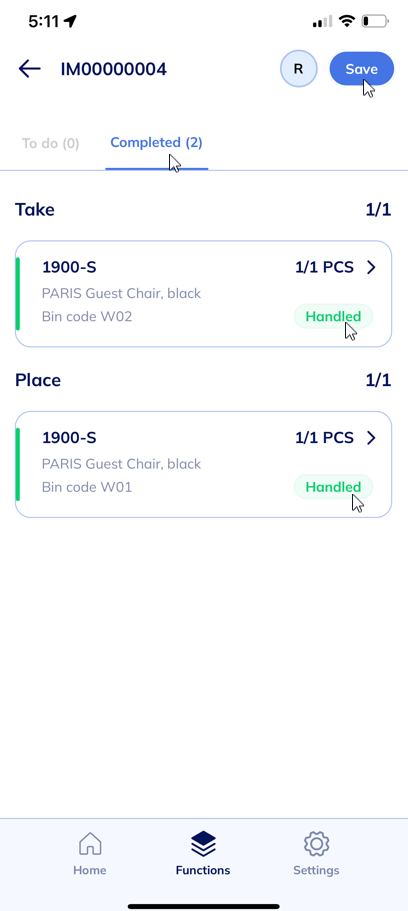
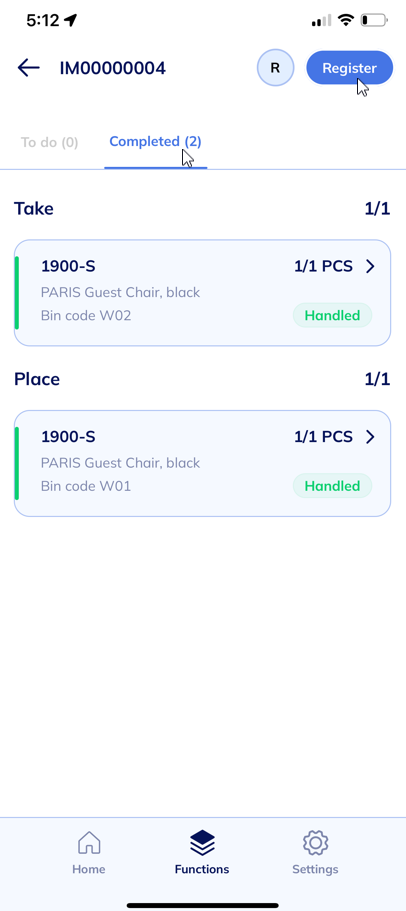
- The page displays completed tasks. Both Take and Place have been handled and completed.

- Select Save to save your settings in Wiise ERP desktop.

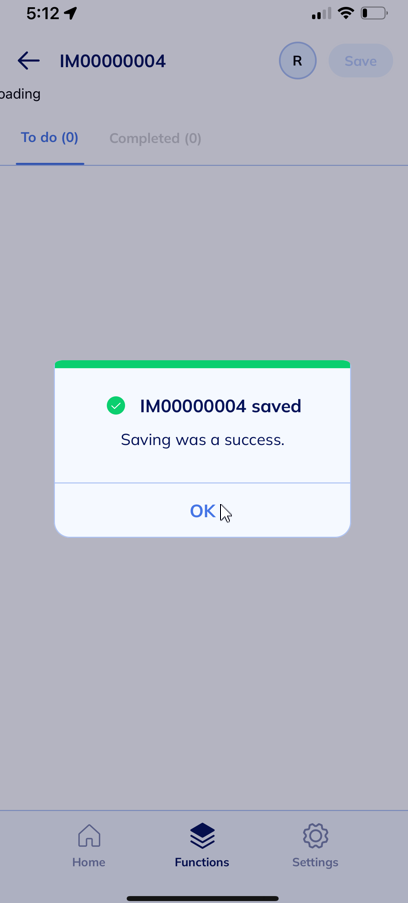
- A message displays the internal movement activity saving was a success.
- Select OK to continue.
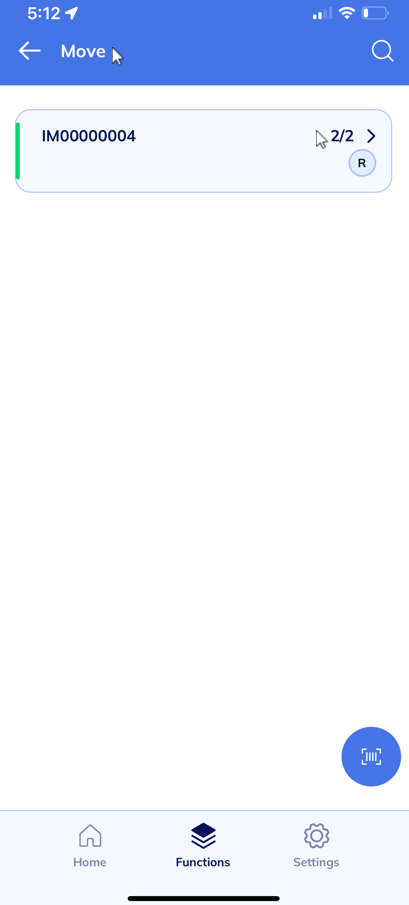
- You’re taken back to the Move list.

Note: The task shows as green which means it is completed. - Select the internal movement activity number again.

- Select Register for your completed tasks. This posts the activity to Wiise ERP desktop.
- A message displays confirming the activity is registered.
- Select OK to continue.
Note: The registered activity disappears from your Move list. - You’ve completed the Move activity in the OnTime app.
Note: The Move activity is updated in Wiise ERP desktop. The warehouse manager can review the changes made to the Item.
- Search Warehouse Entries on the top right-hand corner of the page in the Wiise ERP desktop. Select the related link.
- The Warehouse Entries list display.

- You can see the movement of items between bins.
- You’ve completed the Move activity on Wiise ERP desktop.

What’s next?
Find out how to perform stocktake in the warehouse using OnTime.
Need more help?
No problem, that's what we're here for. Reach out to support@wiise.com anytime you can't find what you're looking for.