Overview:
- Learn how to approve, reject, re-open, and archive timesheets
Note: Wiise Timesheet dimensions now sync automatically with Wiise Payroll. When you enter a Project, Project Task, or any Dimension on a timesheet line, those values flow through to your payroll transactions once the timesheet is approved and sent to Payroll.
Why Action Wiise Timesheets?
Approving, rejecting, reopening, and archiving timesheets ensures accurate work hours for correct payroll and project tracking. It also keeps clear records for future use or audits.
How to Action Wiise Timesheets?
As the timesheet approver, before approving or rejecting a timesheet, ensure the timesheet has been submitted. Follow these steps:
- Select Wiise Payroll on your Wiise landing page.
- Select Manager Timesheets on the action ribbon. The list displays all created timesheets and their status.

- Select the timesheet to approve. Highlight the submitted row, then select the hyperlinked cell in No., column
- Select Process from the action ribbon. Then, select one of the following options:

- Approve: Approves the job lines but doesn't post them.
- Approve and Post Job Jnl.: Approves and posts the job lines to the job journal, linking them to a project.
- Reject: Sends the timesheet back to the employee for changes.
- Reopen: Changes an approved timesheet back to Submitted, but posted timesheets can't be reopened.
- Attachments: You can attach documents relevant to the timesheet entry here.
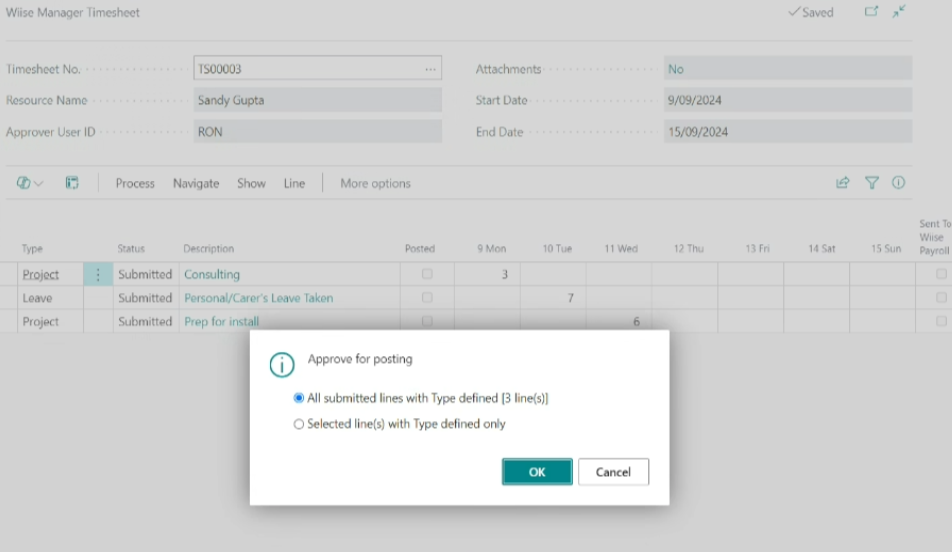
- When you select Approve or Approve and Post Job Jnl., confirm whether to process All submitted lines or Selected lines only.

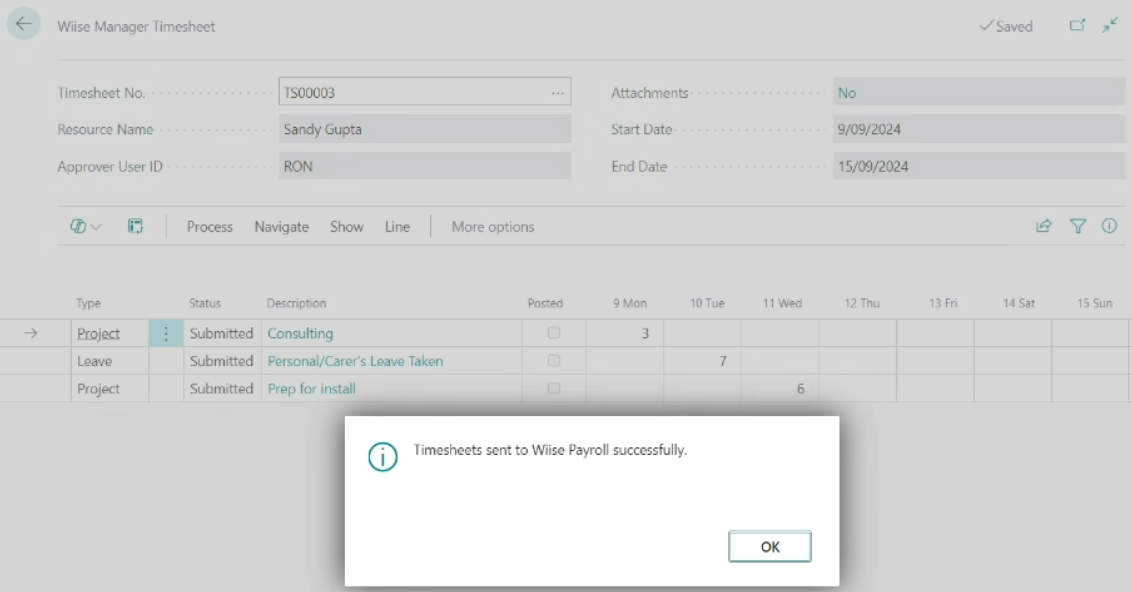
Note: When you select Approve or Approve and Post Job Jnl., and approve for posting, the timesheet lines are sent to Wiise Payroll, and the Sent to Wiise checkbox is auto selected against the employee’s timesheet status. The approved lines are checked against existing timesheets in Wiise Payroll for possible duplication, and you'll be notified if there's any overlap. - Select OK to continue. A confirmation box displays, indicating that the timesheets have been successfully sent to Wiise Payroll.

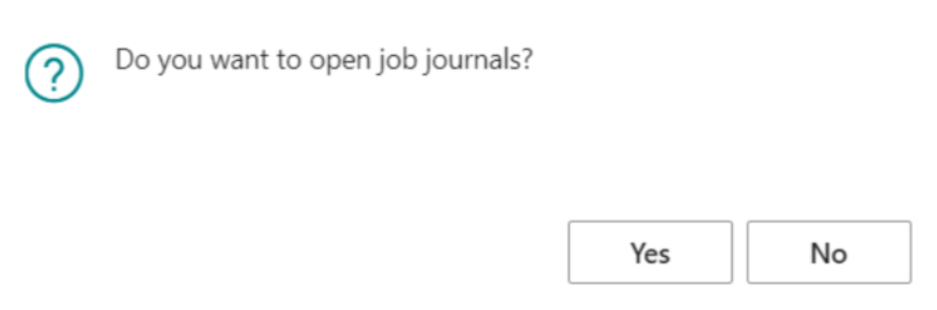
- Select OK to continue. A request box displays requests if you want to open job journals. Select Yes to continue or No., to stay on the page.

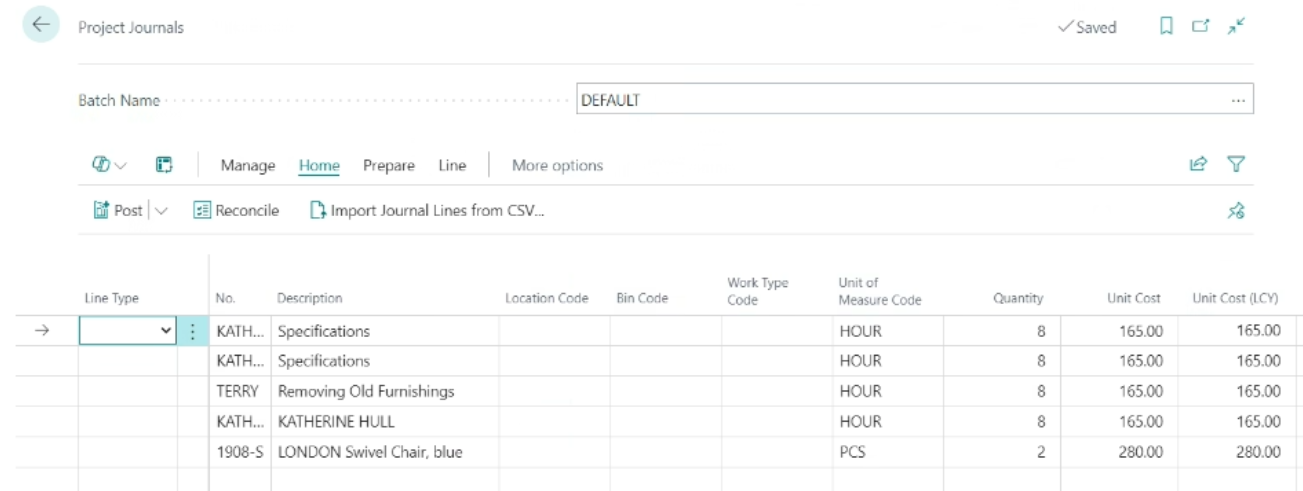
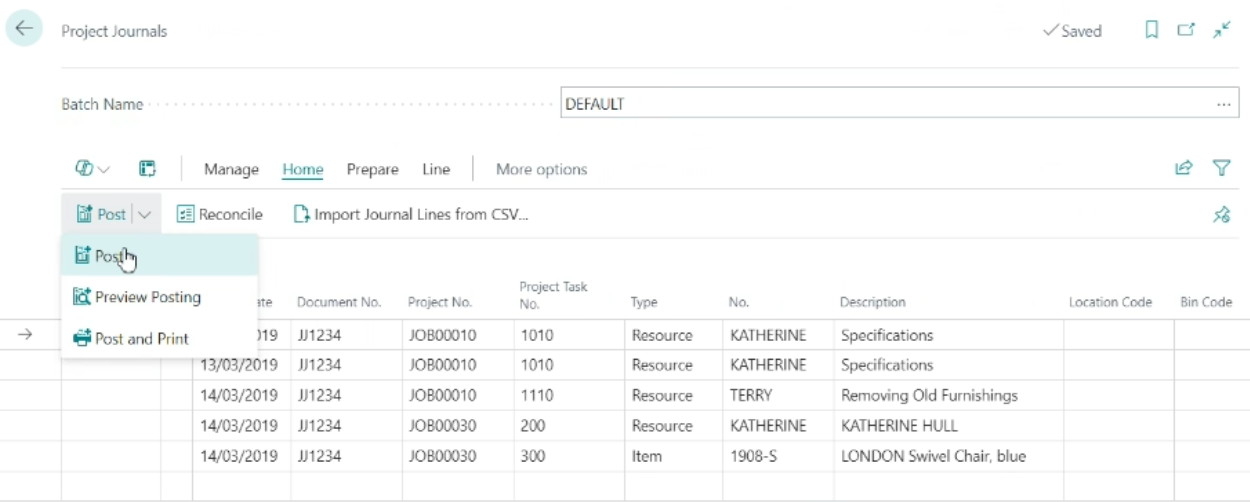
- When you select Yes, the Project Journals page displays.

- Select the lines for posting. Then, select Post and Post again on the action ribbon.

- You’ve actioned your employees' timesheets.


Note: If an employee is set up with Use timesheets for exceptions only (e.g.: overtime) as the TIMESHEET TYPE in Wiise Payroll, only the job lines using a WORK TYPE CODE, where the PAY CATEGORY is different from the employee’s PRIMARY PAY CATEGORY, will be sent to Wiise Payroll.
What’s next?
Find out how to understand your timesheet status.
If you have any questions, please reach out to support@wiise.com