- Learning
- Payroll & Employees
- Setting Up Wiise Payroll
How to set up your company information in Wiise Payroll
How to add your company information in Wiise Payroll
Before you start, you'll need to have Payroll Administrator access to complete this step. Here’s how to set that up:
- From the Wiise role centre, search for and select User Setup.
- Find the USER ID you want to give payroll administrator access to.
- Tick the box in the PAYROLL OFFICER column at the far right of the line.
All set? Here's how to add your company information:
- Log into Wiise Payroll.
- Select the briefcase icon at the top of the left-hand navigation bar, then select Payroll settings.
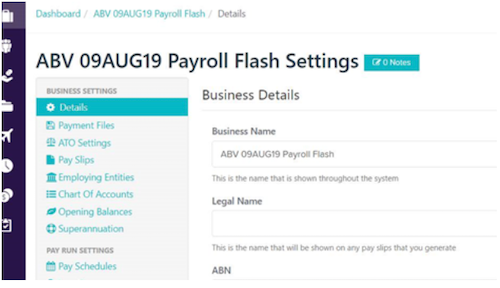
- A Business Details form will open.

- Fill in your company information, including your Business Name, Legal Name and Address details.
- And when you’ve finished, select Save.
Note: On the dashboard page, a notification reminder may appear under Action Items. For more information about how to manage the Action Items visit Payroll Support — Getting started.
Return to about Wiise Payroll article..
